
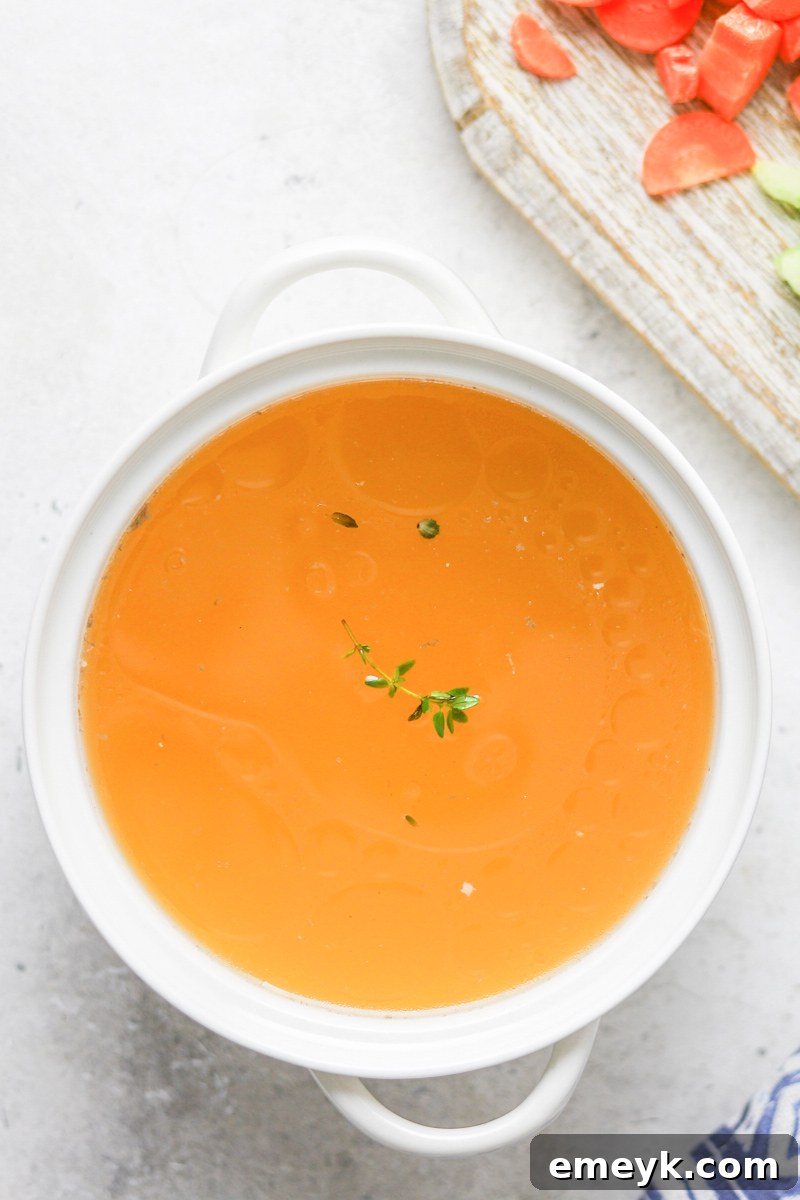
Unlock the secret to incredibly flavorful and nourishing meals with your very own Homemade Chicken Broth. Far superior to any store-bought alternative, this recipe utilizes a whole chicken, a medley of aromatic vegetables, and fresh herbs to create a rich, golden liquid that forms the foundation of countless delicious dishes. Crafting your own chicken broth is not only surprisingly easy but also incredibly rewarding, transforming everyday cooking into an elevated culinary experience. Whether you’re simmering a comforting chicken noodle soup, building a robust sauce, or adding depth to grains, this versatile homemade elixir will become an indispensable staple in your kitchen.
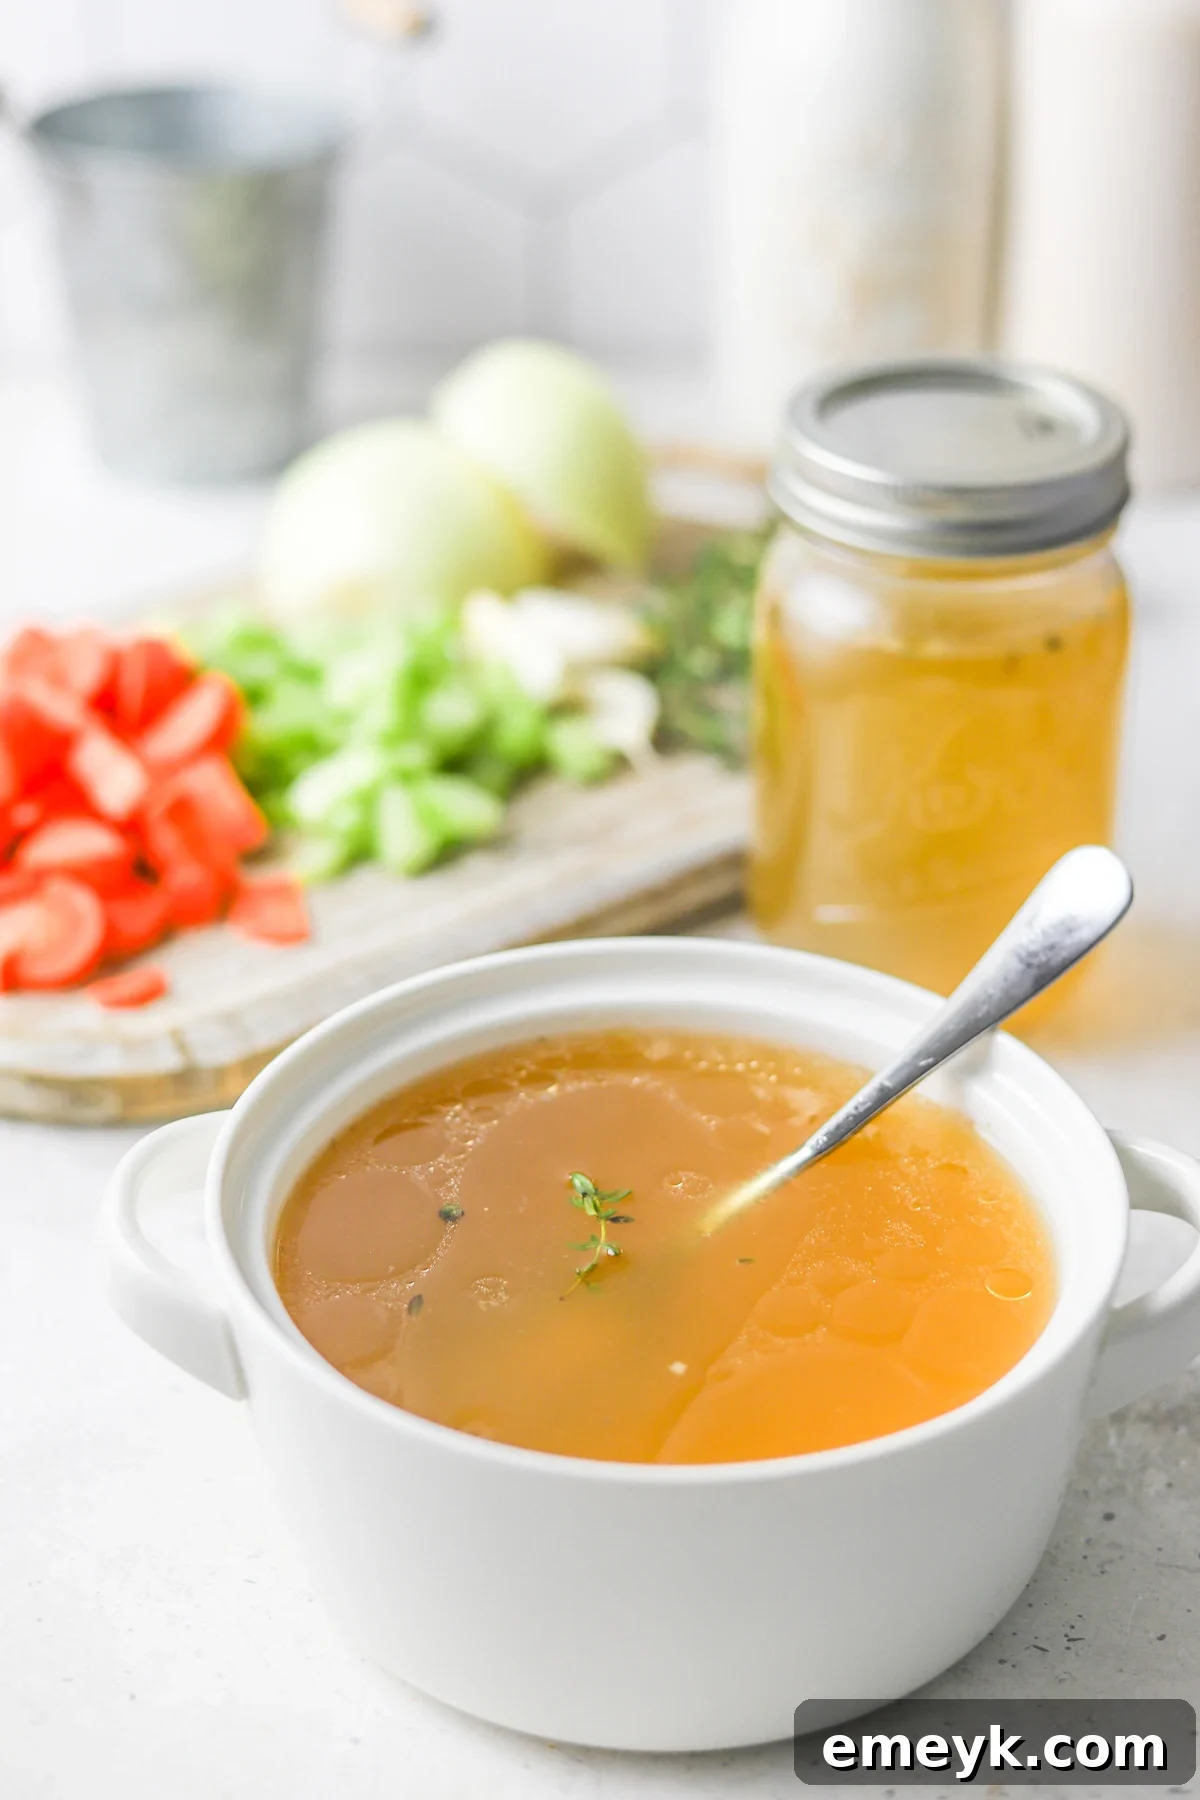
For years, I relied on cartons of store-bought chicken broth, never truly appreciating the profound difference homemade could make. Once I started making my own a few years ago, there was no turning back. The depth of flavor, the rich aroma, and the sheer satisfaction of creating something so fundamental from scratch completely revolutionized my cooking. It’s the essential base for the most comforting homemade chicken soup you’ll ever taste.
My freezer is now perpetually stocked with both this incredibly easy chicken broth and my go-to Easy Beef Bone Broth. The primary advantage of crafting your own broths lies in complete control over the ingredients. You dictate exactly what goes into your pot, avoiding unnecessary sodium, preservatives, or artificial flavors commonly found in commercial varieties. This empowers you to tailor the flavors to your precise preferences and dietary needs, resulting in a broth that not only tastes exponentially better but is also healthier and more nourishing.
The process itself is surprisingly hands-off. After a mere 10 minutes of initial preparation, your broth can gently simmer on the stovetop for 2-4 hours, filling your home with an intoxicating aroma while you go about your day. This recipe typically yields a generous 6-8 cups of exquisite chicken stock, which can be effortlessly stored in the freezer, ready to elevate your next culinary creation whenever inspiration strikes.
Why Homemade Chicken Broth is a Kitchen Essential
Beyond the undeniable flavor boost, there are numerous compelling reasons to incorporate homemade chicken broth into your cooking routine. It’s a foundational ingredient that can elevate almost any savory dish, offering both culinary versatility and health benefits.
- Unparalleled Flavor Depth: Store-bought broths often taste one-dimensional and overly salty. Homemade broth, with its slow simmer and fresh ingredients, develops a complex, nuanced flavor profile that is impossible to replicate with pre-packaged options. This rich base translates directly into more delicious soups, stews, risottos, and sauces.
- Nutritional Powerhouse: When made with quality ingredients and simmered for an adequate duration, homemade chicken broth becomes rich in collagen, gelatin, amino acids, and essential minerals like calcium, magnesium, and phosphorus. These nutrients are known to support gut health, joint function, skin elasticity, and a strong immune system.
- Control Over Ingredients: Making your own broth means you control the sodium content, avoiding excessive salt often found in commercial products. You can also ensure no artificial flavors, colors, or preservatives are added, making it ideal for those with dietary restrictions or specific health goals.
- Cost-Effective and Sustainable: Instead of discarding chicken carcasses or vegetable scraps, you can give them a second life by transforming them into a valuable ingredient. This zero-waste approach is not only environmentally friendly but also incredibly economical, saving you money in the long run.
- Customization Opportunities: Want a spicier broth? Add some chilies. Prefer a more robust herbal flavor? Adjust the rosemary and thyme. Homemade broth offers endless possibilities for customization, allowing you to fine-tune the flavor to complement your specific dishes.
- Therapeutic Aroma: The gentle simmer of chicken broth on your stove fills your home with a comforting, warm aroma that is incredibly inviting and truly makes your kitchen feel like the heart of your home.
Embracing homemade chicken broth is more than just cooking; it’s an investment in flavor, health, and a more mindful approach to your kitchen.
Essential Ingredients for the Best Homemade Chicken Broth
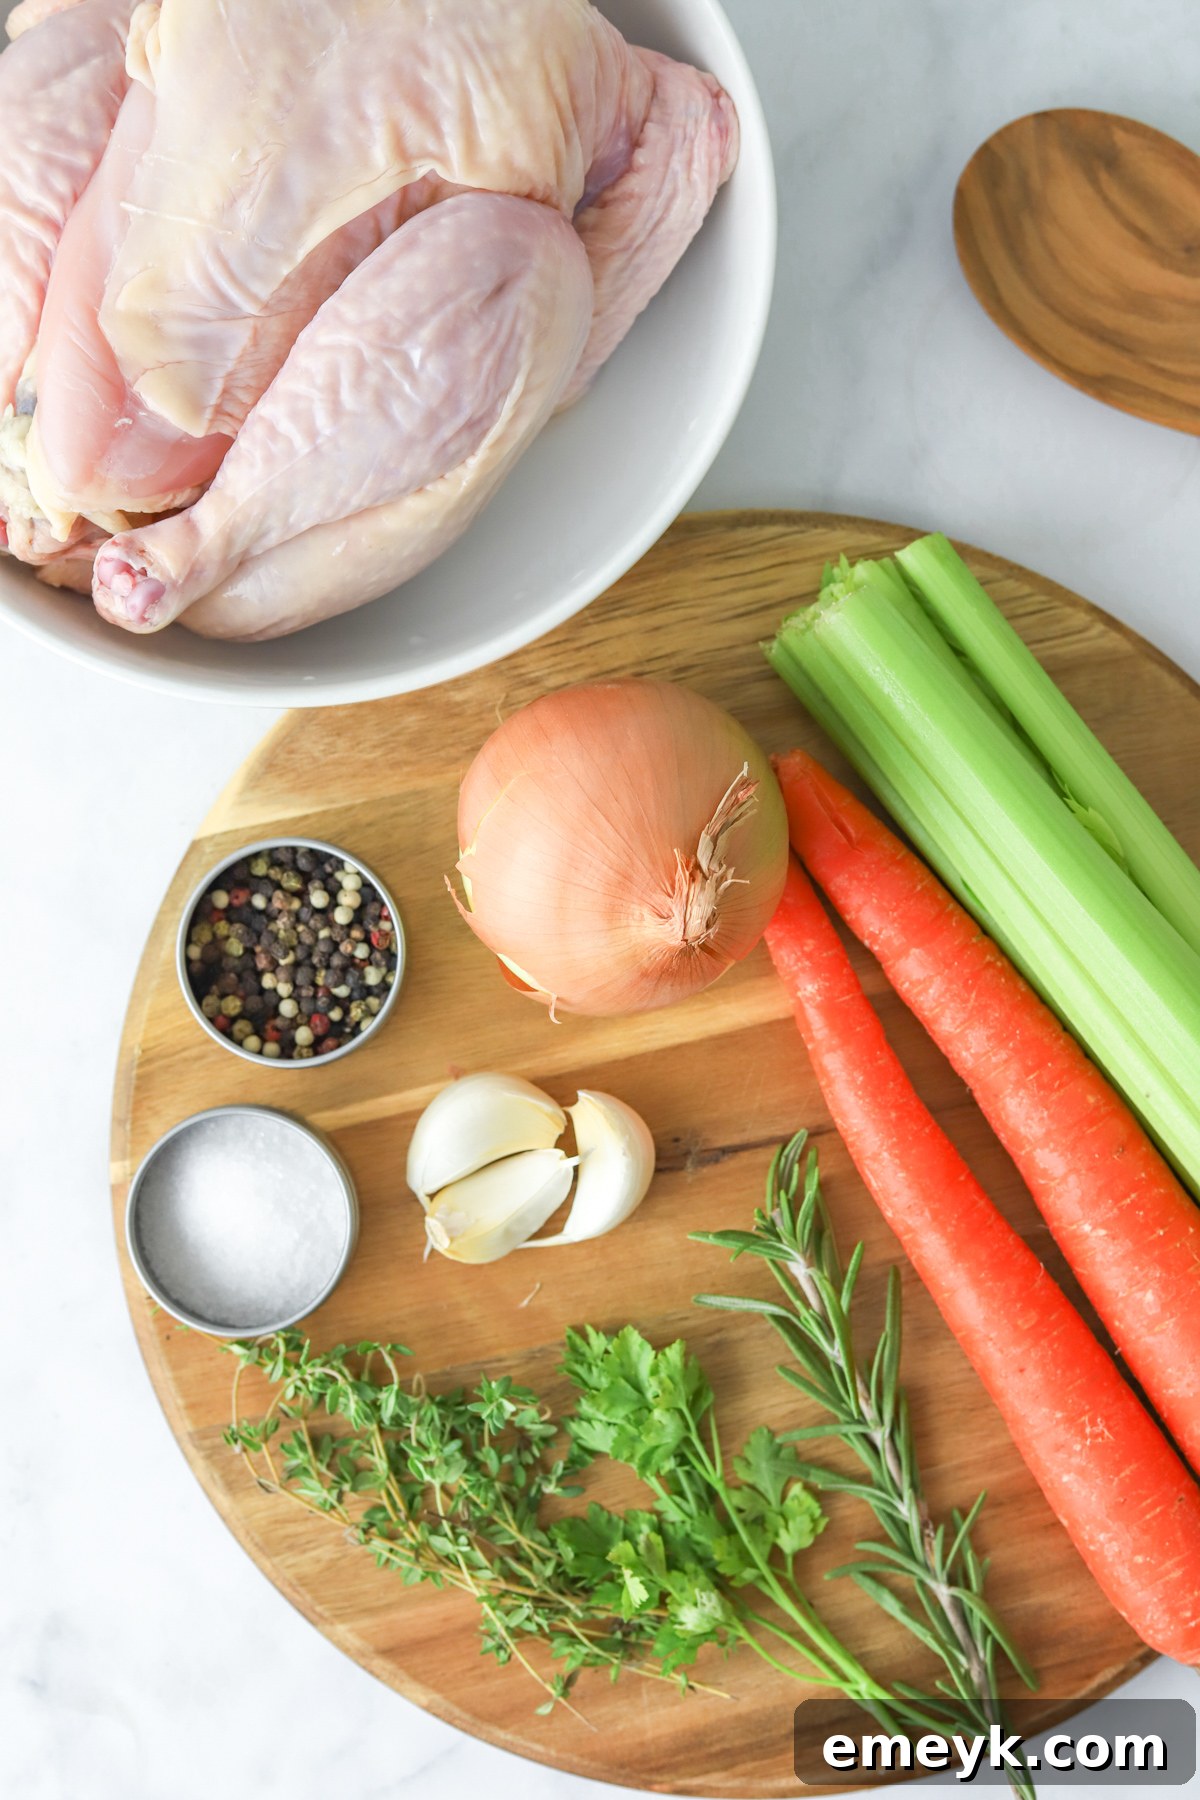
The beauty of homemade chicken broth lies in its simplicity, yet the quality and combination of a few key ingredients make all the difference:
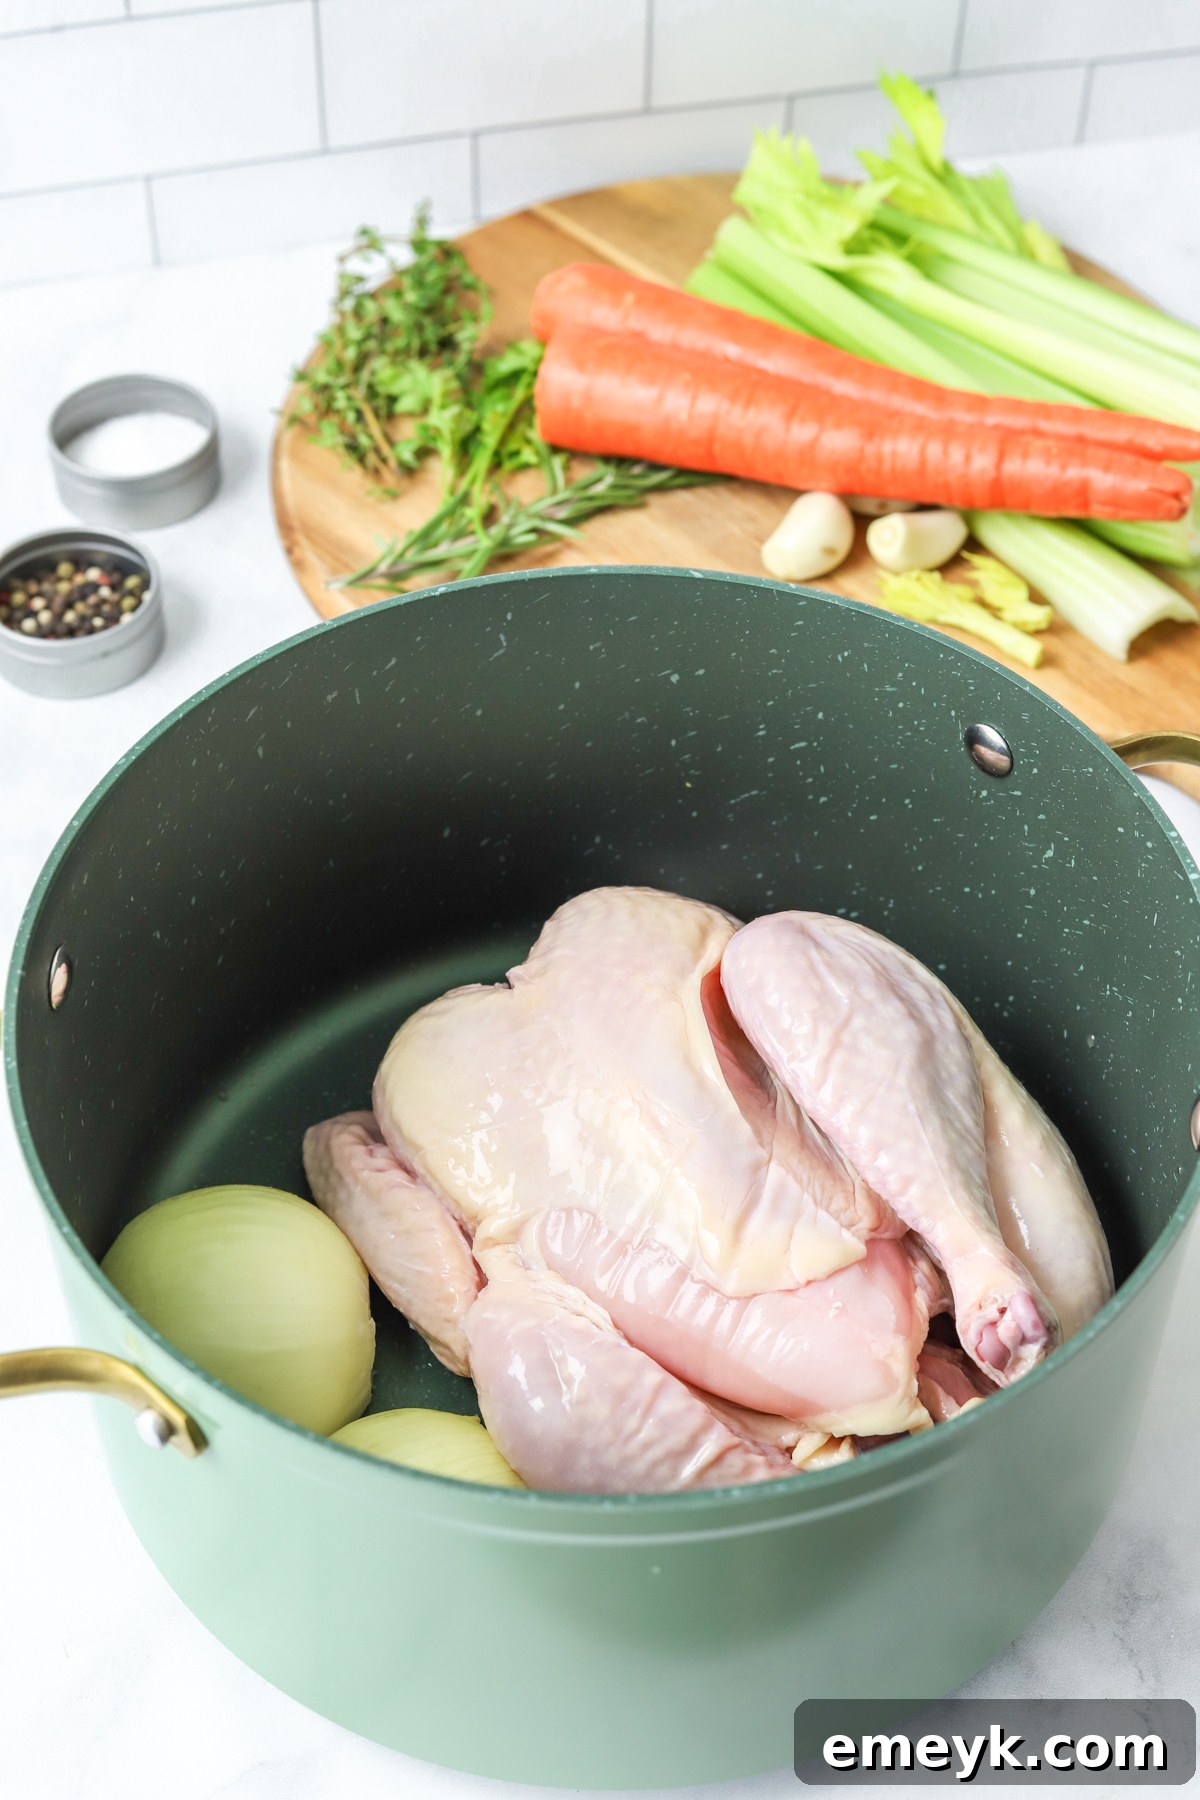
- Whole Chicken (or Chicken Bones/Carcass): This recipe starts with one whole chicken (approximately 4 pounds) with the giblets removed. Using a whole chicken imparts a richer flavor and texture to the broth, as it includes meat, bones, and cartilage. If you choose this method and plan to use the chicken meat for other dishes, I highly recommend removing the chicken around the 45-minute to 1-hour mark to prevent the meat from becoming dry and stringy. Afterward, return the bones and carcass to the pot to continue simmering for maximum flavor extraction. Alternatively, you can exclusively use chicken bones and carcasses, which is an excellent way to utilize leftovers from roasted chickens. Popular options include the bones from a Whole Roasted Chicken with Potatoes, a Slow Cooker Mediterranean Whole Chicken, or an Instant Pot Rotisserie Chicken. A mix of bones, such as necks, backs, and wings, also works wonderfully.
- Mirepoix (Veggies): The classic French mirepoix combination of celery, carrots, and onion forms the aromatic foundation of this broth. Along with garlic, these vegetables add a beautiful depth of savory flavor and a subtle sweetness. Don’t worry about peeling the carrots or onions; their skins contribute color and nutrients, and everything will be strained out later.
- Fresh Herbs: The inclusion of fresh herbs is paramount to achieving a truly flavorful chicken stock. I always use fresh rosemary, thyme, and parsley, along with a bay leaf. These herbs infuse the broth with an aromatic, herbaceous quality that dried versions simply cannot replicate. Fresh herbs make a monumental difference, preventing the broth from tasting bland and filling your kitchen with an incredibly fragrant aroma as it simmers.
- Black Peppercorns: Whole black peppercorns add a gentle, subtle heat and a layer of complex spice that enhances the overall flavor profile without overpowering the delicate chicken notes.
- Salt: While some prefer to add salt only when using the broth in a final dish, I find that adding a teaspoon of salt at the beginning helps to draw out and develop the flavors during the simmering process. You can always adjust the seasoning at the end.
- Water: The quality of your water matters. Use filtered water if possible. The key is to use just enough water to cover your ingredients by an inch or two – too much water will dilute the flavor, resulting in a weaker broth.
These simple, wholesome ingredients combine to create a deeply satisfying and nutrient-rich chicken broth that will become your culinary secret weapon.
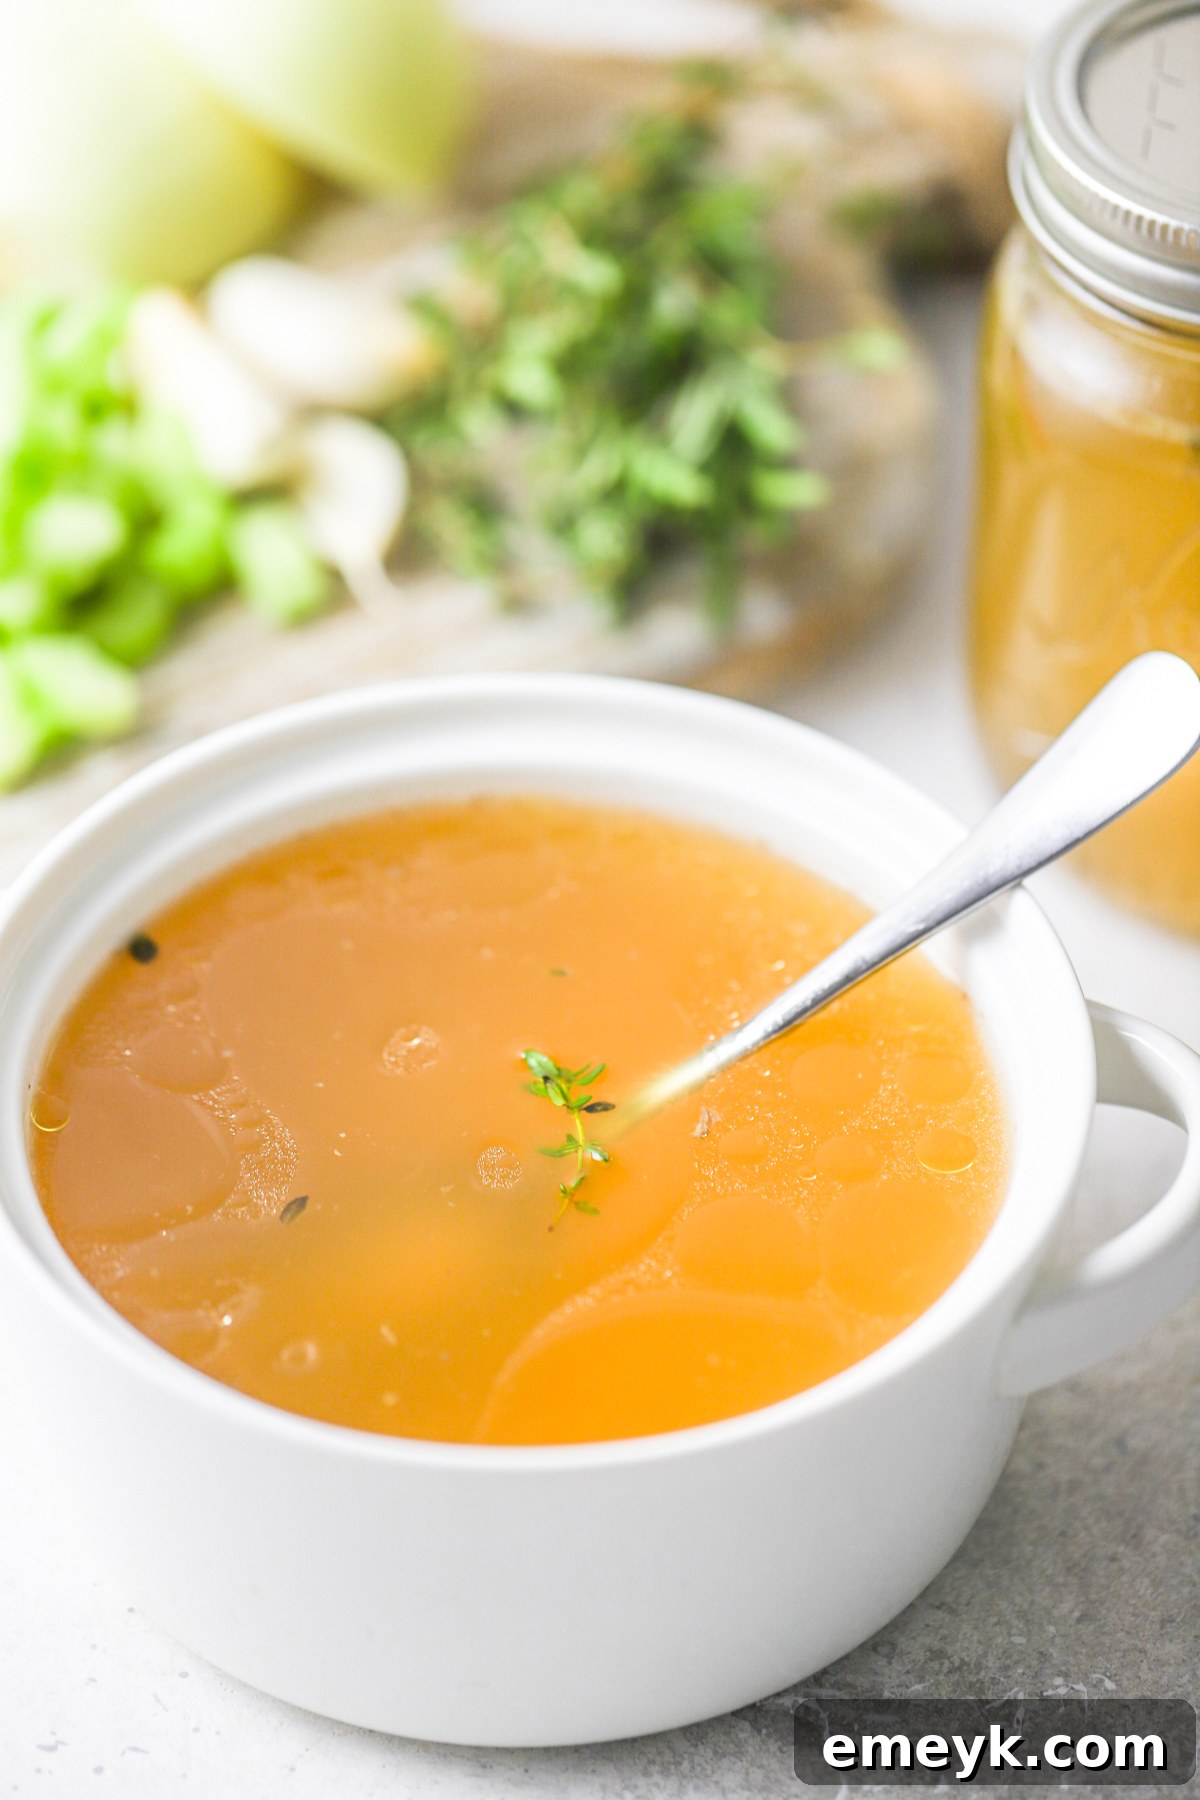
How to Make Flavorful Chicken Broth at Home: A Step-by-Step Guide
Making chicken broth at home is a straightforward process that yields incredible results. Follow these simple steps for a deeply flavorful stock:
- Step 1: Optional Sauté for Enhanced Flavor
Pour a tablespoon of cooking oil into the bottom of a large stockpot or Dutch oven. Add your whole chicken (giblets removed) or chicken bones, along with chopped onion, carrots, celery, and garlic. Lightly brown these contents over medium heat for about 6-7 minutes. This crucial step, known as sautéing or sweating the aromatics, caramelizes the vegetables and the chicken, developing rich, complex flavors through the Maillard reaction. While optional, it significantly deepens the final taste of your broth.
- Step 2: Add Water and Bring to a Boil
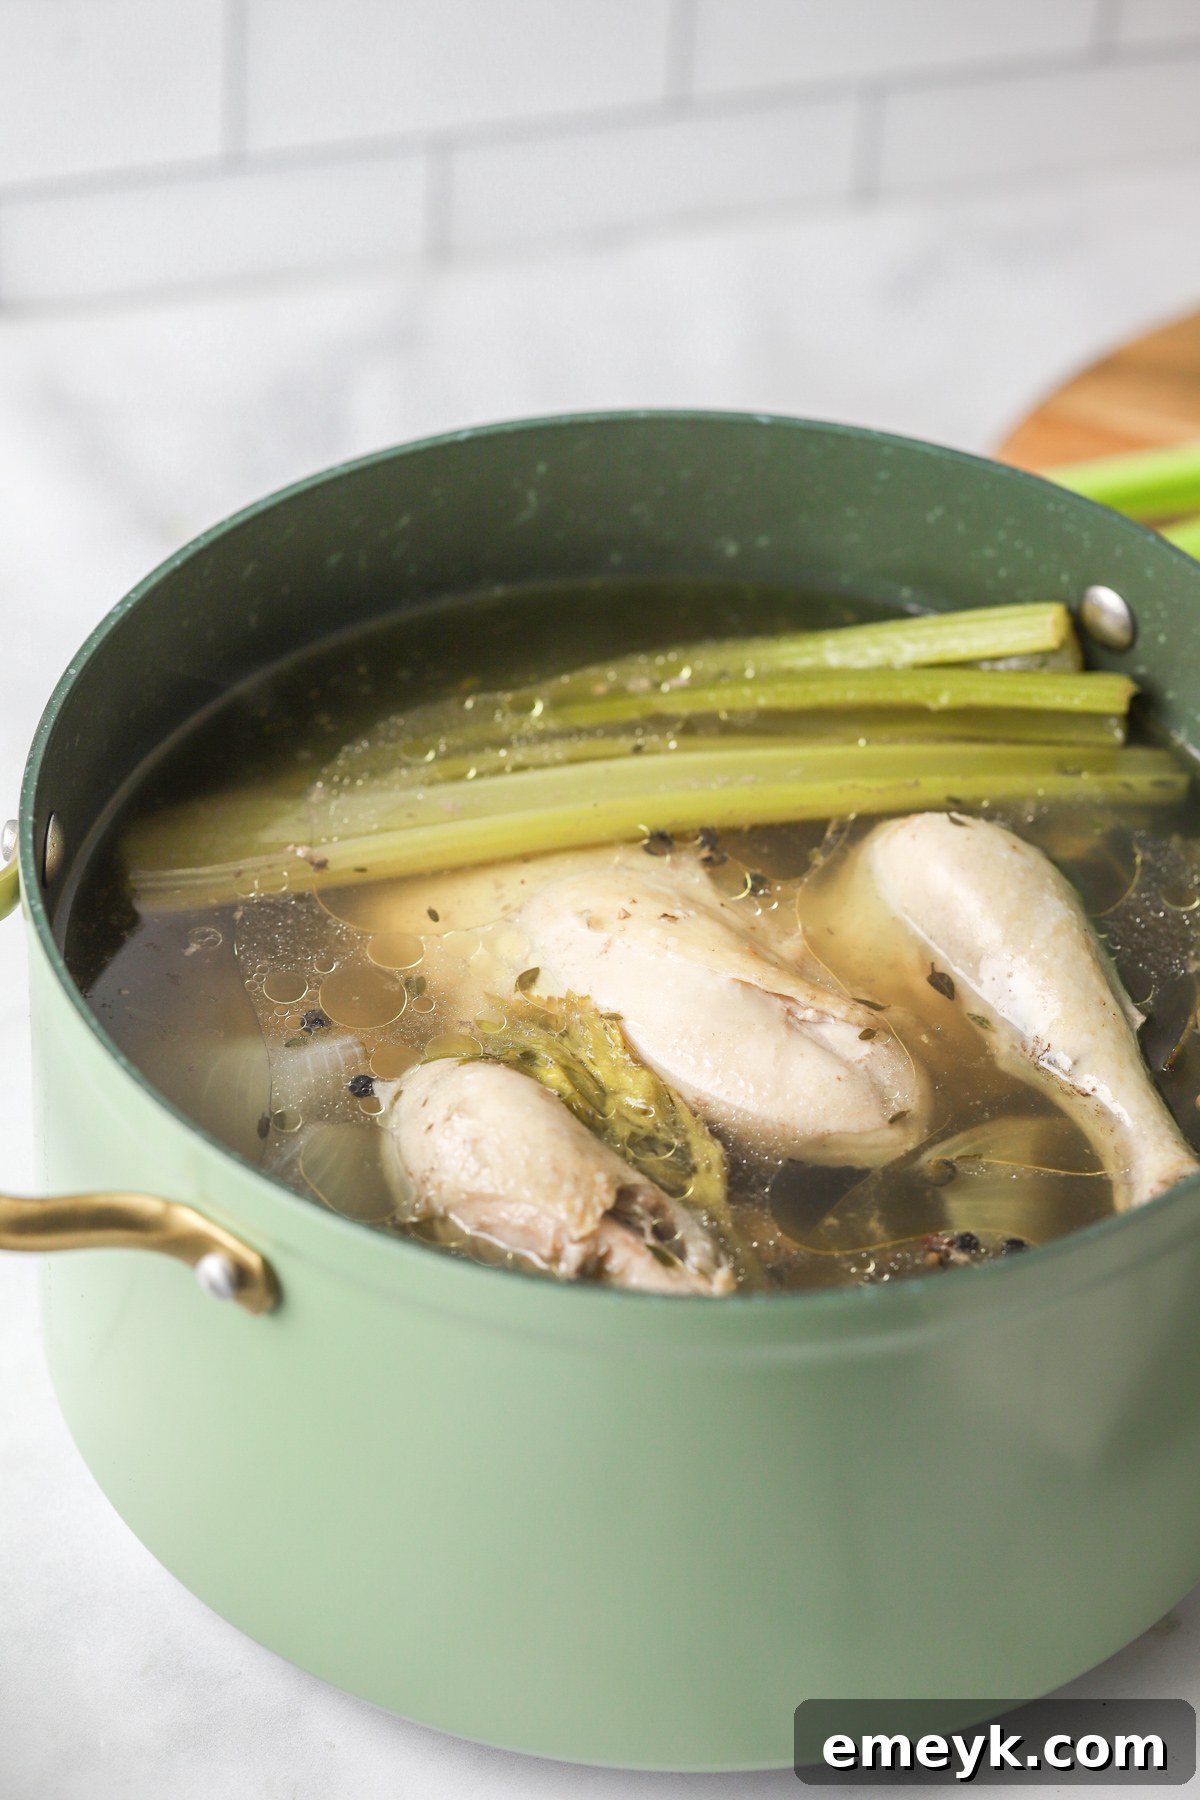
Pour 6-8 cups of cold water into the pot, ensuring there’s just enough to cover all the ingredients (chicken or bones and vegetables) by about an inch or two. Using cold water is important as it helps to slowly extract impurities and prevents the broth from becoming cloudy. Bring the mixture to a rolling boil over high heat.
- Step 3: Infuse with Fresh Herbs and Seasonings
Once boiling, add the fresh rosemary sprigs, thyme sprigs, parsley sprigs, bay leaves, whole black peppercorns, and a teaspoon of salt to the pot. These aromatics are key to developing the broth’s signature herbaceous and savory notes. If you’re using only chicken bones, this is the stage where you’d add them if you skipped the initial sautéing step.
- Step 4: Gentle Simmer for Flavor Extraction
Reduce the heat immediately to its lowest setting, just enough to maintain a very gentle simmer. Cover the pot with a lid, leaving it slightly ajar to allow some steam to escape. Let the broth simmer gently for a minimum of 2-3 hours, and ideally up to 4 hours. The longer the simmer time, the more concentrated and robust the flavors will become, as the bones release their collagen and minerals into the liquid. Avoid a rapid boil, as this can make your broth cloudy and extract unwanted flavors.
- Step 5: Adjust Seasoning to Taste
After the simmering time, carefully taste the hot broth. This is your opportunity to adjust the seasoning. Add more salt if desired, keeping in mind that the broth will become more concentrated if reduced further, and you can always add more salt when using it in a final dish.
- Step 6: Strain and Clarify the Broth
Once you’re satisfied with the flavor, it’s time to separate the liquid from the solids. Carefully remove the large pieces of chicken and vegetables with tongs or a slotted spoon. Then, place a colander (or a fine-mesh strainer lined with cheesecloth for extra clarity) over a large, heatproof container. Slowly pour the entire contents of the pot through the strainer, allowing the rich liquid to collect below. Discard the spent vegetables and bones. For an even clearer broth, you can skim any foam or impurities from the surface during simmering, and gently strain again if necessary.
- Step 7: Cool and Store Properly
Allow the strained broth to cool completely at room temperature before storing. This is a critical step for food safety. Once cooled, transfer the broth to airtight, freezer-proof containers. It can be stored in the refrigerator for up to four days or frozen for up to six months. For convenient single-serving portions, you can pour the cooled broth into ice cube trays, freeze until solid, then transfer the frozen cubes to a larger freezer bag. This way, you can easily grab just the amount you need. Before using frozen broth, simply thaw, and if desired, skim off any solidified fat from the top for a leaner result. Reheat gently on the stovetop or in the microwave.
How Long Should I Cook Chicken Broth for Optimal Flavor?
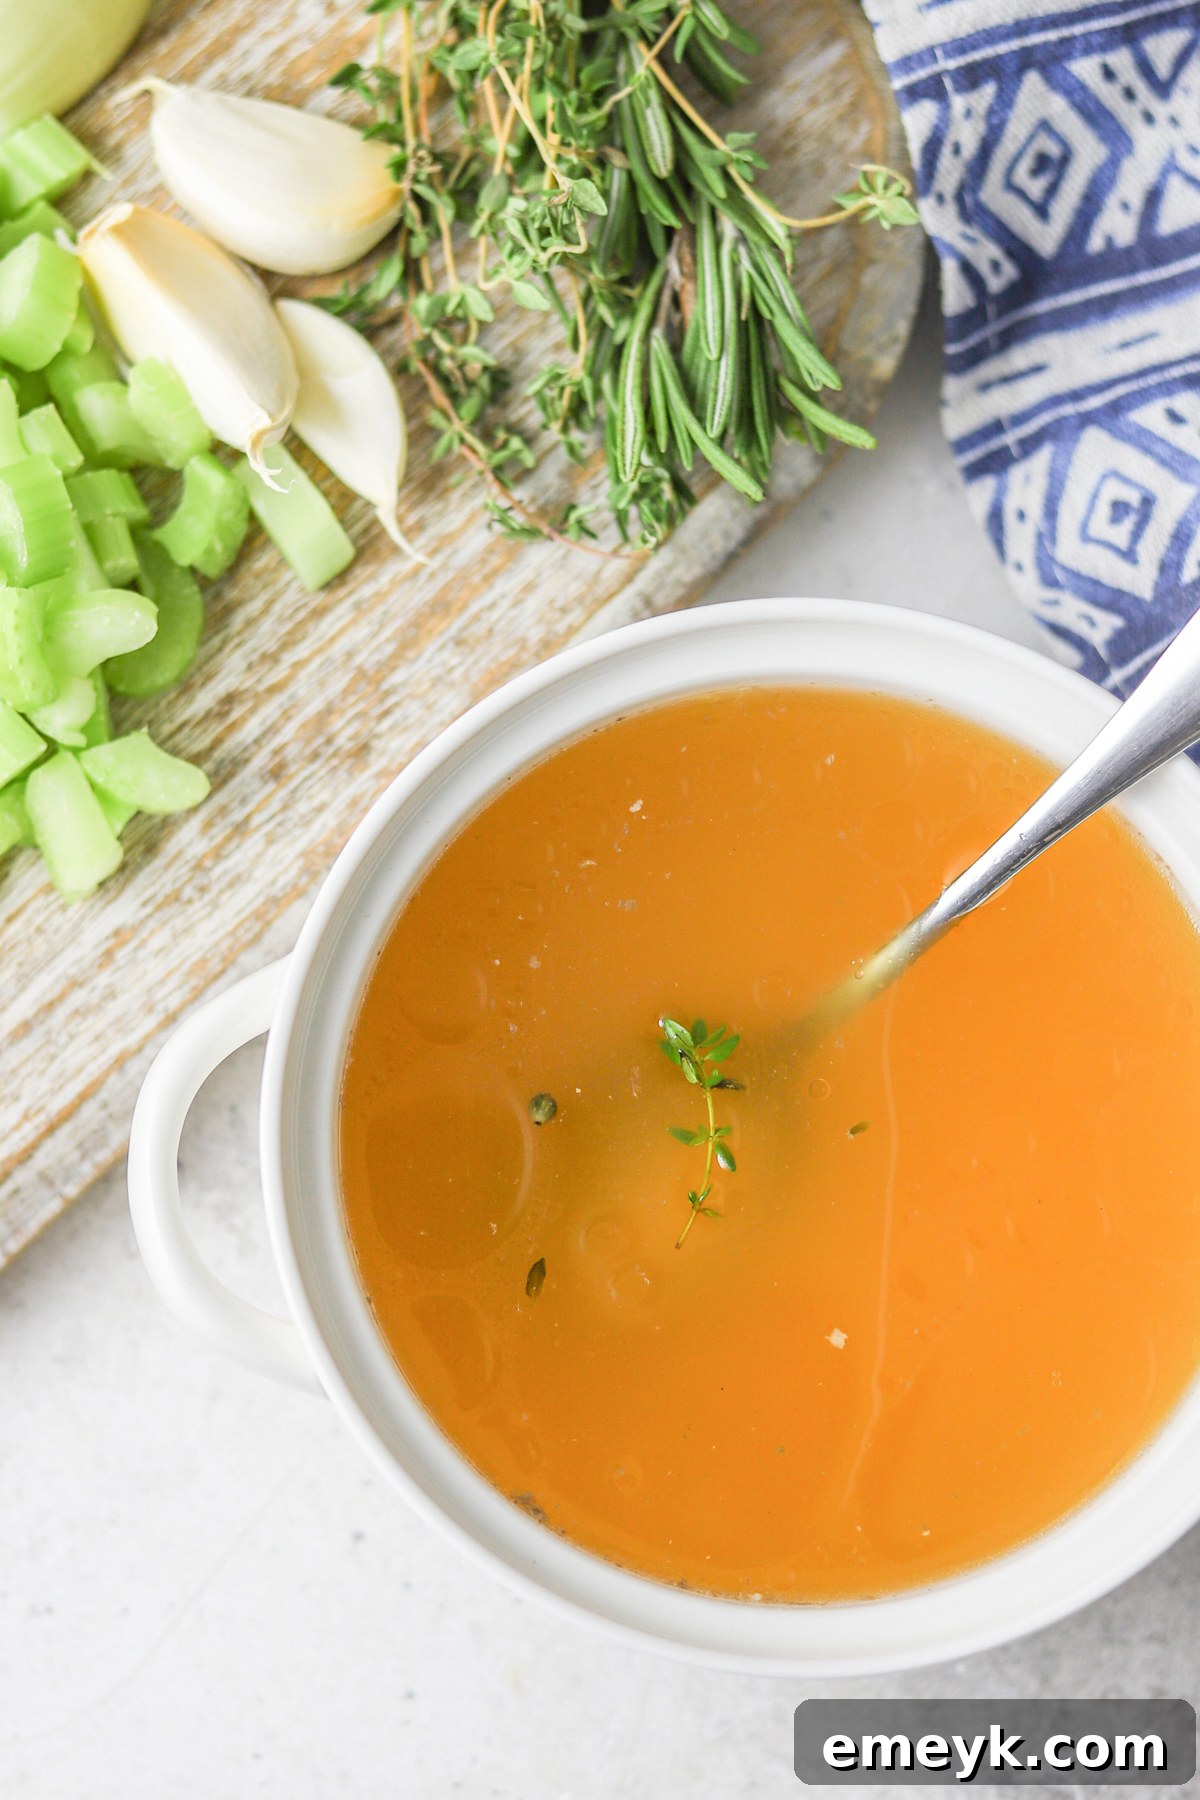
The ideal cooking time for chicken broth can vary, but generally, a minimum of 2 hours is a good starting point to extract decent flavor. However, to truly develop a deep, rich, and concentrated broth, I recommend simmering for 3-4 hours.
Allowing the stock to simmer for several hours longer will result in a much stronger, more concentrated flavor, and a richer texture due to more collagen extraction. My sweet spot for a deeply flavorful and well-balanced chicken stock is usually around 2-3 hours for stovetop methods. For bone broth, simmering can extend to 6-12 hours, but for a standard chicken broth or stock, 4 hours is often sufficient to extract the best qualities from the ingredients.
It’s generally advised not to cook for much longer than 4 hours for a typical chicken broth made with meat and bones, as prolonged simmering can sometimes lead to a slightly “overcooked” or bitter taste from the vegetables, and the volume of liquid will reduce significantly. While a longer cooking time will mean less final liquid, it will yield a more intensely concentrated flavor. Ultimately, the precise duration depends on how much broth you desire and the specific application you intend it for. If you’re using it as a foundational flavor element in a rich sauce, a more concentrated broth from a longer simmer might be preferred. For a light soup base, a shorter simmer is perfectly fine.
Alternative Cooking Methods: Instant Pot & Slow Cooker
While the stovetop method is classic, modern appliances offer convenient alternatives for making chicken broth:
Instant Pot Chicken Broth:
The Instant Pot dramatically reduces cooking time while still producing a rich, flavorful broth. Place all ingredients (chicken/bones, vegetables, herbs, seasonings, and water) into the Instant Pot. Secure the lid and set the pressure release valve to sealing. Cook on Manual (or Pressure Cook) on high pressure for 60-90 minutes. For an even richer bone broth, you can extend the cooking time to 120 minutes. Allow for a natural pressure release (NPR) before opening the lid, which means letting the pressure dissipate on its own without manually releasing it. This process helps to extract maximum flavor and nutrients. Once the pressure has fully released, strain and store as usual.
Slow Cooker Chicken Broth:
The slow cooker is perfect for a truly hands-off approach, allowing the broth to gently simmer for extended periods with minimal supervision. If you prefer, you can lightly brown the chicken and vegetables in a pan first for added depth of flavor, then transfer everything to the slow cooker. Add all ingredients (chicken/bones, vegetables, herbs, seasonings, and water) to the pot of a slow cooker. Set the slow cooker to low and cook for 6-8 hours, or even up to 10-12 hours for a more robust bone broth. The gentle, consistent heat of the slow cooker is ideal for extracting all the goodness from your ingredients. Once cooking is complete, strain and store as directed.
Storing Your Homemade Chicken Broth
Proper storage is essential to maintain the freshness and safety of your homemade chicken broth:
- Refrigeration: Once the broth has cooled completely to room temperature, transfer it to airtight containers. It can be safely stored in the refrigerator for 3-4 days. For optimal freshness, it’s best to use or freeze it within this timeframe.
- Freezing for Long-Term Storage: Freezing is the best method for preserving homemade broth for longer periods. Allow the broth to cool entirely before pouring it into freezer-safe containers. Mason jars, heavy-duty freezer bags, or silicone freezer trays are excellent options. Frozen broth can last for up to 6 months without significant loss of quality.
- Freezing in Mason Jars: If using glass mason jars, ensure you leave at least an inch of headspace at the top to allow for expansion during freezing, preventing the glass from cracking. It’s also advisable to freeze the broth with the lid off or very loosely placed until it’s completely solid. Once frozen, you can securely seal the lid.
- Ice Cube Trays for Portions: For ultimate convenience, pour cooled broth into ice cube trays. Once frozen, pop out the broth cubes and transfer them to a freezer bag. This allows you to easily thaw and use small portions as needed for deglazing a pan, adding to sauces, or cooking grains.
- Skimming Fat (Optional): After chilling or thawing, you’ll likely notice a layer of solidified fat on top of your broth. You can easily spoon this off for a leaner broth, or leave it for added richness and flavor, depending on your recipe and preference.
Frequently Asked Questions About Homemade Chicken Broth
For an even deeper flavor, I highly recommend sautéing the chicken and vegetables for a few minutes before adding the water. This browning step caramelizes the ingredients and unlocks richer tastes. However, it’s an optional step if you’re short on time. Another critical tip for the best-flavored broth is to avoid using too much water. While more water yields a larger quantity of broth, it comes at the expense of concentrated flavor. Use just enough water to generously cover the chicken and other contents of the pot, typically an inch or two above the solids.
Absolutely! This is a fantastic way to minimize food waste and plan ahead. The next time you roast a chicken but don’t have the immediate time to make stock, simply allow the carcass to cool completely, then place it in a freezer-safe bag or container. Freeze the chicken carcass until you have a day when you can dedicate time to making broth. You can even accumulate a few carcasses over time for a larger batch.
Yes, you certainly can use the chicken meat from the broth, but timing is key to ensure it remains tender and flavorful. If you plan to use the cooked chicken meat for soups, salads, enchiladas, or other dishes, I suggest removing the whole chicken from the pot after about 45 minutes to an hour of simmering. At this point, the meat will be cooked through but not yet overcooked and dry. Let the chicken cool for a few minutes until it’s easy to handle. Carefully remove the majority of the meat from the bones to use in your desired dish. Then, toss the bare carcass and any remaining scraps back into the broth to continue simmering for at least another hour (or up to seven additional hours) to fully extract all the rich flavors and collagen. This method ensures you get both a delicious broth and tender, usable chicken meat. Meat that has simmered for 3 hours or more, while very tender, will likely have lost much of its flavor to the broth and may be stringy.
Several factors contribute to clear broth. Firstly, always start with cold water. Secondly, do not boil aggressively; maintain a gentle simmer. Skim off any foam or scum that rises to the surface during the initial stages of simmering. Finally, when straining, avoid pressing down on the solids in the colander, as this can force small particles into your broth. For extra clarity, strain through a fine-mesh sieve lined with cheesecloth.
Yes, you can absolutely skip the sautéing step and still make a delicious broth. Simply add all your ingredients (chicken/bones, vegetables, herbs, seasonings) directly to the pot with cold water and proceed with simmering. The sautéing step adds an extra layer of caramelized flavor, but it’s not strictly necessary for a good broth.
More Delicious Chicken Recipes
Once you’ve mastered homemade chicken broth, you’ll find endless ways to use it. Here are some other delightful chicken soup recipes where your homemade broth will truly shine:
Explore More Chicken Soup Creations
Chicken
Spicy Chicken Soup
Chicken
Slow Cooker Moroccan Chicken Chickpea Stew
Chicken
Moroccan Butternut Chicken Soup
Chicken
Slow Cooker Chicken Tortilla Soup
Tried this recipe? Leave a star rating and comment below! Subscribe to my newsletter or follow me on
Facebook,
Instagram, or
Pinterest for the latest.
Homemade Chicken Broth
By Julia Jolliff
My Homemade Chicken Broth is made with a whole chicken, some veggies and fresh herbs. This versatile broth can be used in a variety of dishes and I show you just how easy it is to make at home. This Easy Chicken Broth tastes superior to anything you can buy in a store and makes the best soups and sauces.

Print Recipe
Prep Time: 10 mins
Cook Time: 4 hrs
Total Time: 4 hrs 10 mins
Yields: 8 cups
Ingredients
- 1 Whole Chicken {about 4 pounds}, giblets removed {or chicken bones, necks, legs, backs, wings}
- 2 whole carrots
- 3 garlic cloves
- 1 large onion, halved
- 1 tablespoon olive oil
- 6-8 cups of water {just enough to cover the contents of the pot}
- 2 sprigs of fresh rosemary
- 2 sprigs of fresh thyme
- 3-4 sprig of fresh parsley
- 2 bay leaves
- 1 teaspoon whole peppercorns, optional
- 1 teaspoon salt
Instructions
- Place cooking oil in bottom of a large pot. Add in whole chicken {if using bones skip the chicken and add the bones in with the water}, onion, carrots, celery and garlic.
- Lightly brown contents of pot over medium high heat for 6-7 minutes.
- Add in 6-8 cups of water, using enough to cover contents of pot by an inch or two.
- Add in fresh rosemary, thyme, parsley, bay leaf, peppercorns and salt {and bones if using bones}. Bring to a boil and cover.
- Reduce heat to low and let simmer for 2-4 hours {I suggest the longer the better to really infuse the flavors into the broth}.
- Remove everything out of the broth. Skim the broth through a colander. Let cool and store in mason jars or an airtight container in the fridge for up to 4 days or in the freezer for up to 6 months.
Notes
- Chicken stock can easily turn out unflavorful. The fresh herbs in this recipe add tons of delicious flavor to your stock. I personally have never tried using dried variations of the herbs. But they make a HUGE difference in how the stock turns out. The aroma they produce is amazing!
- I like to cook the chicken and veggies slightly for a few minutes for additional flavor before adding in the water. But this step can be skipped.
- The ingredients are an estimate in this recipe, as it really depends on the size of the pot your using, the size of the chicken, etc. The important part is to not use too much water. Too much water means more broth, but at the expense of the flavor. Use just enough to cover the chicken and contents of the pot.
- Usually 2-4 hours is sufficient time for a flavorful, delicious broth but you can do more for more flavor.
- The longer cooking time will mean less juice, but a more concentrated flavor, so it really just depends on how much broth you need.
- If you want to use the chicken meat: If you are planning on using the chicken meat for soup or other dishes, I suggest removing the chicken after about 45 minutes to an hour, and let cool for a few minutes while the broth continues to simmer. Remove the majority of the meat from the chicken and toss the carcass back into the broth to continue to simmer for at least another hour, up to seven additional hours. This will make the meat more tender and not flavorless and overcooked.
Nutrition Information
| Calories | Carbohydrates | Protein | Fat |
|---|---|---|---|
| 236 kcal | 4g | 18g | 16g |
| Saturated Fat | Polyunsaturated Fat | Monounsaturated Fat | Trans Fat |
| 4g | 3g | 7g | 0.1g |
| Cholesterol | Sodium | Potassium | Fiber |
| 71mg | 378mg | 265mg | 1g |
| Sugar | Vitamin A | Vitamin C | Calcium |
| 1g | 2730 IU | 5mg | 31mg |
| Iron | 1mg | ||
Nutrition information is automatically calculated, so should only be used as an approximation.
Mention @acedarspoon or tag #acedarspoon!