
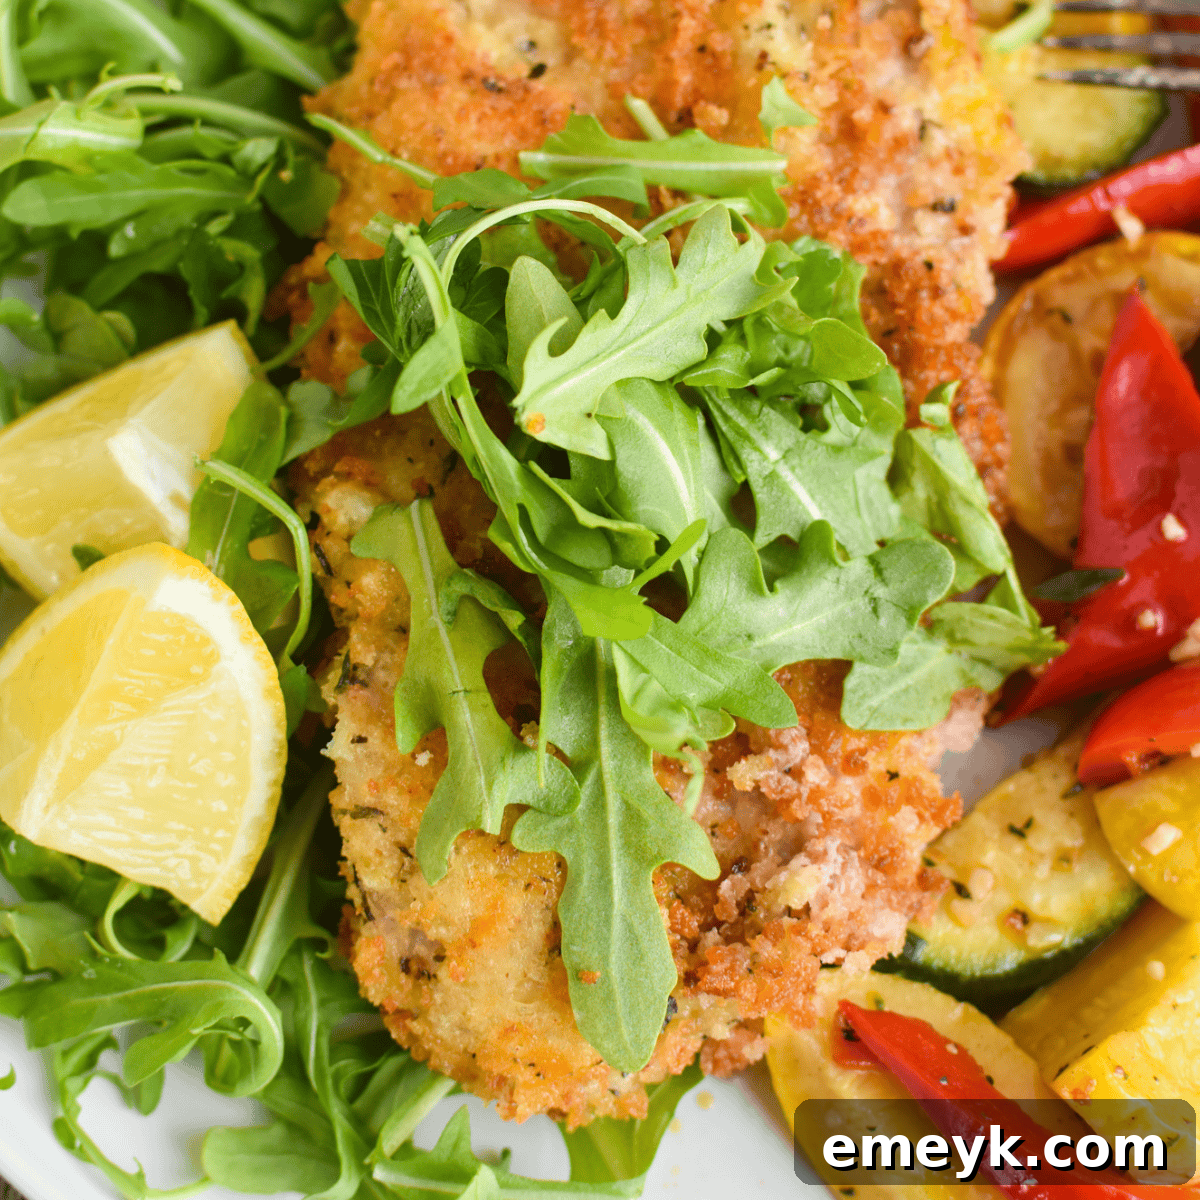
Easy Veal Milanese Recipe: Your Guide to Crispy, Authentic Italian Veal at Home
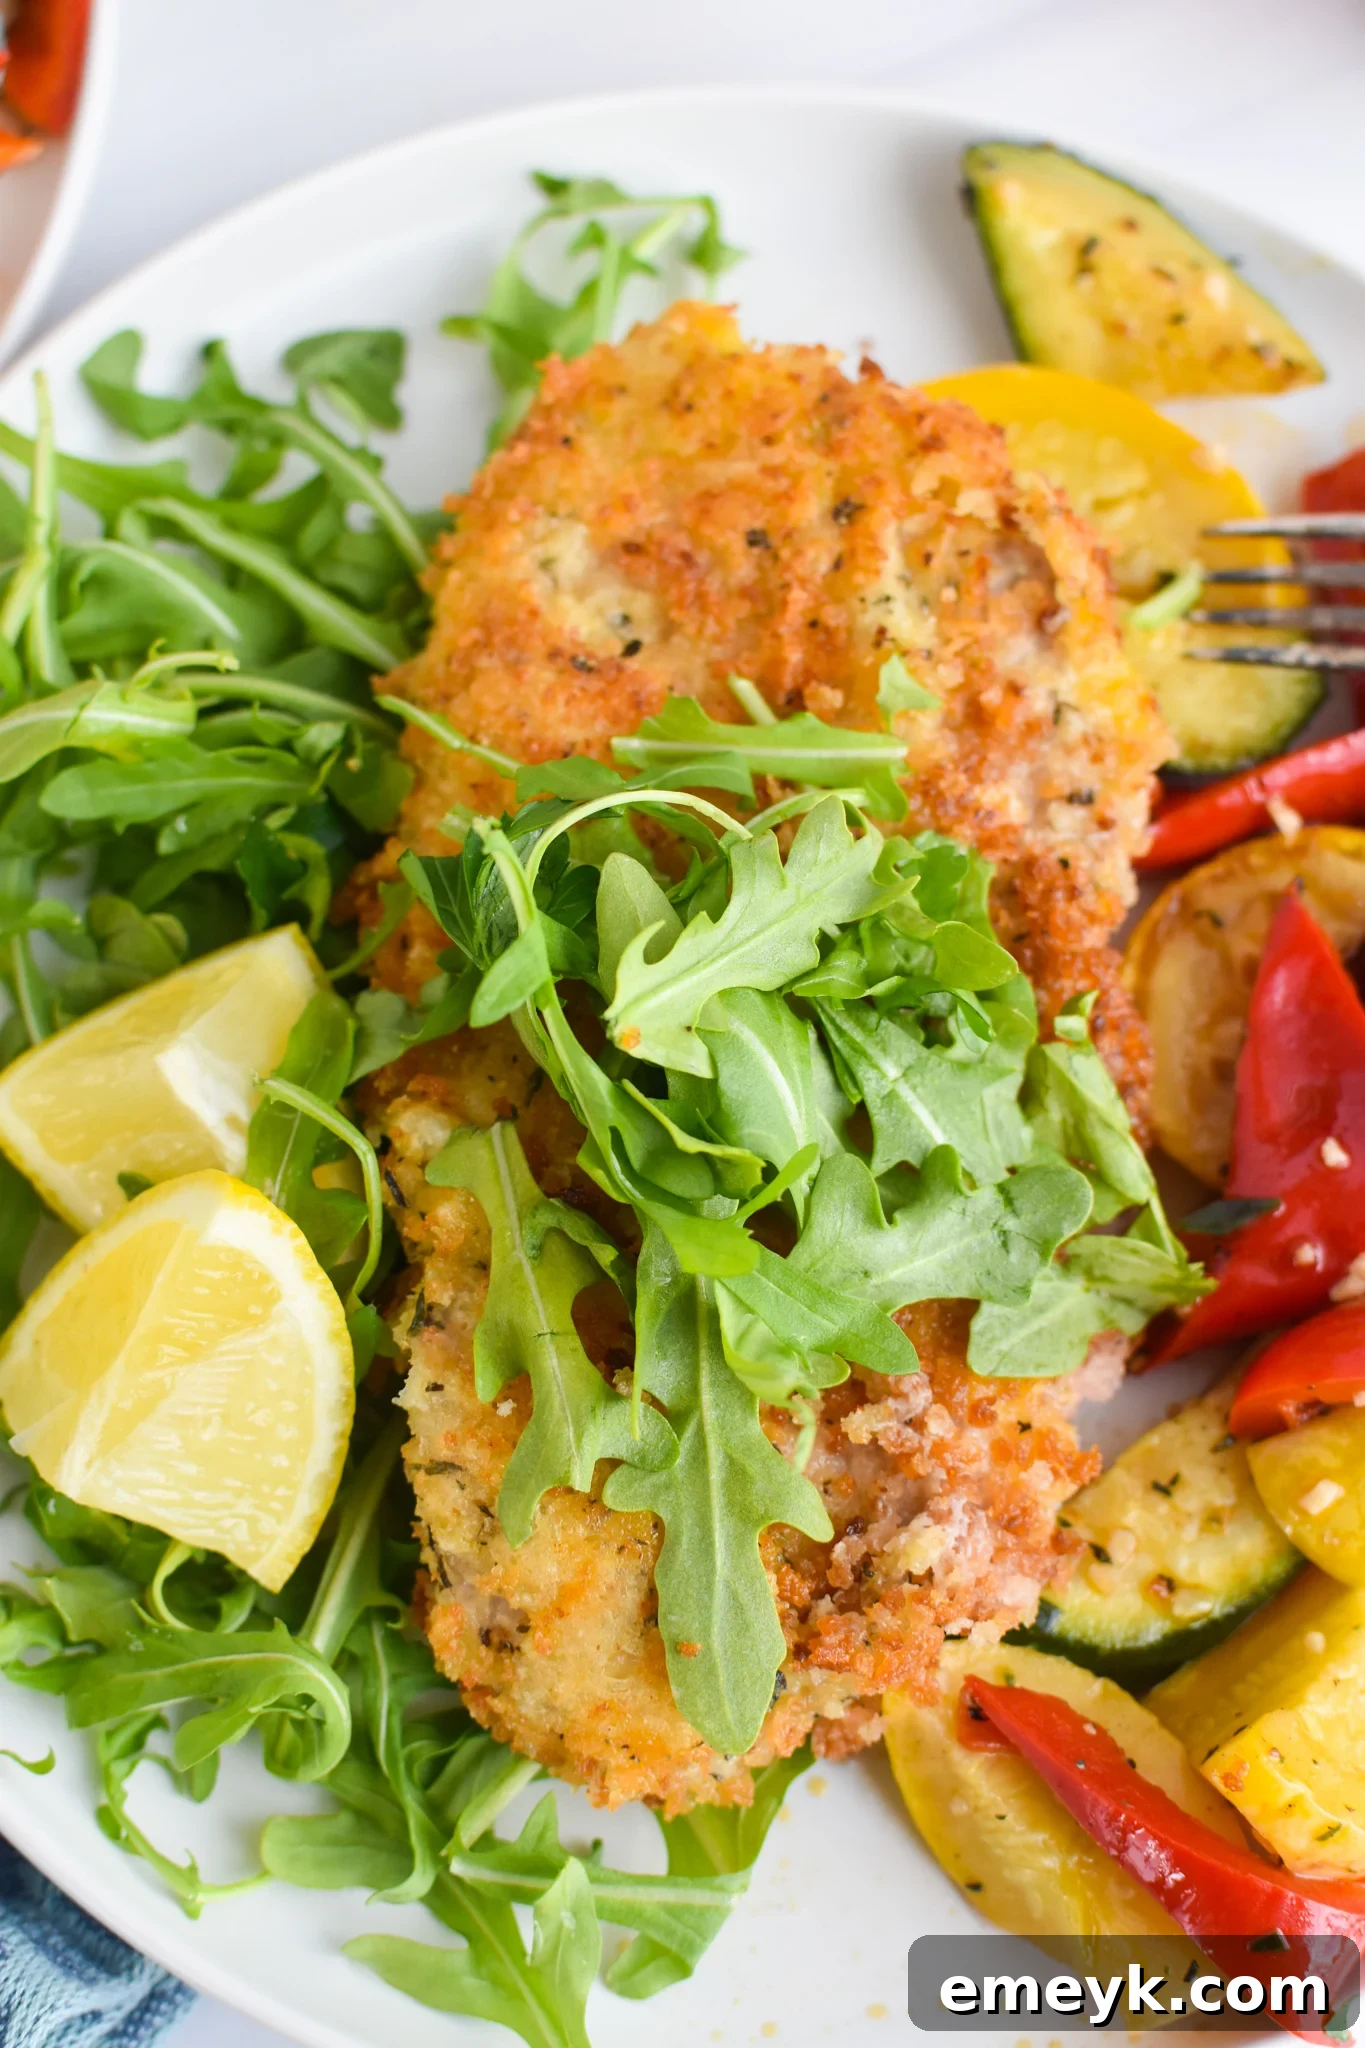
Embark on a culinary journey to the heart of Italy with this incredibly Easy Veal Milanese Recipe. This classic dish, renowned for its delicate veal, irresistibly crispy golden crust, and vibrant flavor, is surprisingly simple to recreate in your own kitchen. Our recipe focuses on utilizing tender veal scaloppine, expertly breaded with a savory blend of egg, flour, aromatic Italian spices, and a touch of Parmesan cheese, then pan-fried to achieve that signature crunchy exterior. Forget the complexities often associated with gourmet cooking; this comprehensive guide is designed to bring the elegance of authentic Veal Milanese within reach of every home cook. Whether you’re a seasoned chef or a beginner looking to impress, prepare to savor a dish that feels straight out of a bustling Milanese trattoria, yet comes together with minimal effort and maximum satisfaction.
What is Veal Milanese (Cotoletta alla Milanese)?
At its core, Veal Milanese (or Cotoletta alla Milanese, as it’s affectionately known in Italy) is a culinary masterpiece hailing from Milan, a city celebrated globally for both its fashion and its exquisite food. This iconic Italian dish is far more than just breaded veal; it’s a testament to simple, high-quality ingredients prepared with a masterful, yet accessible, technique. The “Milanese style” preparation involves taking a thin slice of meat—traditionally veal scaloppine or a bone-in veal chop—pounding it even thinner for tenderness and quick cooking, then meticulously dredging it through a classic three-step coating process: first in flour, then in beaten eggs, and finally in seasoned breadcrumbs. The true magic unfolds during the shallow-frying stage, where the veal quickly cooks to a juicy tenderness while its breaded exterior transforms into a gloriously crisp, golden-brown crust. This method not only seals in the natural flavors of the veal but also creates a delightful textural contrast that makes every single bite a memorable experience. Often served with a simple squeeze of lemon and a fresh green salad, Veal Milanese offers a sophisticated yet comforting dining experience that has captivated palates worldwide for generations.
Why You’ll Love This Easy Veal Milanese Recipe
There are countless reasons why this Easy Veal Milanese Recipe is poised to become a cherished favorite in your culinary collection:
- Restaurant-Quality at Home: Experience the same exquisite taste, delicate texture, and stunning presentation you’d expect from a fine Italian restaurant, all from the comfort of your own kitchen.
- Quick & Convenient: With a prep time of just 15 minutes and a cook time of approximately 20 minutes, this recipe is perfect for busy weeknights when you need a fast yet impressive meal solution.
- Flavorful & Satisfying: The harmonious combination of tender veal, a savory Parmesan-herb infused crust, and a bright, zesty lemon finish creates a truly unforgettable flavor profile that tantalizes the taste buds.
- Remarkably Versatile: While utterly fantastic on its own, Veal Milanese pairs beautifully with a wide array of side dishes, from simple fresh salads to more elaborate pasta preparations.
- Impressive for Entertaining: This elegant dish is guaranteed to impress guests and elevate any dinner party, all without requiring hours of labor-intensive cooking.
- Healthy & Wholesome: When prepared with a light pan-fry and served with a fresh salad, Veal Milanese can be a balanced and nutritious option for your meal plan.
Key Ingredients for Perfect Veal Milanese
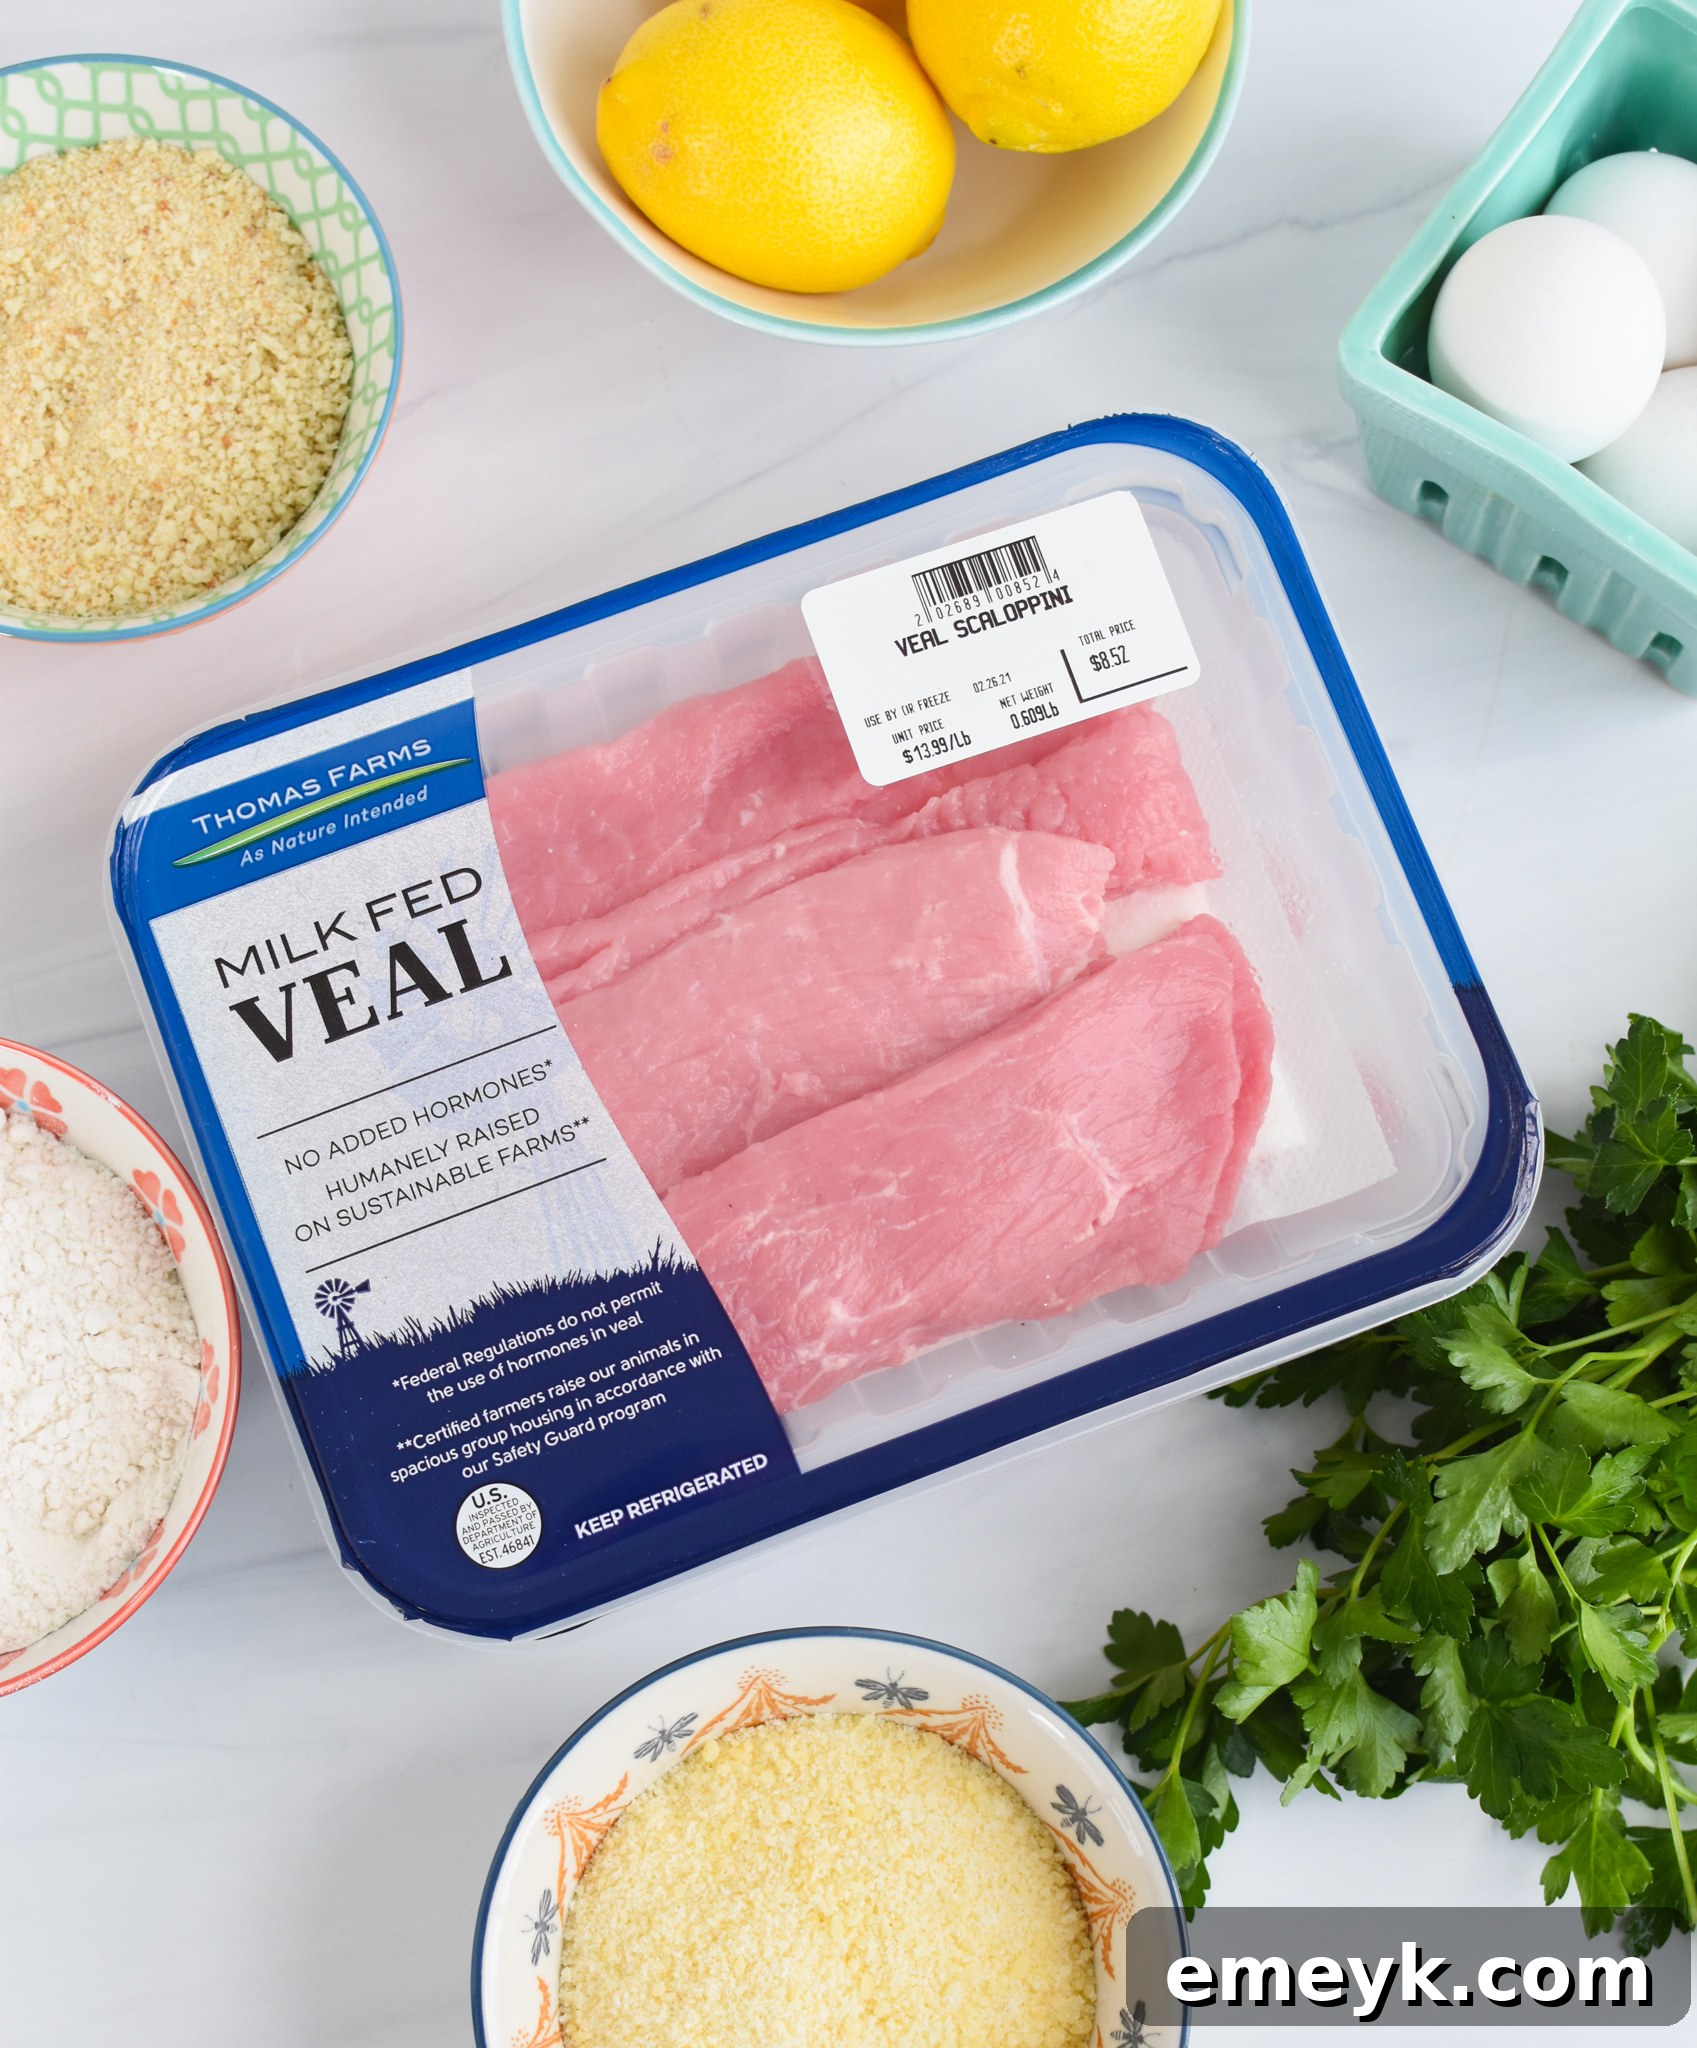
Crafting an exceptional Veal Milanese begins with selecting the right, fresh ingredients. Here’s a closer look at what you’ll need and why each component is crucial for achieving that authentic taste and texture:
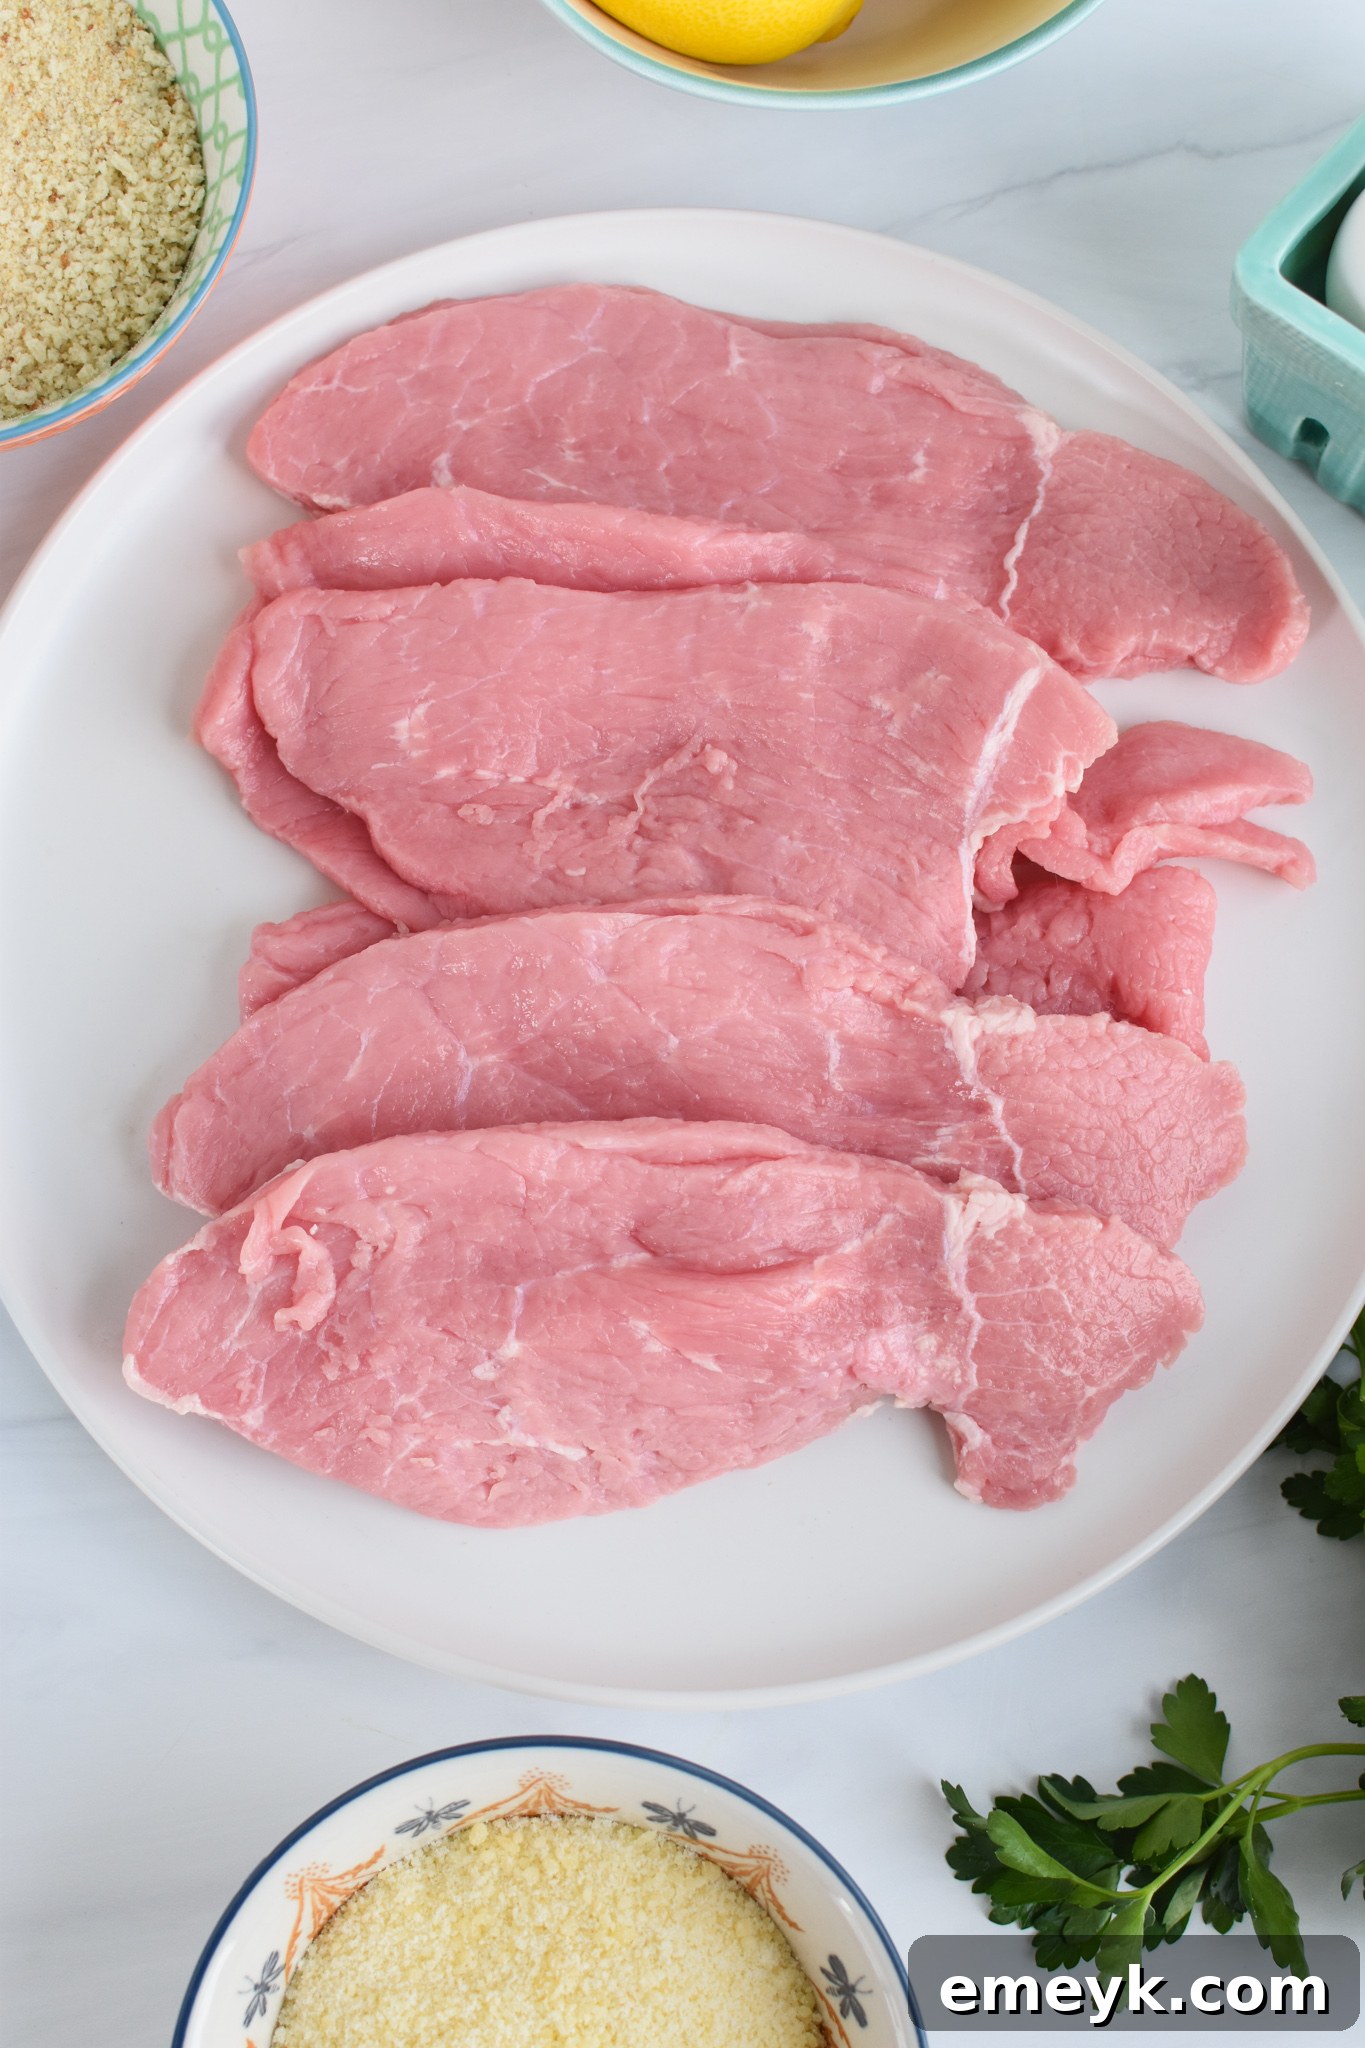
- Veal Scaloppine: The undisputed star of this Italian classic. This recipe calls for 2 pounds of thinly sliced veal scaloppine, prized for its natural tenderness and ability to cook quickly. If traditional scaloppine are unavailable, high-quality veal cutlets make an excellent substitute. The paramount consideration is thickness: aim for approximately 1/4-inch or thinner. If your cutlets are thicker, gently pound them between two sheets of plastic wrap using a meat mallet or the bottom of a heavy skillet. This crucial step ensures even cooking, maximum tenderness, and that sought-after crispy texture in your Milanese-style veal.
- Large Eggs: Serving as the essential binding agent, the 4 beaten eggs in this recipe form the crucial middle layer of our breading station. They effectively help the initial flour coating adhere to the veal and, more importantly, create a sticky, receptive surface for the breadcrumbs to cling to, resulting in a cohesive and flavorful crust.
- All-Purpose Flour: The initial dredge in all-purpose flour prepares the veal by creating a dry, slightly tacky surface. This allows the egg wash to adhere uniformly and completely. While all-purpose flour is standard and highly effective, you can explore using whole wheat flour for a slightly nuttier flavor profile and a boost of fiber, or even a 50/50 blend of both.
- Plain Dry Breadcrumbs: These are the foundation of the gloriously crunchy exterior that defines Veal Milanese. Using plain breadcrumbs allows the nuanced flavors of the Parmesan cheese and aromatic herbs to truly shine through. However, if you’re looking for a shortcut, pre-seasoned Italian breadcrumbs can be used, though you might want to adjust the additional spices accordingly. For an even more authentic and superior texture, consider making your own fresh breadcrumbs from day-old Italian bread.
- Shredded Parmesan Cheese: (Optional, yet highly recommended for an additional layer of rich flavor!) Incorporating freshly shredded Parmesan cheese into the breadcrumb mixture infuses the crust with a delightful salty, umami richness that complements the delicate veal beautifully. While the most traditional *Cotoletta alla Milanese* might omit cheese, its inclusion here is a popular and delicious variation that elevates the dish.
- Aromatic Spices (Dried Basil, Oregano, Thyme): These quintessential Italian herbs are indispensable for building depth and aromatic complexity within the breading. A teaspoon of each dried basil, oregano, and thyme creates a wonderfully fragrant and herbaceous crust. Feel free to customize this blend; a high-quality Italian seasoning blend can be a convenient alternative, or you might add a pinch of sweet paprika for color or dried rosemary for a more earthy note.
- Salt and Black Pepper: Essential for seasoning. These fundamental spices are used to season both the veal itself before breading and the egg mixture, ensuring that every component of your Veal Milanese is perfectly seasoned and packed with flavor.
- Lemon Zest: (Optional) Adds a bright, aromatic citrus note to the breading mixture, enhancing the overall freshness of the dish.
- Vegetable Oil (or Light Olive Oil): Crucial for the pan-frying process. Opt for an oil with a high smoke point, such as vegetable, canola, or grapeseed oil, to ensure the veal cooks to a beautiful golden crisp without burning or imparting off-flavors. A light olive oil can also be used for a subtly fruitier undertone.
How Do You Make Easy Veal Milanese? Step-by-Step Instructions
Follow these detailed, easy-to-understand instructions to create a truly remarkable Veal Milanese that’s wonderfully crispy on the outside and incredibly tender within. This method ensures maximum flavor and a delightful texture that will transport you straight to Italy.
- Prepare Your Breading Stations: Begin by setting up an efficient breading assembly line using three shallow dishes or wide, shallow bowls.
- In the first shallow dish, add the all-purpose flour.
- In the second shallow dish, vigorously whisk the large eggs until they are thoroughly combined. Season this egg mixture with 1/2 teaspoon of salt and 1/8 teaspoon of black pepper.
- In the third shallow dish, combine the plain dry breadcrumbs, shredded Parmesan cheese (if you’re including it for extra flavor), lemon zest (if using), dried basil, dried oregano, and dried thyme. Mix all these dry ingredients together thoroughly with a fork or spoon to ensure the spices and cheese are evenly distributed throughout the breadcrumbs.
- Prepare the Veal: Take each piece of veal scaloppine and gently pat it completely dry with paper towels. This is a crucial step as any excess moisture can prevent the breading from adhering properly. After patting dry, season both sides of each veal piece generously with additional salt and black pepper to taste.
- Arrange the Breading Line: Place your three prepared shallow dishes in the following sequential order: first the flour, then the beaten eggs, and finally the seasoned breadcrumb mixture. At the very end of this line, place a large clean plate or a baking sheet to hold the breaded veal cutlets as you finish them.
- Dredge the Veal Cutlets: Working with one piece of veal at a time to maintain cleanliness and efficiency:

Seasoning the veal before its flavorful journey. - First, **dip the veal into the flour**, ensuring both sides are lightly but completely coated. Gently shake off any excess flour.
- Next, **transfer the floured veal into the beaten egg mixture**, turning it several times to make sure it is fully coated on all sides. Allow any excess egg to drip off briefly.
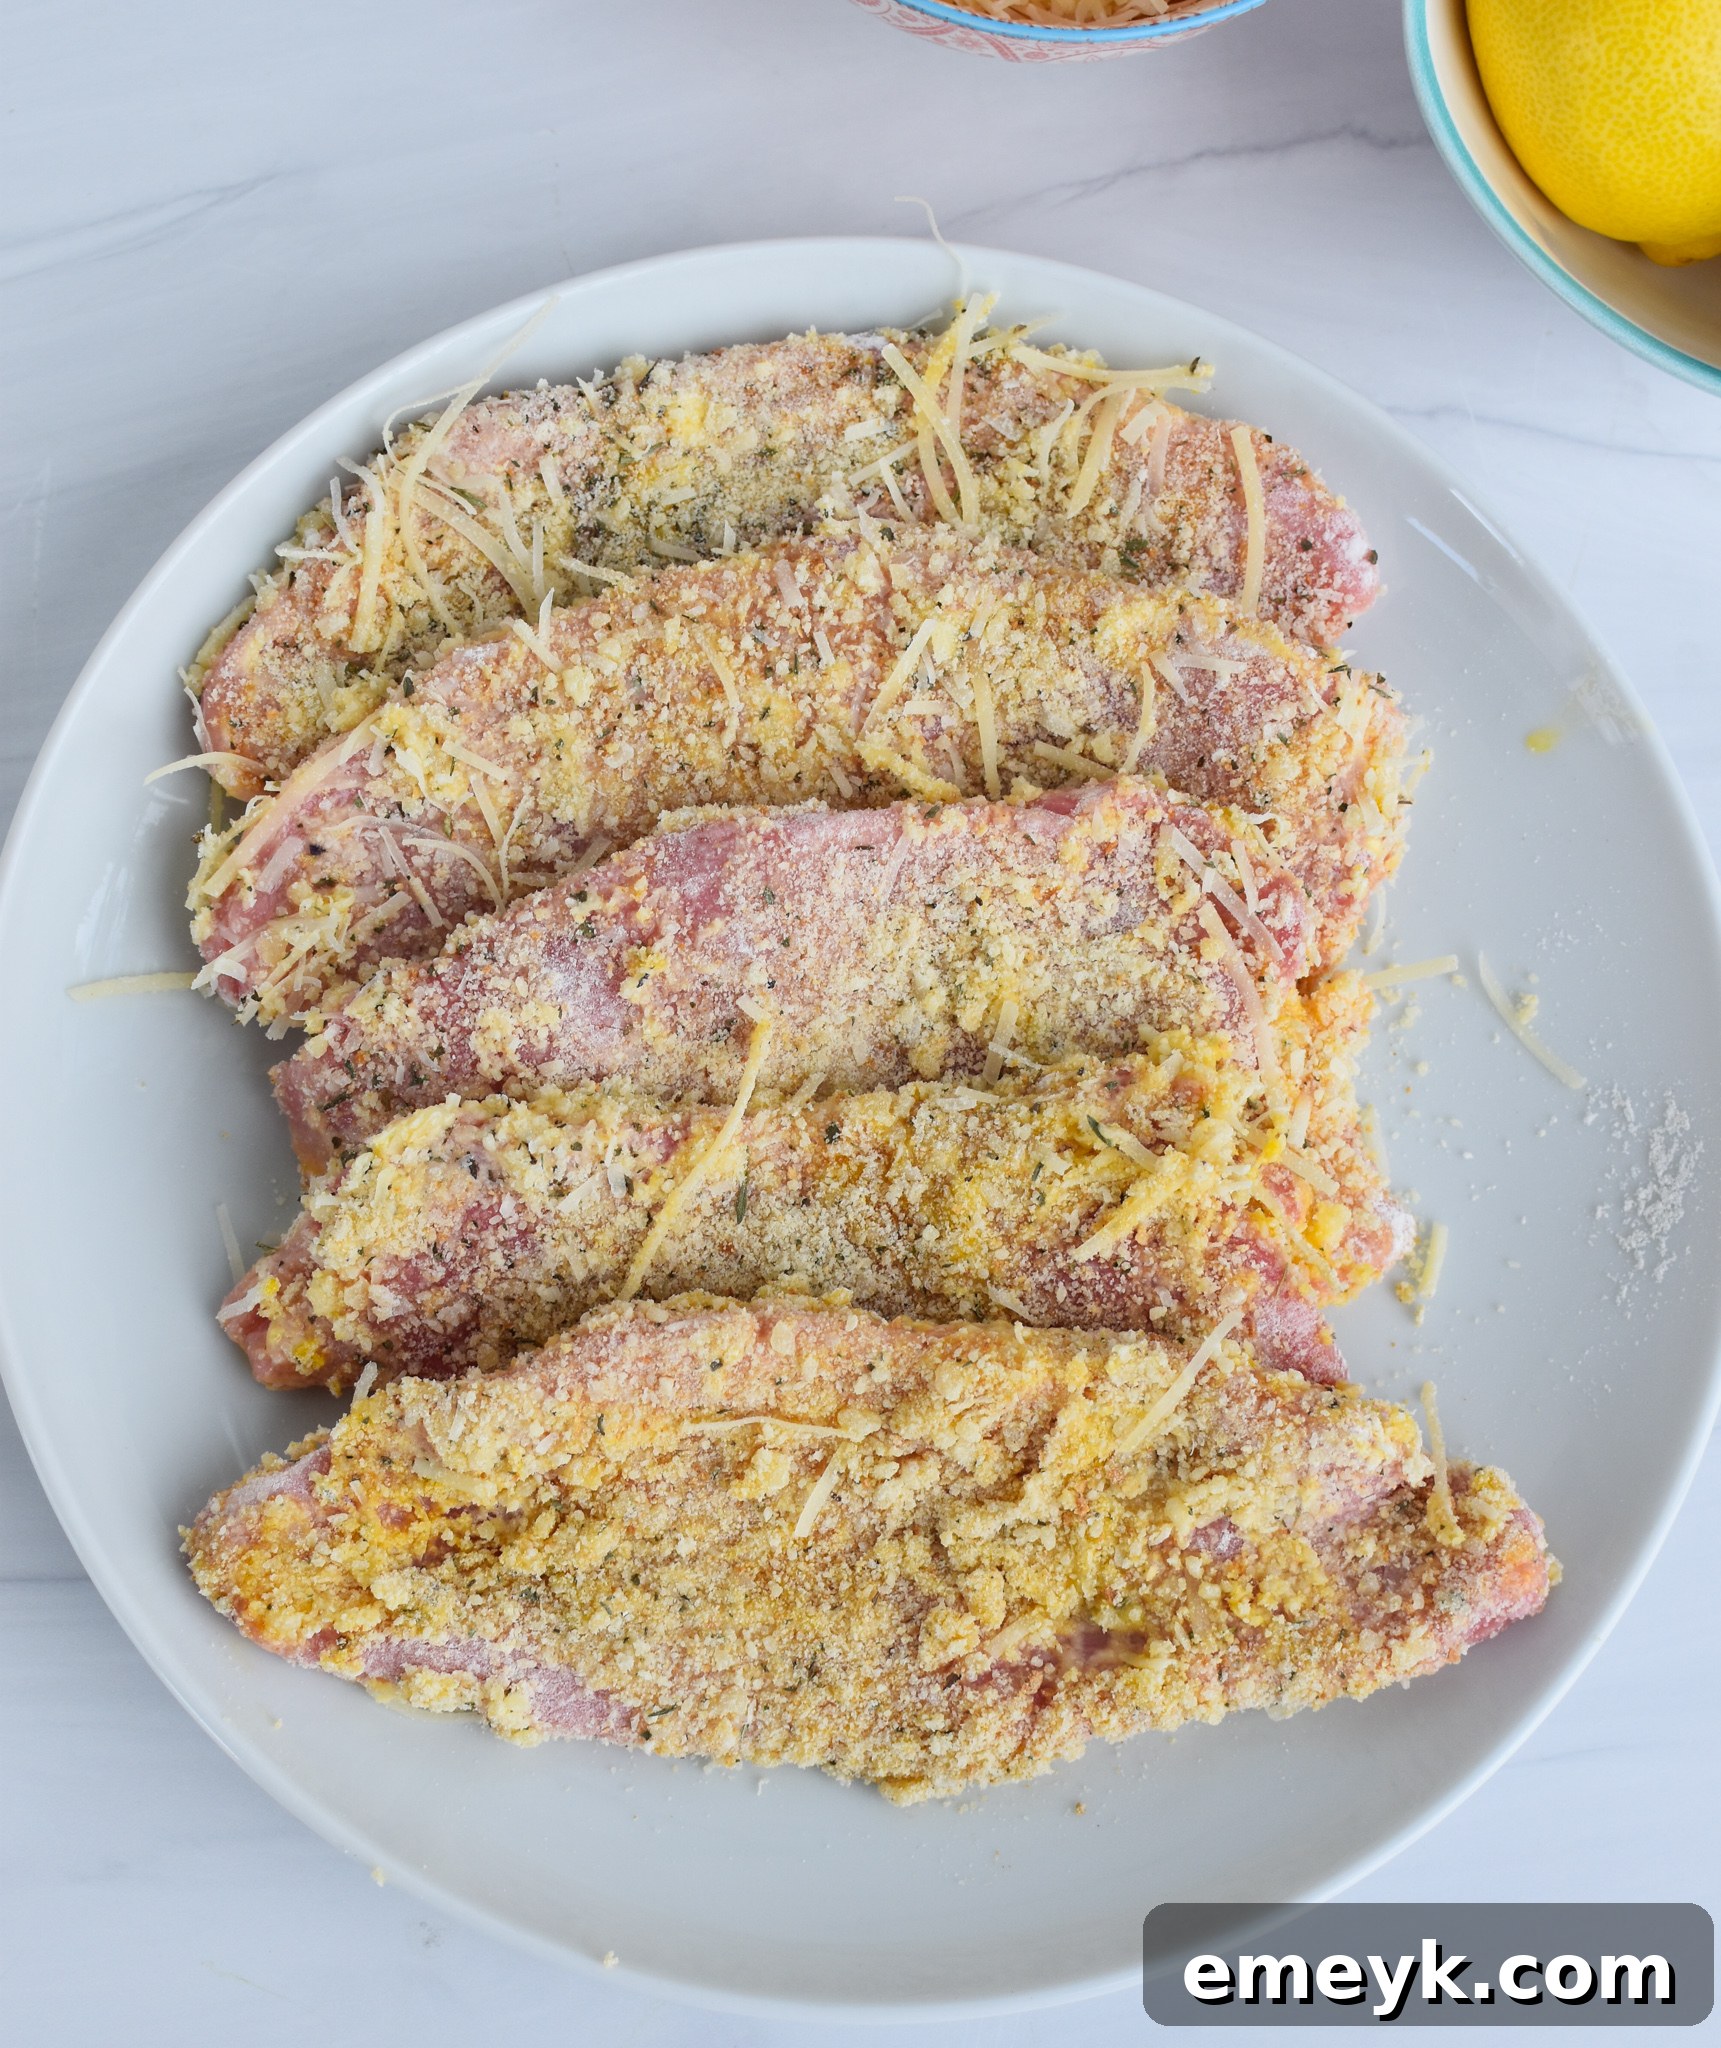
- Lastly, **place the veal into the seasoned breadcrumb mixture**. Press the breadcrumbs firmly onto both sides of the veal to create a thick, even, and complete crust. Ensure there are no bare spots.
- Rest the Breaded Veal: Once a piece of veal is fully breaded, set it aside on the large plate or baking sheet. Continue this breading process with all remaining veal pieces. It’s highly recommended to let the breaded veal rest for about 5-10 minutes. This short resting period is crucial as it allows the breading to set and adhere firmly to the meat, preventing it from falling off during the frying process.
The meticulous breading process for a perfect crust. - Heat the Frying Oil: Add about 2 cups of vegetable oil (or light olive oil) to a large frying pan or a heavy-bottomed skillet. Heat the oil over medium-high heat until it shimmers noticeably and reaches a temperature of approximately 350-360 degrees F (175-182 degrees C). You can test the oil’s readiness by dropping a tiny pinch of breadcrumbs into it; if they sizzle immediately and turn golden, the oil is ready.
- Pan-Fry the Veal: Carefully place one piece of breaded veal into the hot oil, ensuring not to overcrowd the pan. Fry for about 1 to 2 minutes on the first side, or until it achieves a beautiful golden-brown color and a crisp texture. Use tongs to carefully turn the veal over and cook it on the second side for another 1 to 2 minutes, until it is also golden brown and cooked through. The internal temperature of the veal should reach 145 degrees F (63 degrees C).
- Batch Cooking and Draining: Depending on the size of your skillet, you may need to work in batches to avoid overcrowding. Add more oil as needed between batches. Once cooked, remove each piece of veal from the pan and immediately place it on a plate lined with paper towels to drain any excess oil. While still hot, sprinkle a little extra salt over the finished fried breaded veal cutlets.
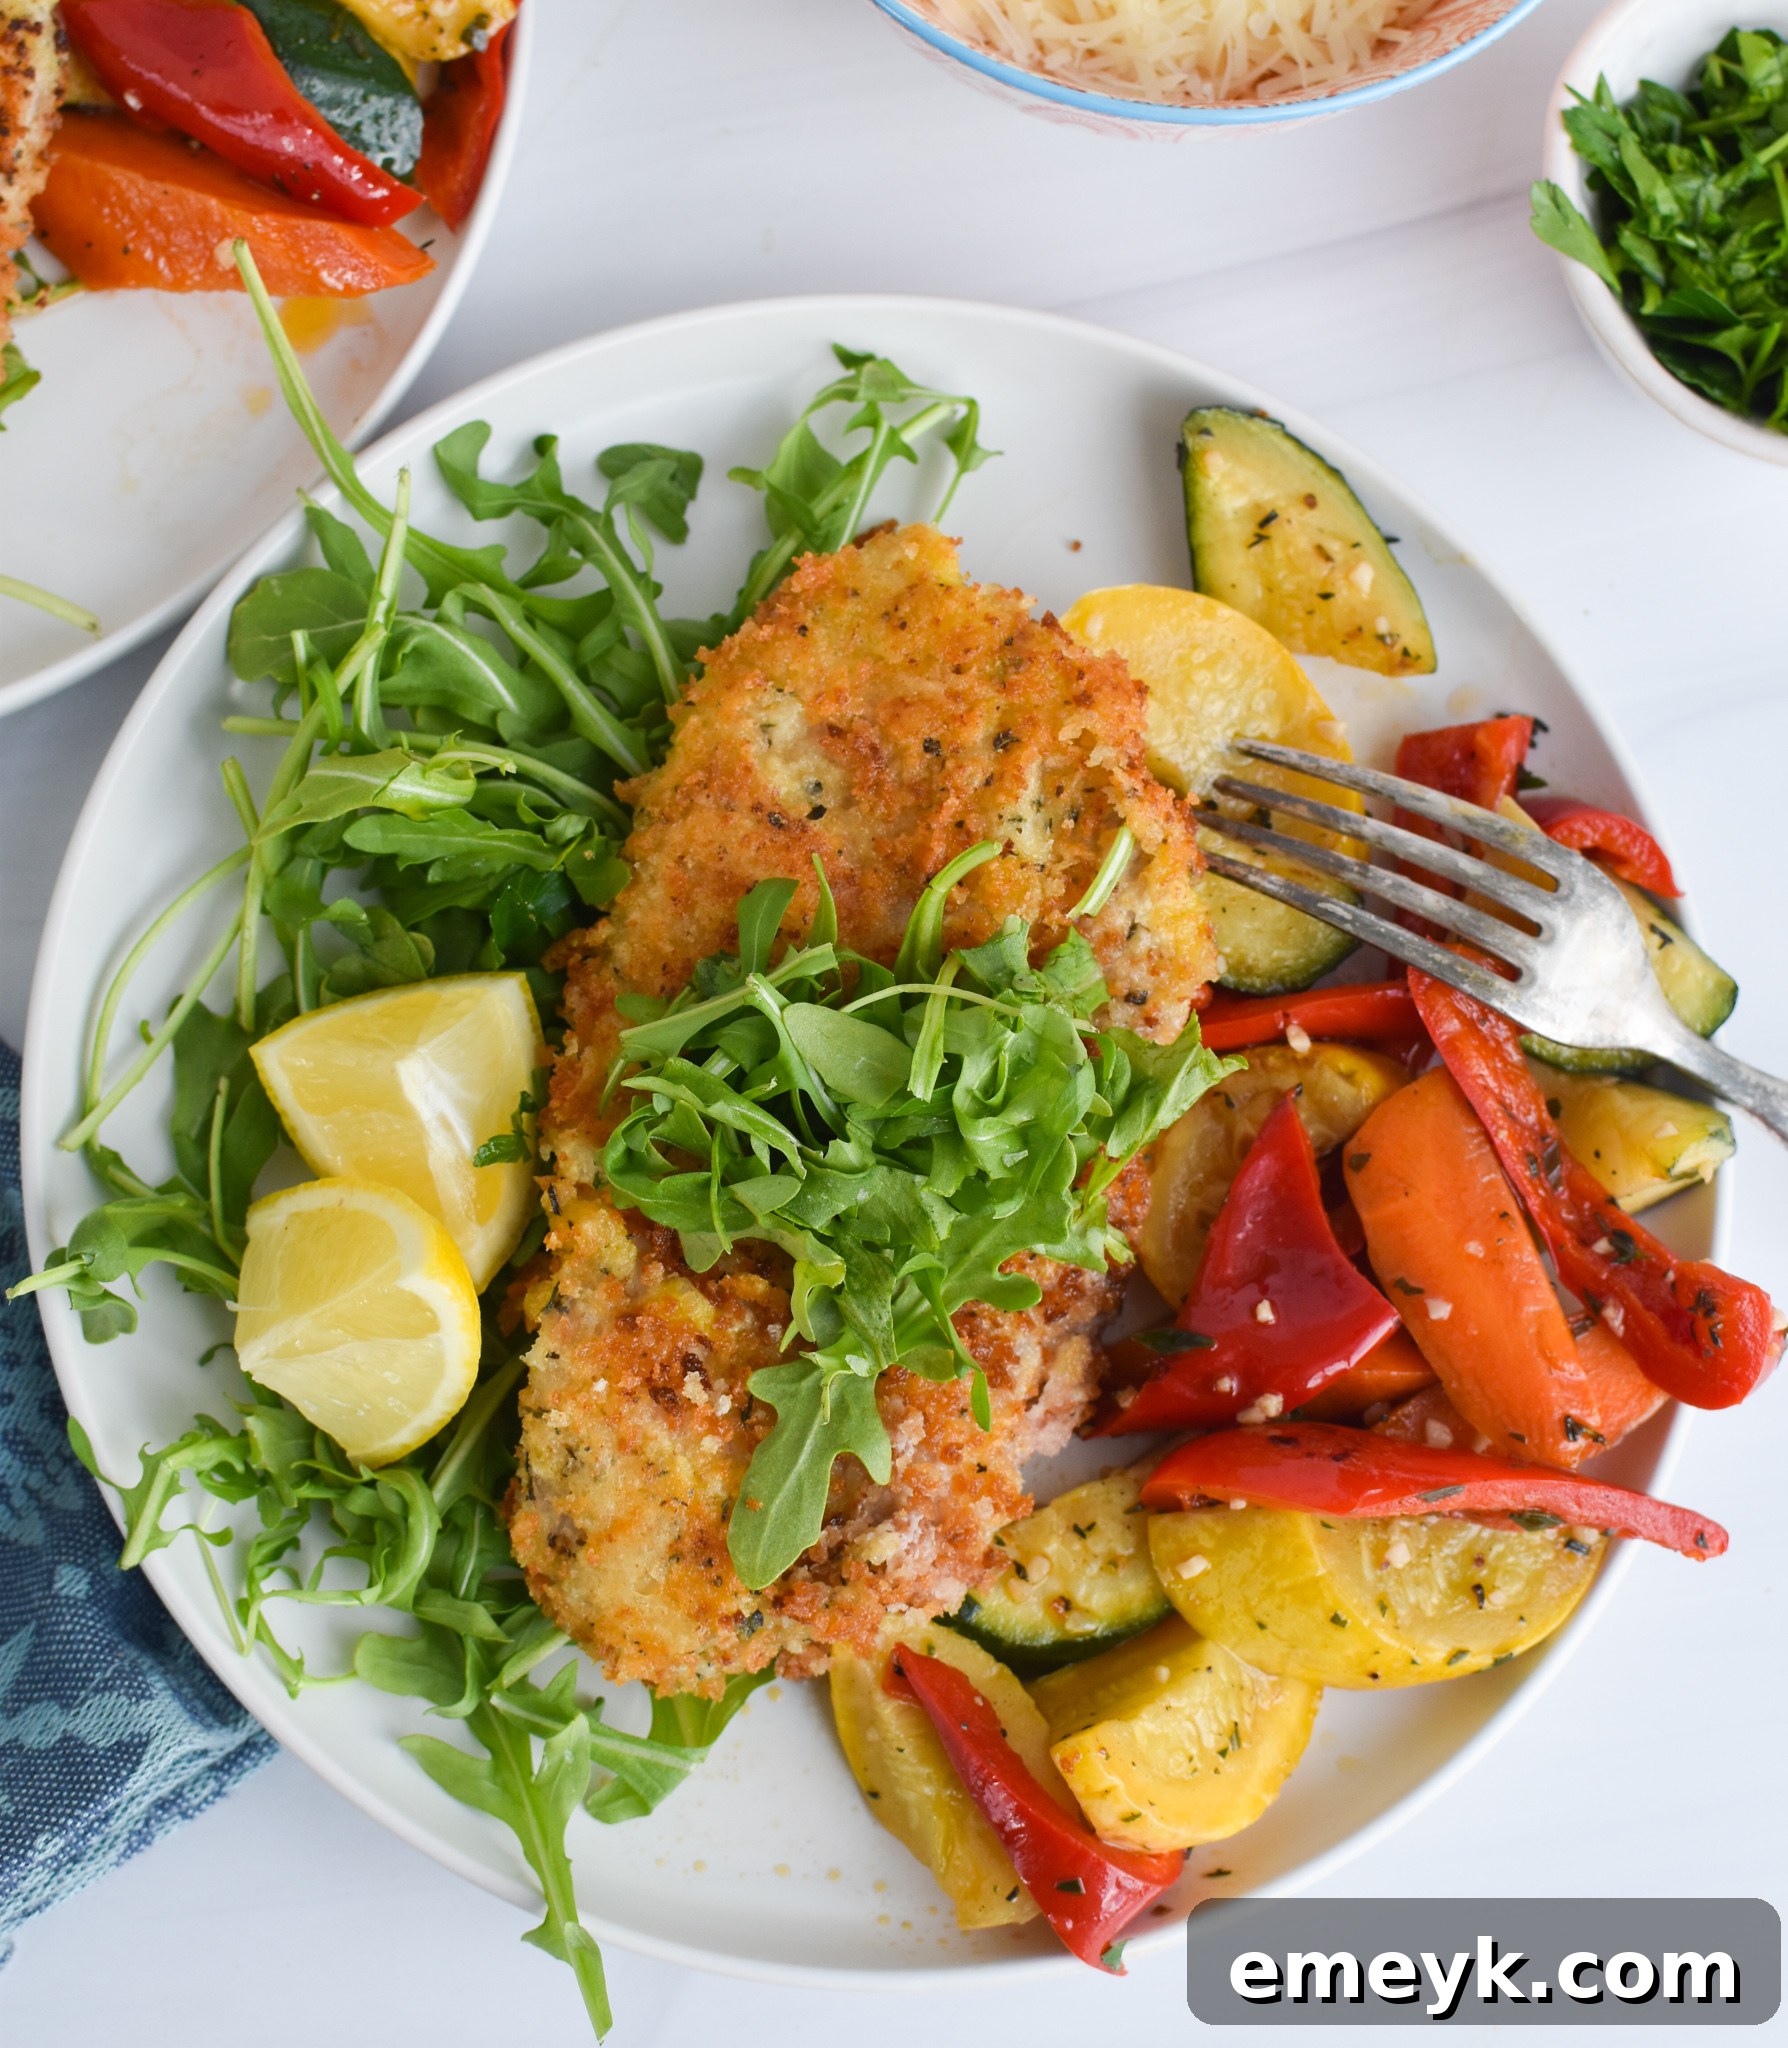
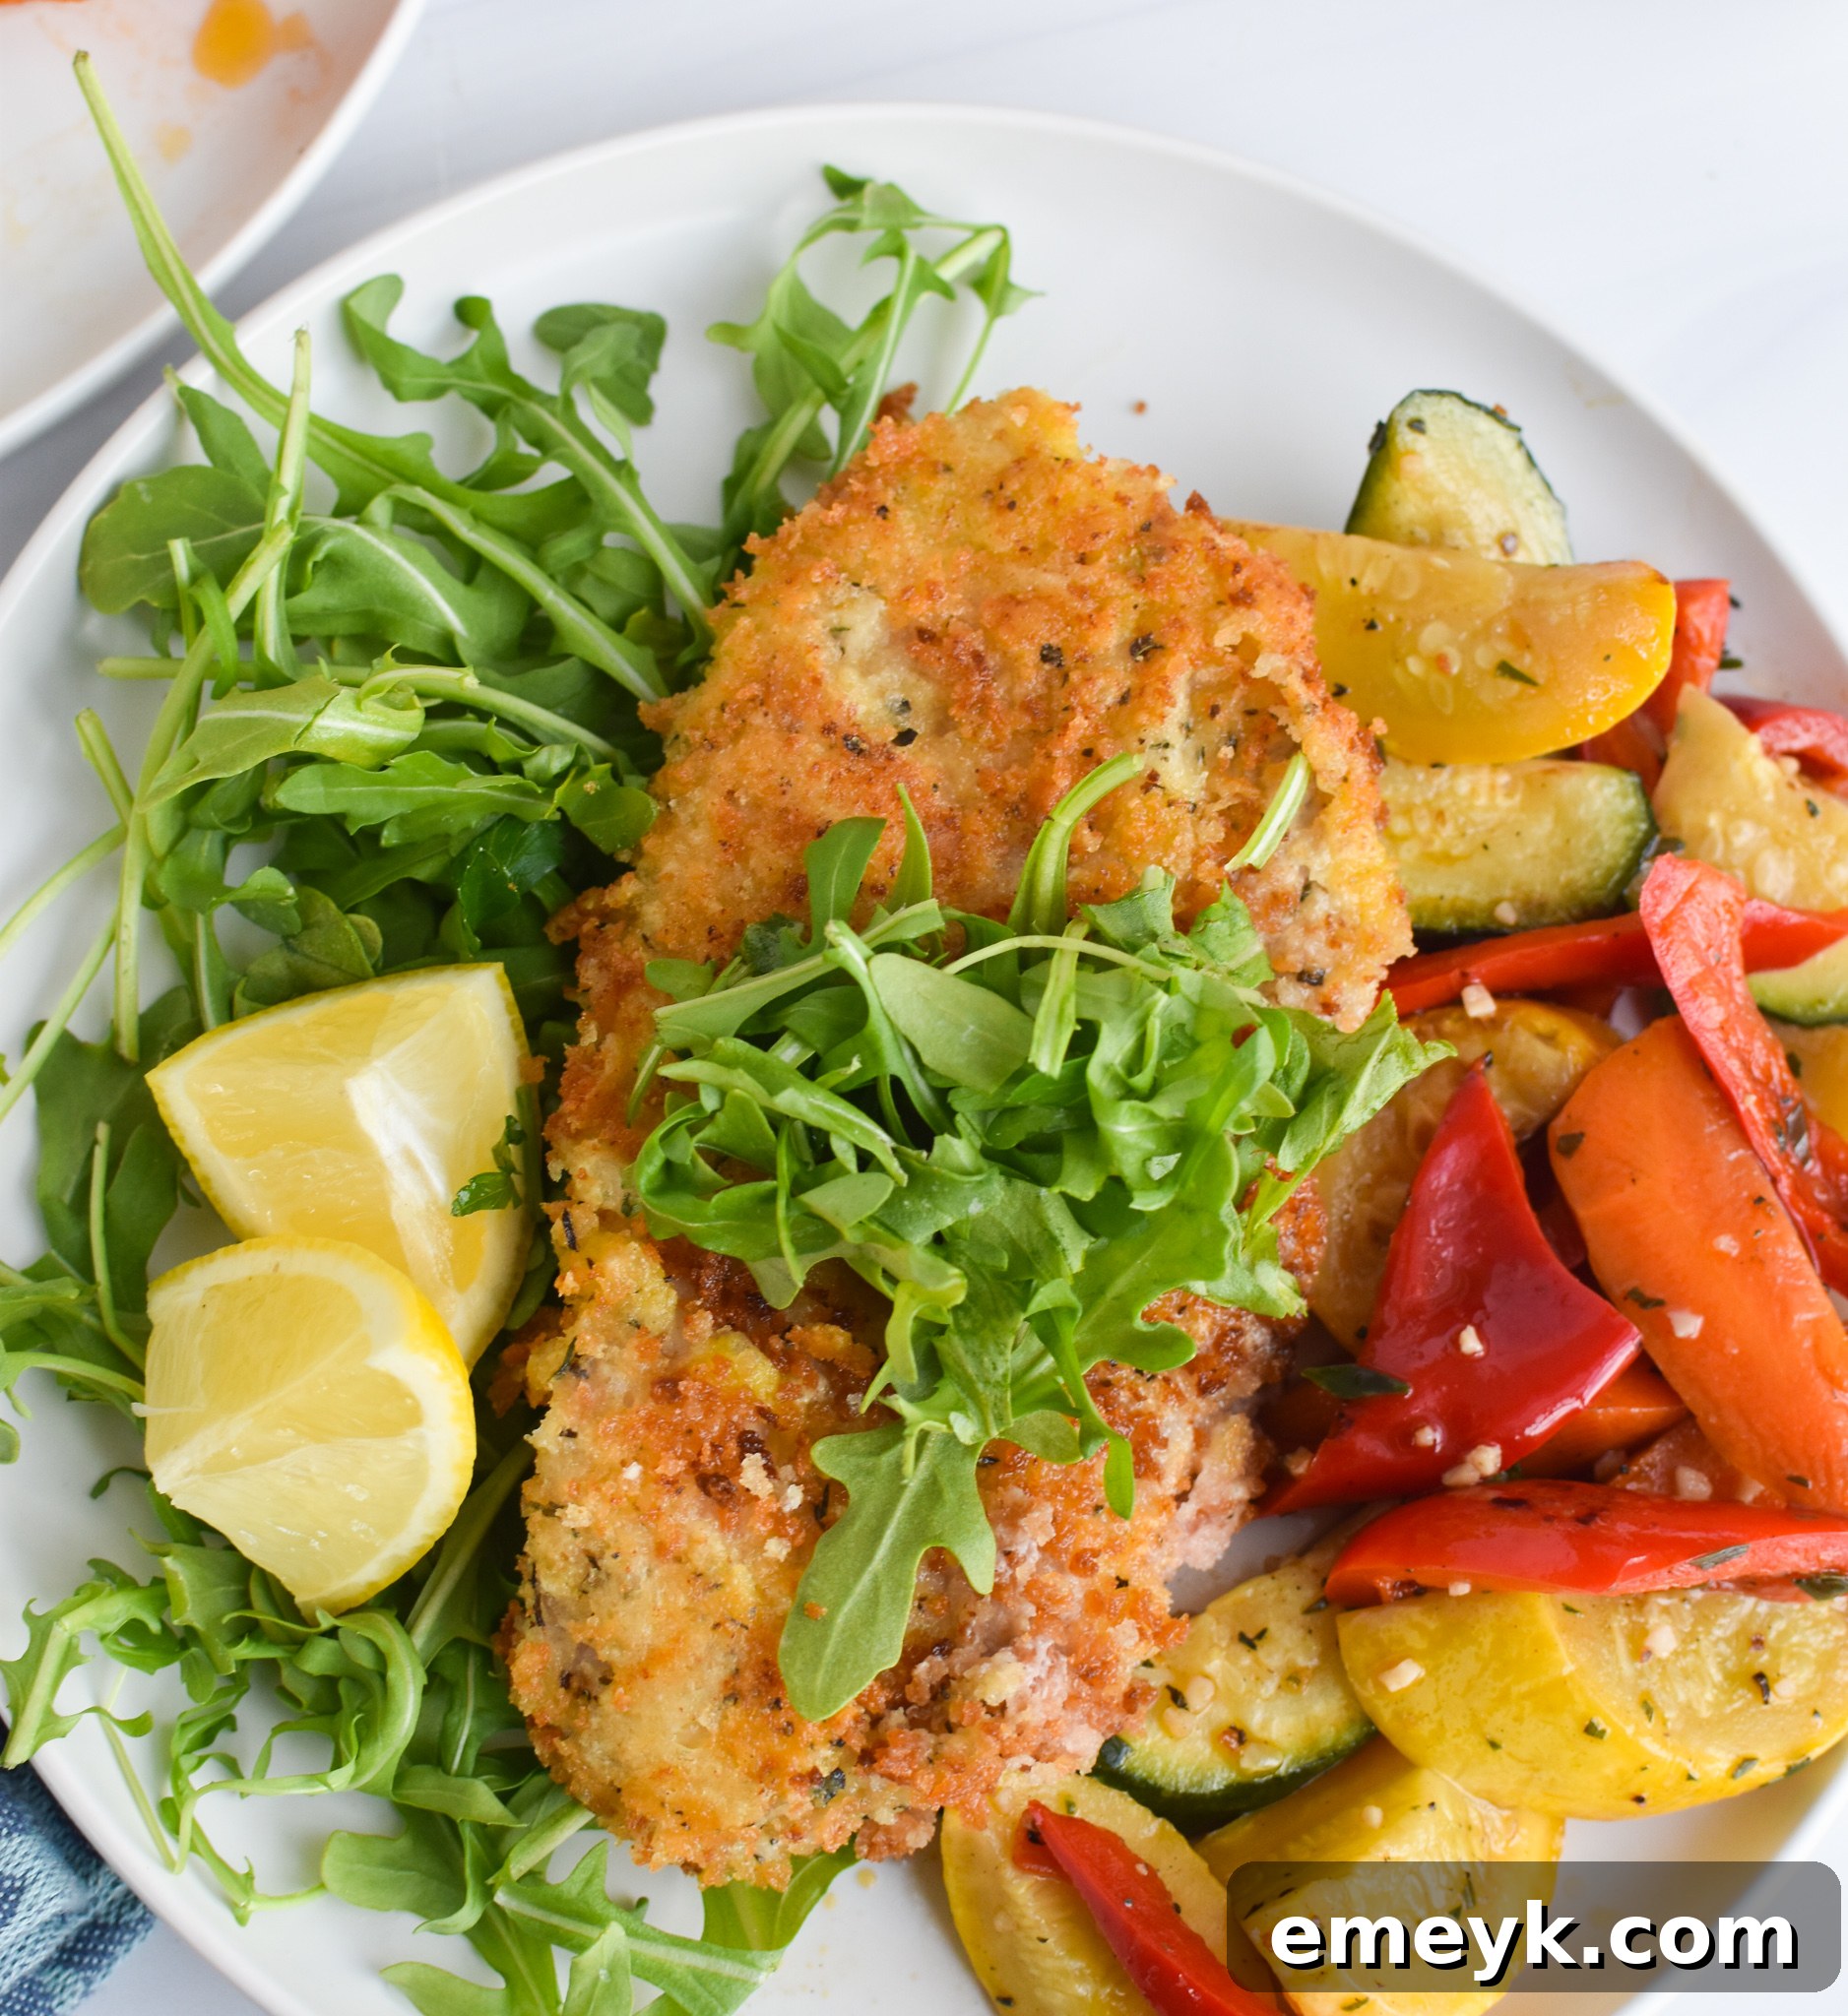
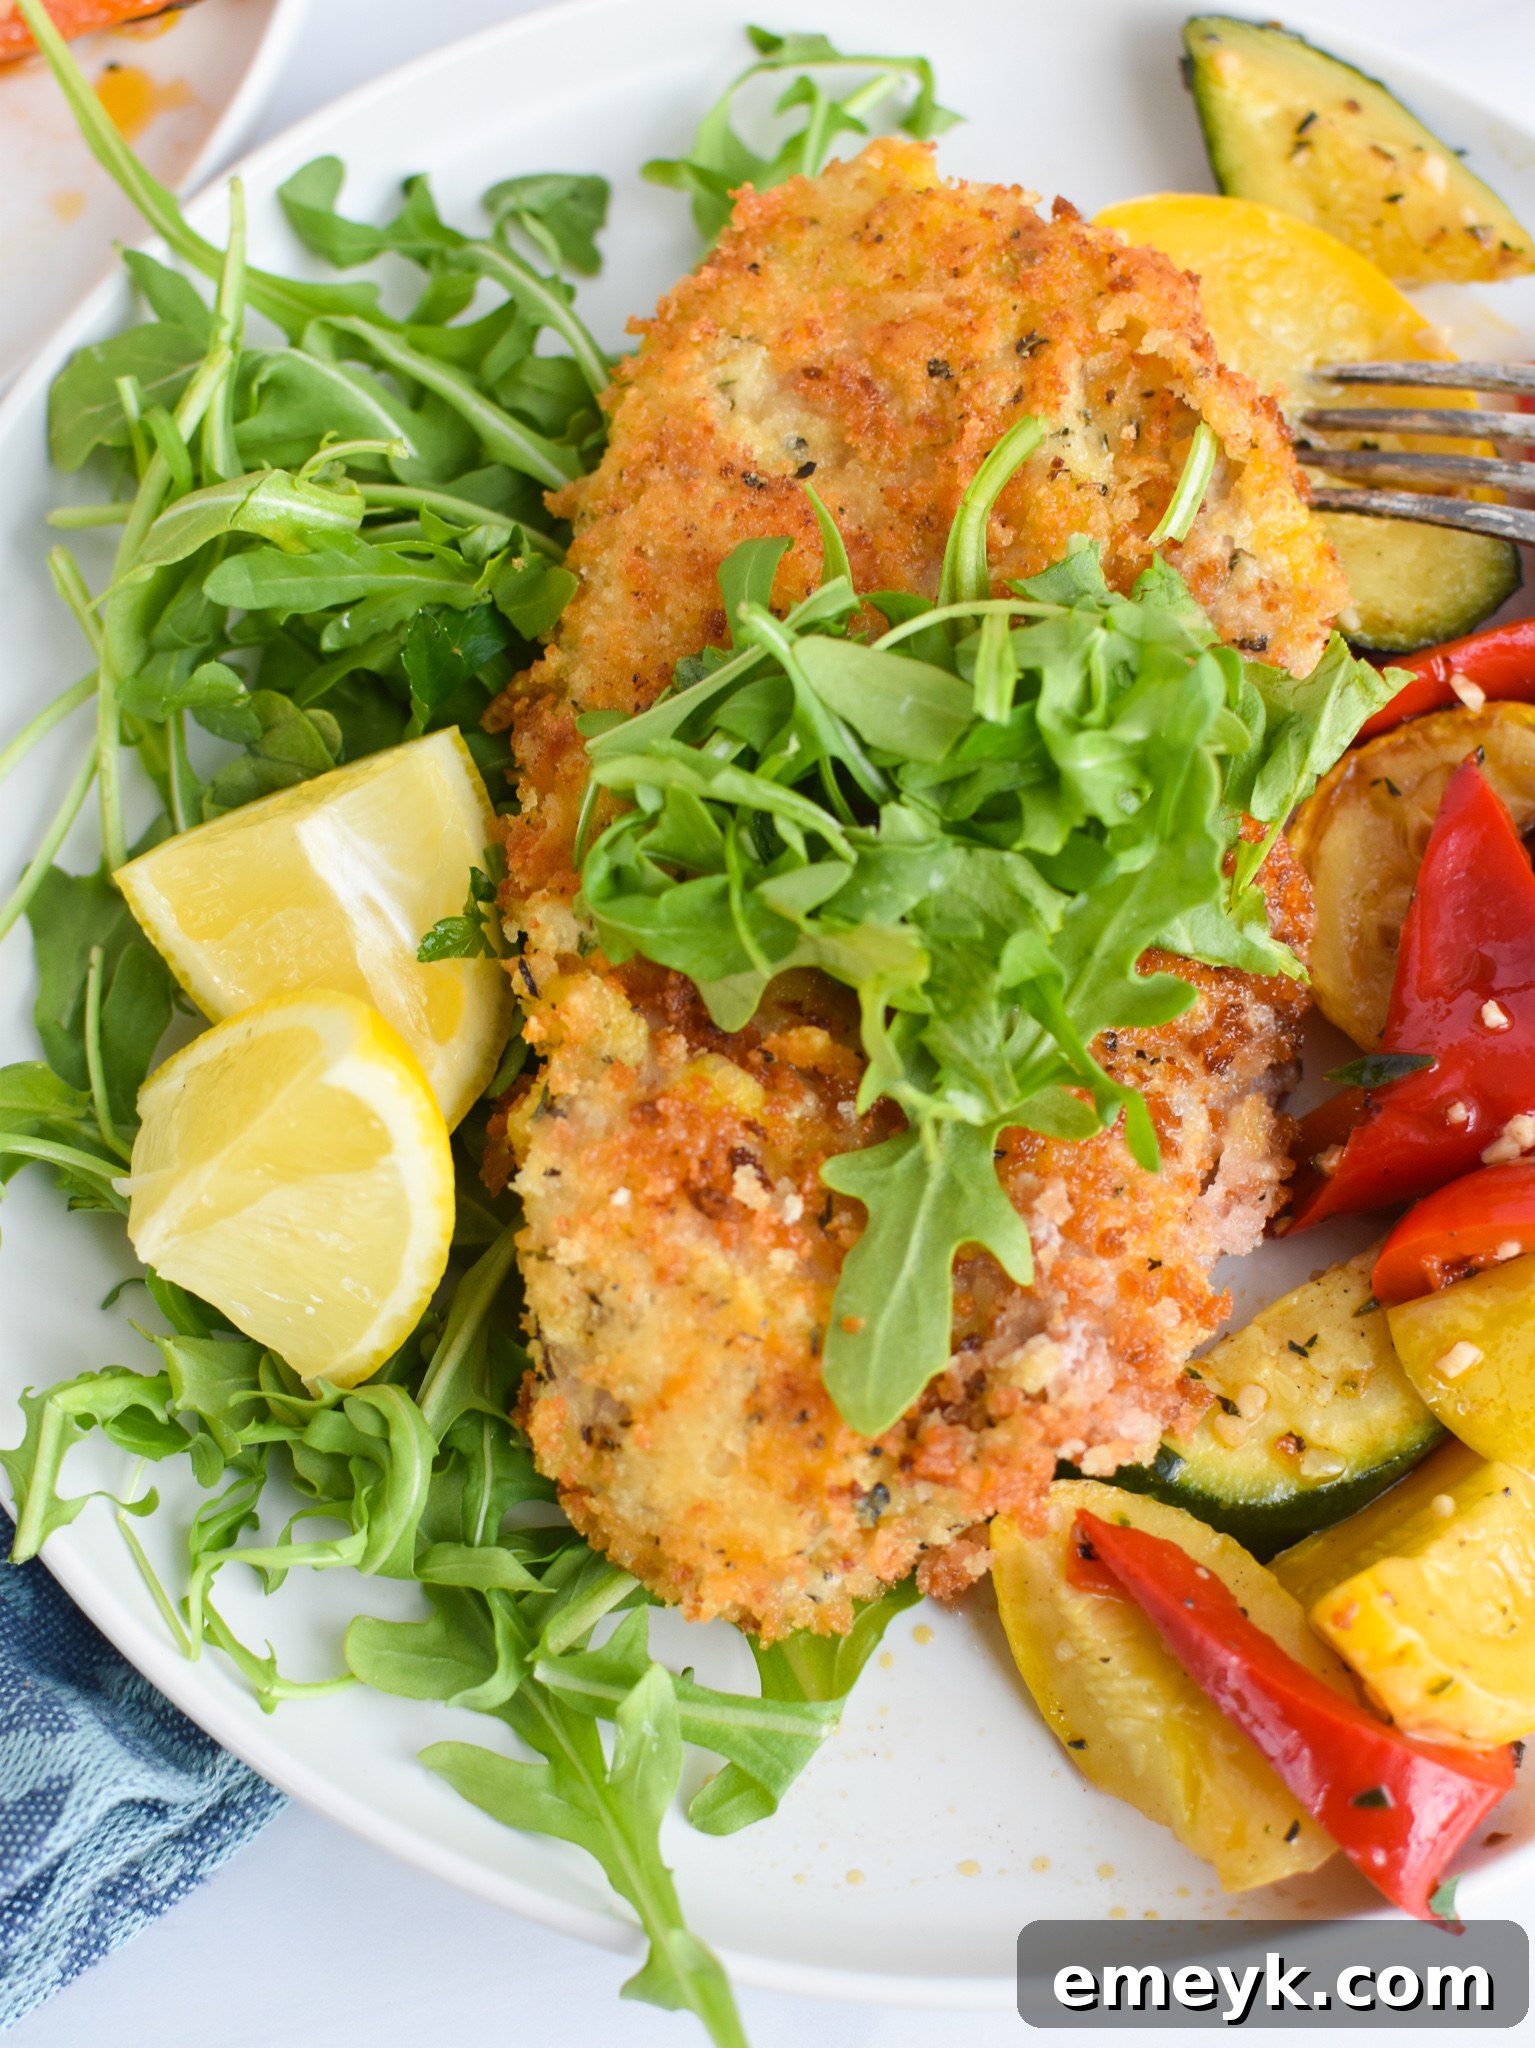
- Serve with Freshness: Serve the hot Veal Milanese immediately. Top each piece with a generous portion of fresh arugula salad. For an extra burst of flavor, drizzle a little fresh lemon juice directly over the arugula salad. Garnish with additional lemon wedges and, if desired, a sprinkle of extra Parmesan cheese for that ultimate Italian touch.
The perfect bite: crispy, tender, and irresistible.
Expert Tips for the Best Veal Milanese
Achieving perfect Veal Milanese is simpler than you might think, but a few key techniques and considerations can elevate your dish from good to truly extraordinary. Pay attention to these expert tips for consistently delicious results:
- Thinness is Paramount: The thinner the veal, the quicker and more evenly it cooks, leading to a more tender interior and a supremely crispy crust. Aim for a uniform thickness of about 1/4-inch or less. Don’t hesitate to use a meat mallet to gently pound thicker cutlets. For best results and to prevent tearing, place the veal between two sheets of plastic wrap or parchment paper before pounding.
- Pat Dry for Superior Breading Adhesion: This is a critical step often overlooked. Always thoroughly pat the veal dry with paper towels before beginning the dredging process in flour. Any excess moisture on the meat’s surface can prevent the breading from sticking properly, leading to a less crispy and potentially soggy crust.
- Season Every Layer: Don’t just season the breading mixture. Lightly season the veal itself with salt and pepper before flouring, and ensure your egg wash is also seasoned. This layered seasoning approach builds depth of flavor from the inside out, making every bite more delicious.
- Master the Breading Assembly Line: Setting up your dredging stations (flour, egg, seasoned breadcrumbs) in an organized, sequential line will make the entire breading process smooth, efficient, and help keep your hands relatively clean. A common technique is to use one hand for dry ingredients (flour, breadcrumbs) and the other for wet (egg wash) to avoid clumpy fingers.
- Rest the Breaded Veal: After meticulously breading each piece of veal, let it rest for a minimum of 5-10 minutes on a wire rack set over a baking sheet (or on a clean plate if a rack isn’t available). This short resting period is crucial; it allows the breading to “set” and adhere firmly to the meat, significantly reducing the chances of it falling off during frying.
- Maintain Optimal Oil Temperature: This is perhaps the most vital tip for crispy, non-greasy Veal Milanese. If the oil isn’t hot enough, the veal will absorb too much oil, resulting in a greasy, soggy product. If it’s too hot, the breading will burn quickly before the veal has a chance to cook through. Aim for a consistent oil temperature of 350-360°F (175-182°C). Use a cooking thermometer for accuracy, or test the oil by dropping a small pinch of breadcrumbs – they should sizzle immediately and turn golden.
- Do Not Overcrowd the Pan: Fry the veal in small batches to avoid significantly dropping the oil temperature. Overcrowding the pan also leads to steaming rather than frying, which will result in a soft, rather than crispy, crust. Give each piece of veal adequate space in the pan.
- Cook to Perfection, Not Beyond: Veal scaloppine is very thin and cooks incredibly quickly, typically requiring only 1.5 to 2 minutes per side. Overcooking will dry out the delicate meat, making it tough. For optimal juiciness and tenderness, cook until the internal temperature reaches 145°F (63°C), which is usually achieved when the exterior is perfectly golden brown.
- Drain Excess Oil Promptly: Immediately after frying, transfer the cooked veal cutlets to a plate lined with paper towels or, even better, a wire rack. This allows any excess oil to drain off, helping to maintain the crispiness of the crust.
- Serve Immediately with Lemon: Veal Milanese is best enjoyed fresh off the pan. The bright acidity of a lemon wedge, squeezed generously over the hot veal, is absolutely essential. It beautifully cuts through the richness of the fried meat and enhances all the other flavors, making for a truly balanced bite.
- Consider a Marinade for Chops/Roasts: While not typically done for Milanese, if you’re working with thicker cuts like veal chops or roasts for other recipes, marinating them in a mixture of oils, herbs, and acidic ingredients (like lemon juice or wine) for up to five days in the refrigerator can significantly enhance flavor, juiciness, and tenderness.
Perfect Pairings: What to Serve with Veal Milanese
Veal Milanese is a versatile dish that shines brightest when served with accompaniments that complement its rich, crispy nature. While a simple presentation is often best to let the veal take center stage, here are some ideas for creating a complete and balanced meal:
- Classic Arugula Salad: The most traditional and highly recommended accompaniment. Toss fresh, peppery baby arugula with a light vinaigrette made from lemon juice, high-quality olive oil, salt, and black pepper. The slight bitterness and freshness of the arugula provide a perfect counterpoint to the savory, fried veal.
- Abundant Lemon Wedges: Absolutely non-negotiable! A generous squeeze of fresh lemon juice over the hot veal is essential. Its bright acidity cuts through the richness of the fried meat, cleanses the palate, and beautifully enhances all the flavors.
- Extra Parmesan Cheese: For those who love cheese, a light dusting of freshly grated Parmesan over the hot veal just before serving adds an additional layer of salty, nutty depth to the crust.
- Roasted or Steamed Vegetables: Simple, seasonal vegetables like asparagus, green beans, broccoli, or even roasted cherry tomatoes tossed with garlic and olive oil make excellent, healthy side dishes.
- Light Pasta Dishes: A very light pasta, perhaps tossed with just a touch of olive oil, garlic, and fresh herbs, or a simple marinara, can be a delightful addition without overpowering the veal.
- Creamy Risotto: For a more indulgent and authentic Italian experience, a classic Risotto alla Milanese (saffron risotto) or a simple Parmesan risotto offers a luxurious, creamy contrast to the crispy veal.
- Crispy Roasted Potatoes: Thinly sliced or small roasted potatoes, seasoned with rosemary and garlic, offer a satisfying starchy component that pairs wonderfully with the fried cutlets.
Frequently Asked Questions (FAQs) About Veal Milanese
Here are answers to some common questions you might have about making this delicious Italian dish:
- Q: Can I use other types of meat for this recipe?
- A: Absolutely! While traditionally made with veal, you can easily adapt this recipe to create “Chicken Milanese” or “Pork Milanese” using thinly pounded chicken breasts or pork cutlets. The breading and frying method remains the same, delivering similar crispy, flavorful results.
- Q: What kind of oil is best for frying Veal Milanese?
- A: A neutral oil with a high smoke point is ideal. Vegetable oil, canola oil, grapeseed oil, or a light olive oil work best. Avoid using extra virgin olive oil for frying, as its low smoke point can cause it to smoke and burn quickly, imparting an unpleasant flavor.
- Q: How do I prevent the breading from falling off during frying?
- Several factors contribute to breading adhesion: ensure your veal is patted very dry before breading; follow the flour-egg-breadcrumb sequence carefully; press the breadcrumbs firmly onto the meat; and most importantly, allow the breaded veal to rest for 5-10 minutes before frying. This resting period helps the coating set and stick.
- Q: Can I prepare Veal Milanese ahead of time?
- A: The veal can be breaded up to an hour or two in advance and kept refrigerated on a baking sheet. However, for the absolute crispiest results, it’s always best to fry it just before serving. Cooked Veal Milanese is truly best enjoyed fresh off the pan.
- Q: How do I reheat leftover Veal Milanese to keep it crispy?
- A: To maintain crispiness, avoid the microwave, as it will make the breading soggy. Reheat leftover Veal Milanese in an oven or toaster oven at 350°F (175°C) for about 10-15 minutes, or until it’s heated through and the crust has crisped up again. You can also briefly pan-fry it again in a small amount of oil for maximum crunch.
Delicious Variations and Clever Substitutions
While the classic Veal Milanese is undeniably perfect in its traditional form, there are many ways to get creative and customize this dish to suit your personal taste or dietary needs:
- Herbaceous Twist: Experiment with different fresh or dried herbs in your breadcrumb mixture. Finely chopped fresh parsley, rosemary, marjoram, or even a blend of Italian herbs can add unique aromatic layers.
- A Hint of Heat: For those who enjoy a subtle kick, consider adding a pinch of red pepper flakes to the breadcrumbs for a delightful spicy note.
- Enhanced Citrus: Beyond just lemon zest, a touch of finely grated orange zest can be incorporated into the breading for a slightly sweeter, brighter citrus undertone that pairs beautifully with the veal.
- Gluten-Free Option: To make this recipe gluten-free, simply substitute the regular all-purpose flour with a high-quality gluten-free all-purpose flour blend and use gluten-free breadcrumbs. The cooking method remains the same.
- Cheese Alternatives: If Parmesan isn’t available, a finely grated Pecorino Romano can be used, though be mindful that it is saltier and has a stronger flavor. For a milder cheese flavor, a blend of finely shredded mozzarella and another hard Italian cheese could also work.
- Lighter Baking Method: While shallow pan-frying provides the ultimate crispiness, for a slightly lighter version, you can bake the breaded veal. Preheat your oven to 400°F (200°C), lightly mist the breaded cutlets with cooking spray or brush them with a thin layer of oil, and bake for 15-20 minutes, flipping halfway, until golden brown and cooked through. Note that the crispiness may not be as intense as pan-frying, but it’s a good alternative.
Storing and Reheating Veal Milanese
While Veal Milanese is undoubtedly at its peak of flavor and crispiness when enjoyed immediately after frying, sometimes you might find yourself with delicious leftovers. Here’s how to properly store and reheat them to preserve as much of their original deliciousness as possible:
- Storage: Allow any leftover cooked veal cutlets to cool completely to room temperature before storing. Place the cooled cutlets in an airtight container. If you need to stack multiple pieces, separate them with parchment paper to prevent sticking and moisture transfer. Store the container in the refrigerator for up to 3-4 days. It’s important to note that the breading will naturally soften in the refrigerator, but the flavors will still be excellent.
- Reheating for Crispiness (Oven Method): To bring back some of that coveted crispiness, avoid reheating in the microwave, which will only make the breading soggy. Instead, preheat your oven or a toaster oven to 350°F (175°C). Place the veal cutlets on a wire rack set over a baking sheet. Heat for approximately 10-15 minutes, or until the veal is thoroughly warmed through and the crust has regained some of its delightful crunch.
- Reheating for Crispiness (Pan-Frying Method): For an even crispier result that closely mimics the freshly fried texture, heat a small amount of oil (about 1-2 tablespoons) in a skillet over medium heat. Once hot, place the cold cutlets in the pan and reheat for 2-3 minutes per side, just until they are golden brown, heated through, and deliciously crispy again.
More Delicious Veal & Italian-Inspired Recipes
Beef
Lebanese Beef and Green Beans
Beef
Slow Cooker Italian Beef Sandwiches
Beef
Slow Cooker Mediterranean Beef Meatballs
Beef
Slow Cooker Mexican Beef Brisket (Tender + Flavorful)
Tried this recipe? Leave a star rating and comment below! Subscribe to my newsletter or follow me on
Facebook,
Instagram, or
Pinterest for the latest.
Easy Veal Milanese Recipe

Ingredients
- 2 pounds thinly sliced veal scaloppine
- 4 large eggs
- 1 1/2 cups all-purpose flour
- 2 cups plain dry bread crumbs
- 1/2 cup shredded Parmesan cheese
- 2 teaspoons lemon zest {optional}
- 1 teaspoon dried basil
- 1 teaspoon oregano
- 1 teaspoon dried thyme
- 1/2 teaspoon salt
- 1/8 teaspoon black pepper
- 2 cups vegetable oil
- Arugula (for serving)
- Lemon wedges (for serving)
Instructions
-
Set out three shallow dishes for your breading station.
-
In the first dish, add the all-purpose flour. In the second, beat the eggs and season with 1/2 teaspoon salt and 1/8 teaspoon pepper.
-
In the third dish, combine the bread crumbs, Parmesan cheese, lemon zest (if using), basil, oregano, and thyme. Mix well.
-
Pat the veal dry with paper towels. Season both sides of the veal with salt and pepper.
-
Arrange the three dishes in order: flour, then eggs, then breadcrumbs. Place a large plate at the end of the line.
-
Take one piece of veal, dip it first in the flour, shaking off any excess.
-
Then, place the veal into the eggs, ensuring both sides are completely coated.
-
Finally, transfer the veal to the breadcrumb mixture, pressing crumbs firmly into the veal on all sides. Set the breaded veal aside on the large plate and continue with the remaining pieces. Let rest for 5-10 minutes.
-
Add vegetable oil to a large skillet over medium-high heat and heat until shimmering (approx. 350-360°F).
-
Carefully add one piece of veal to the hot oil. Cook for about 1-2 minutes on the first side until golden brown and crispy. Use tongs to carefully turn and cook the second side for another 1-2 minutes.
-
Add more oil as needed and work in batches to avoid overcrowding the skillet. Remove cooked veal (internal temp 145°F) to a paper towel-lined plate to drain. Sprinkle with salt, top with fresh arugula, and serve immediately with lemon wedges and extra Parmesan cheese.
Notes
- You can omit the Parmesan cheese if you prefer a more traditional *Cotoletta alla Milanese*, which typically does not include cheese. However, I find the addition enhances the flavor profile.
- If veal scaloppine are hard to find, you can use thin veal cutlets. Ensure they are pounded very thin for the best Milanese-style result.
Nutrition
Nutrition information is automatically calculated, so should only be used as an approximation.
Tried this recipe?Mention @acedarspoon or tag #acedarspoon!
This Easy Veal Milanese Recipe offers a delightful journey into classic Italian cuisine, proving that profoundly flavorful and elegant dishes don’t have to be complicated or intimidating. With its tender veal, perfectly seasoned crispy crust, and a bright, zesty lemon finish, it’s a meal that is both sophisticated and comforting in equal measure. Whether you’re preparing it for a special celebration, a casual family dinner, or simply to treat yourself, this recipe is sure to become a cherished and frequently revisited favorite in your culinary repertoire. Enjoy the satisfying process, savor the exquisite flavors, and share the undeniable joy of homemade Italian goodness with your loved ones!