
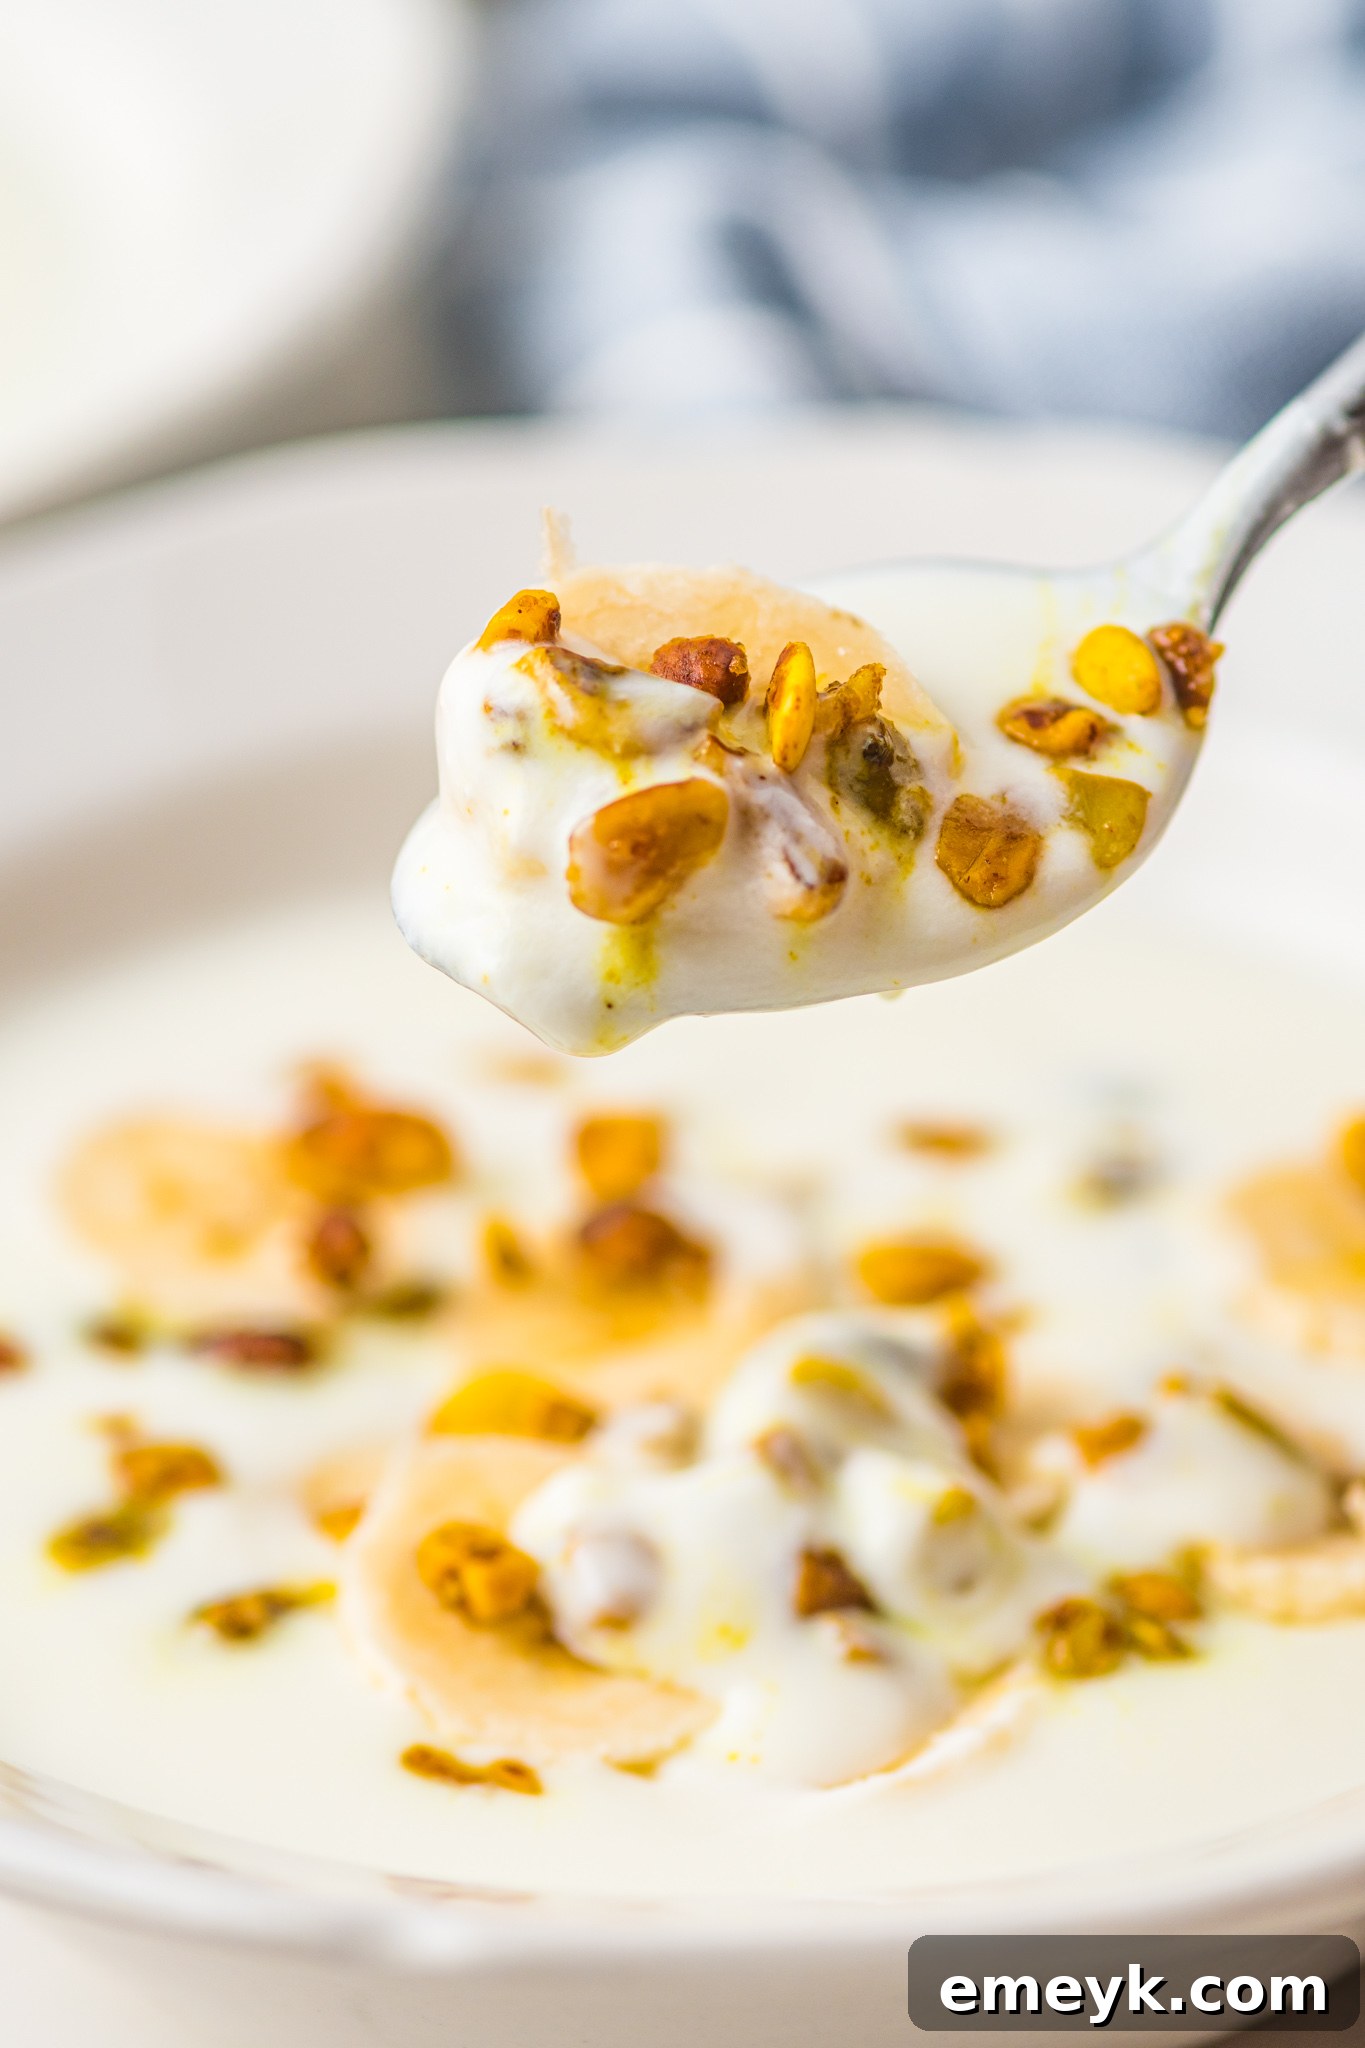
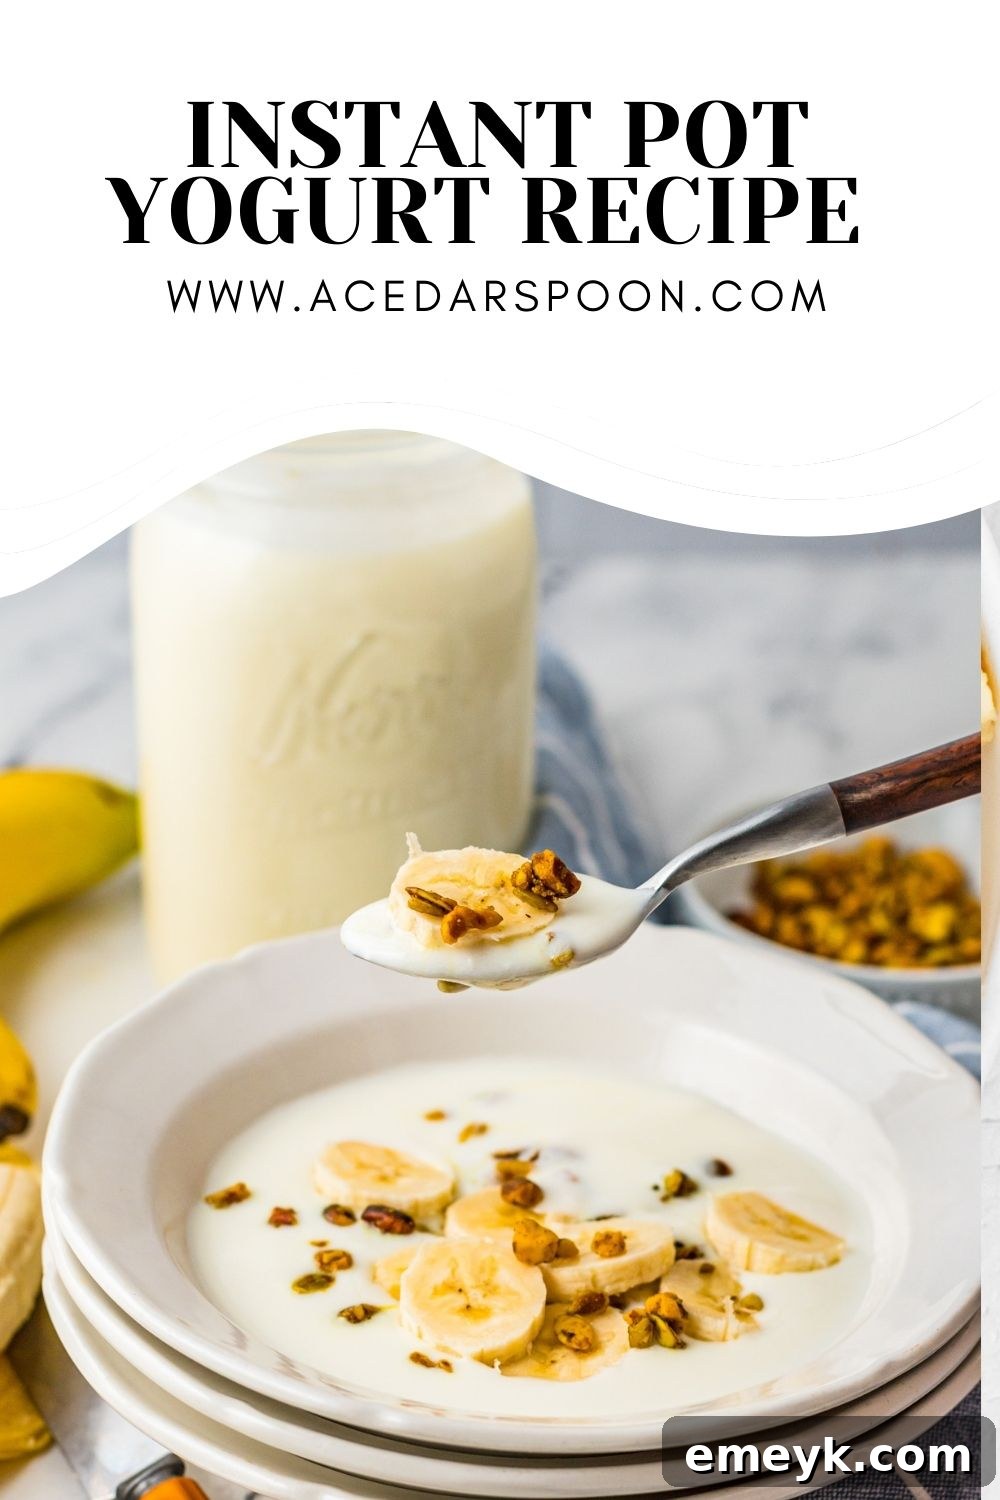
Elevate your kitchen skills and your breakfast routine with this incredibly easy and unbelievably creamy homemade Instant Pot Yogurt Recipe. Forget store-bought versions; creating your own probiotic-rich yogurt at home is simpler than you think and requires minimal clean-up. This versatile yogurt is not just a perfect addition to your morning meals and smoothies, but also a delightful base for Middle Eastern dishes like kafta, or a healthy ingredient in your favorite dressings.
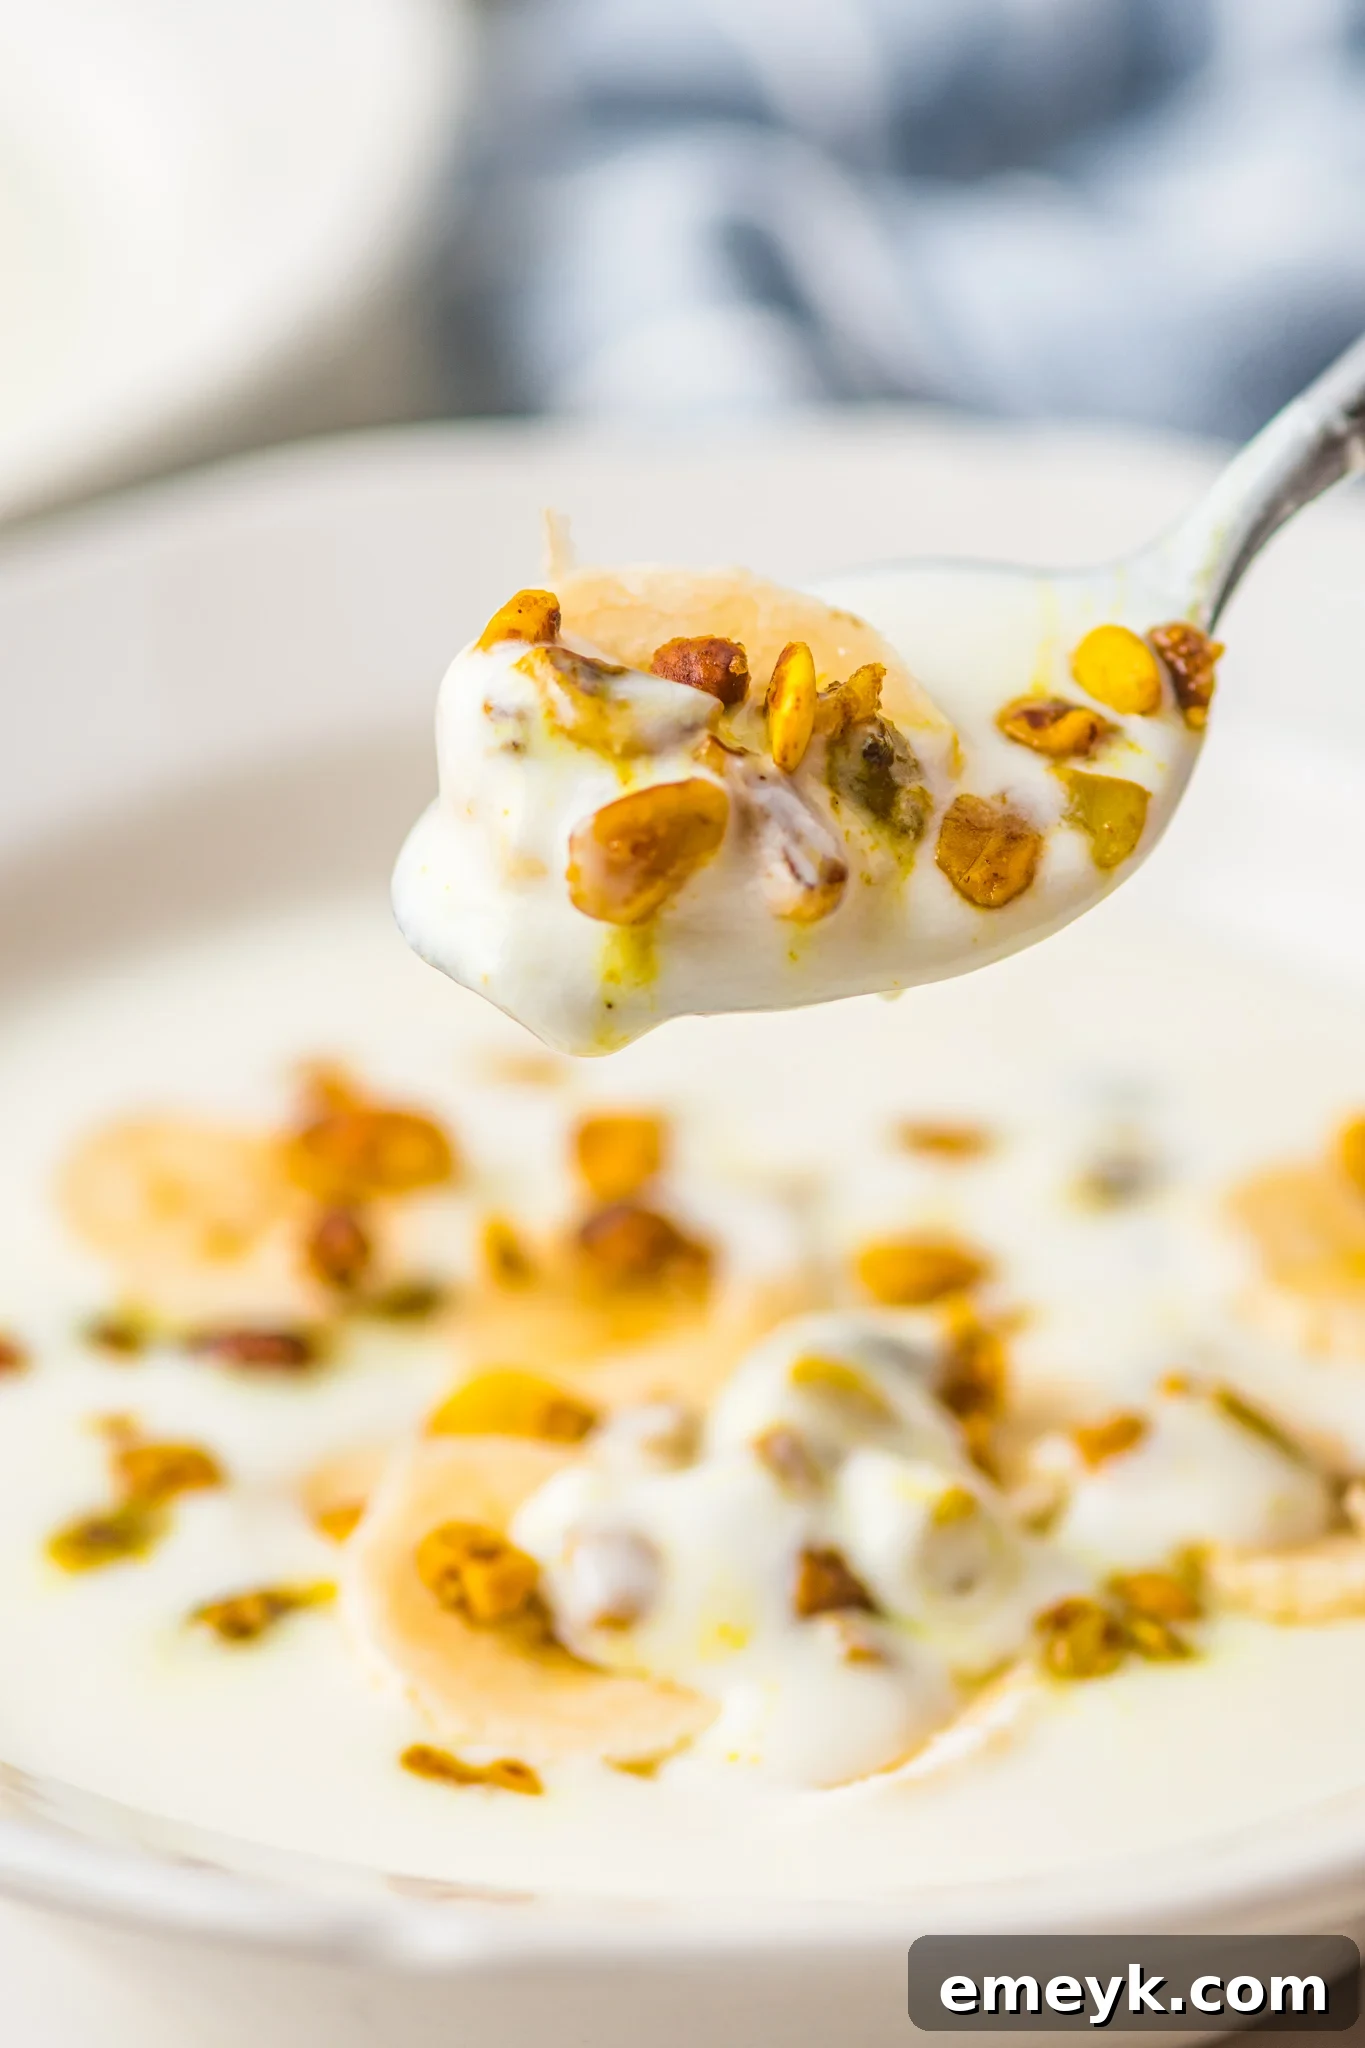
INSTANT POT YOGURT RECIPE: YOUR GUIDE TO CREAMY HOMEMADE GOODNESS
There’s a special satisfaction that comes with making your own food from scratch, and yogurt is no exception. While commercial yogurts offer convenience, homemade yogurt provides unparalleled freshness, allows for complete control over ingredients, and often boasts a higher concentration of beneficial live cultures. Best of all, it’s surprisingly simple to achieve in your own kitchen.
While various methods exist for crafting homemade yogurt—from the traditional countertop approach, like my great-grandma used to make in Lebanon with her Homemade Yogurt {Laban} recipe, to the reliable warmth of a Slow Cooker Yogurt recipe—the Instant Pot has emerged as a game-changer. Its precise temperature control and dedicated yogurt setting make the process incredibly foolproof and hands-off, transforming what might seem like a daunting task into an effortless culinary adventure. Today, we’re diving deep into crafting the perfect batch of Instant Pot yogurt.
One of the greatest advantages of making yogurt at home is the ability to customize it to your exact preferences. If plain yogurt isn’t your favorite, you can easily sweeten and flavor it yourself. Imagine a rich vanilla yogurt by simply stirring in a teaspoon of vanilla extract per quart, or a vibrant berry swirl with fresh fruit puree. The possibilities are endless!
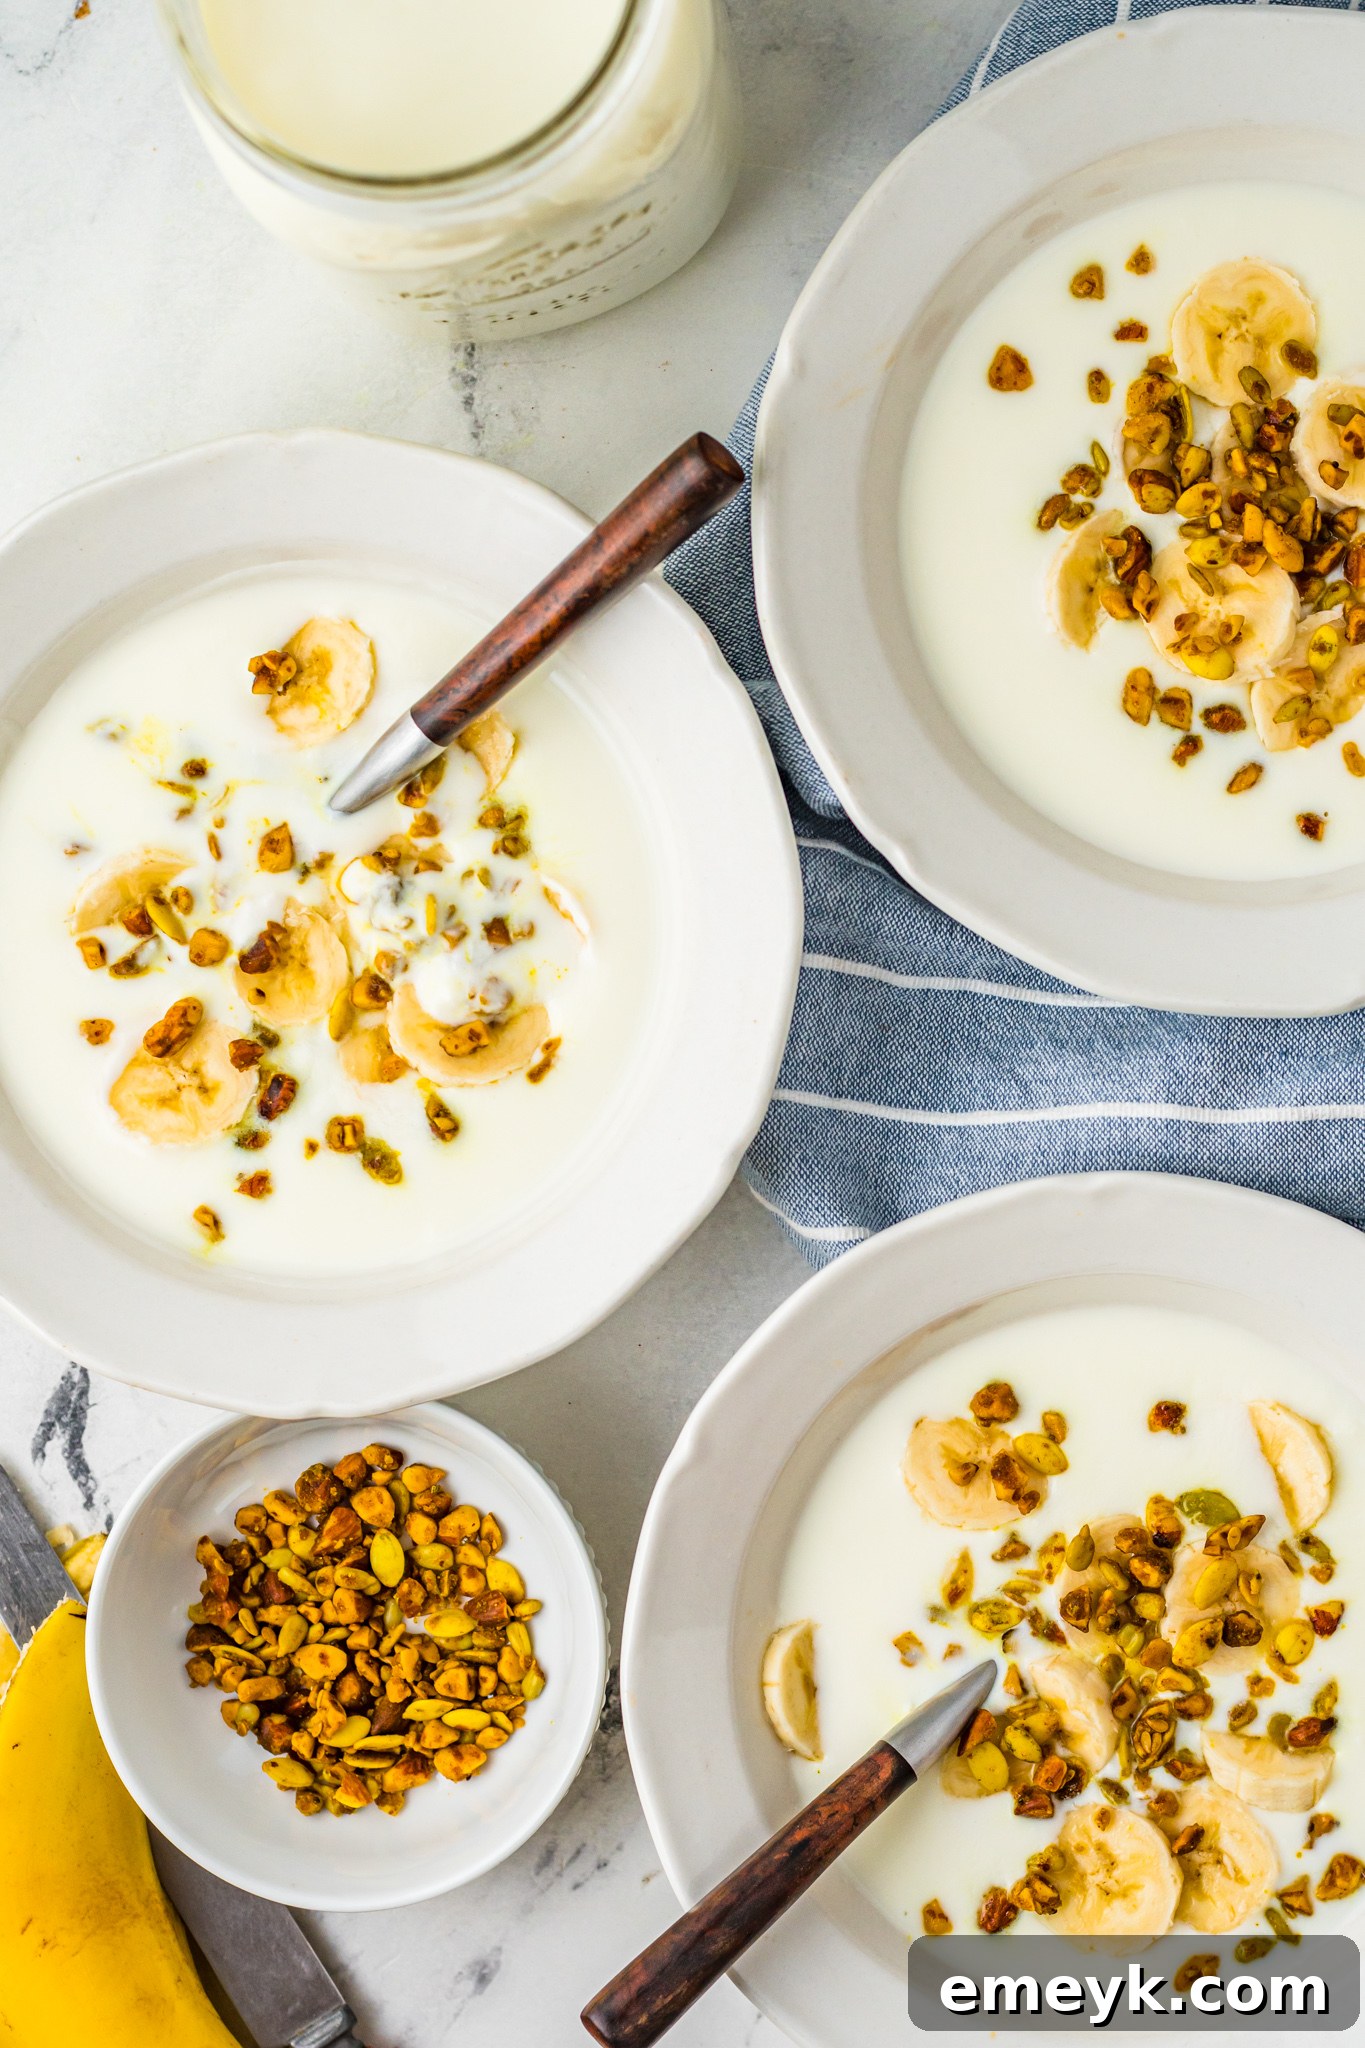
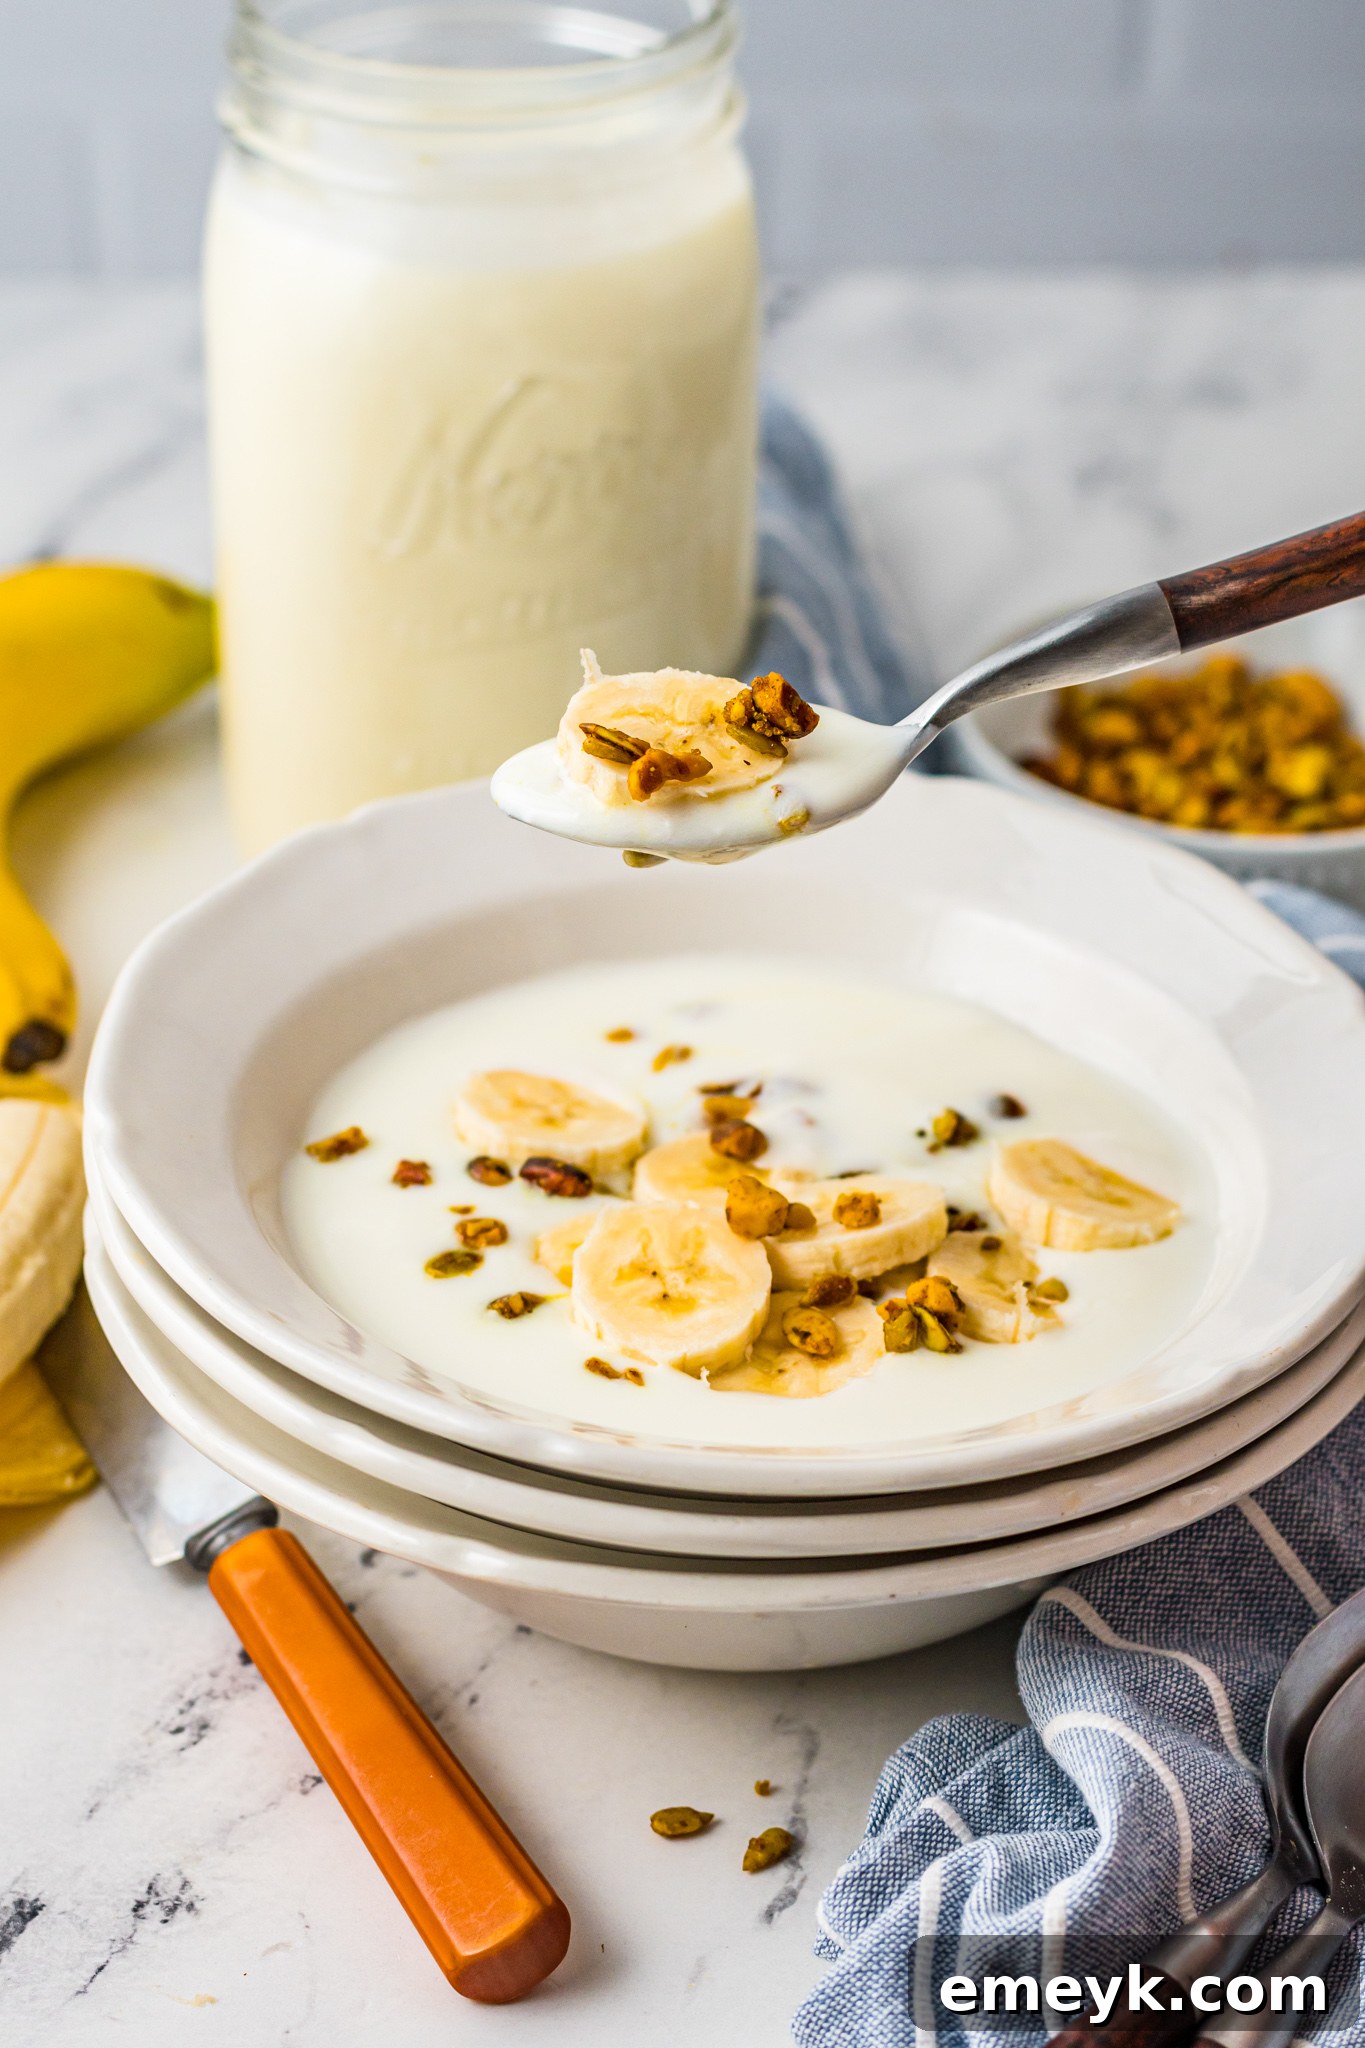
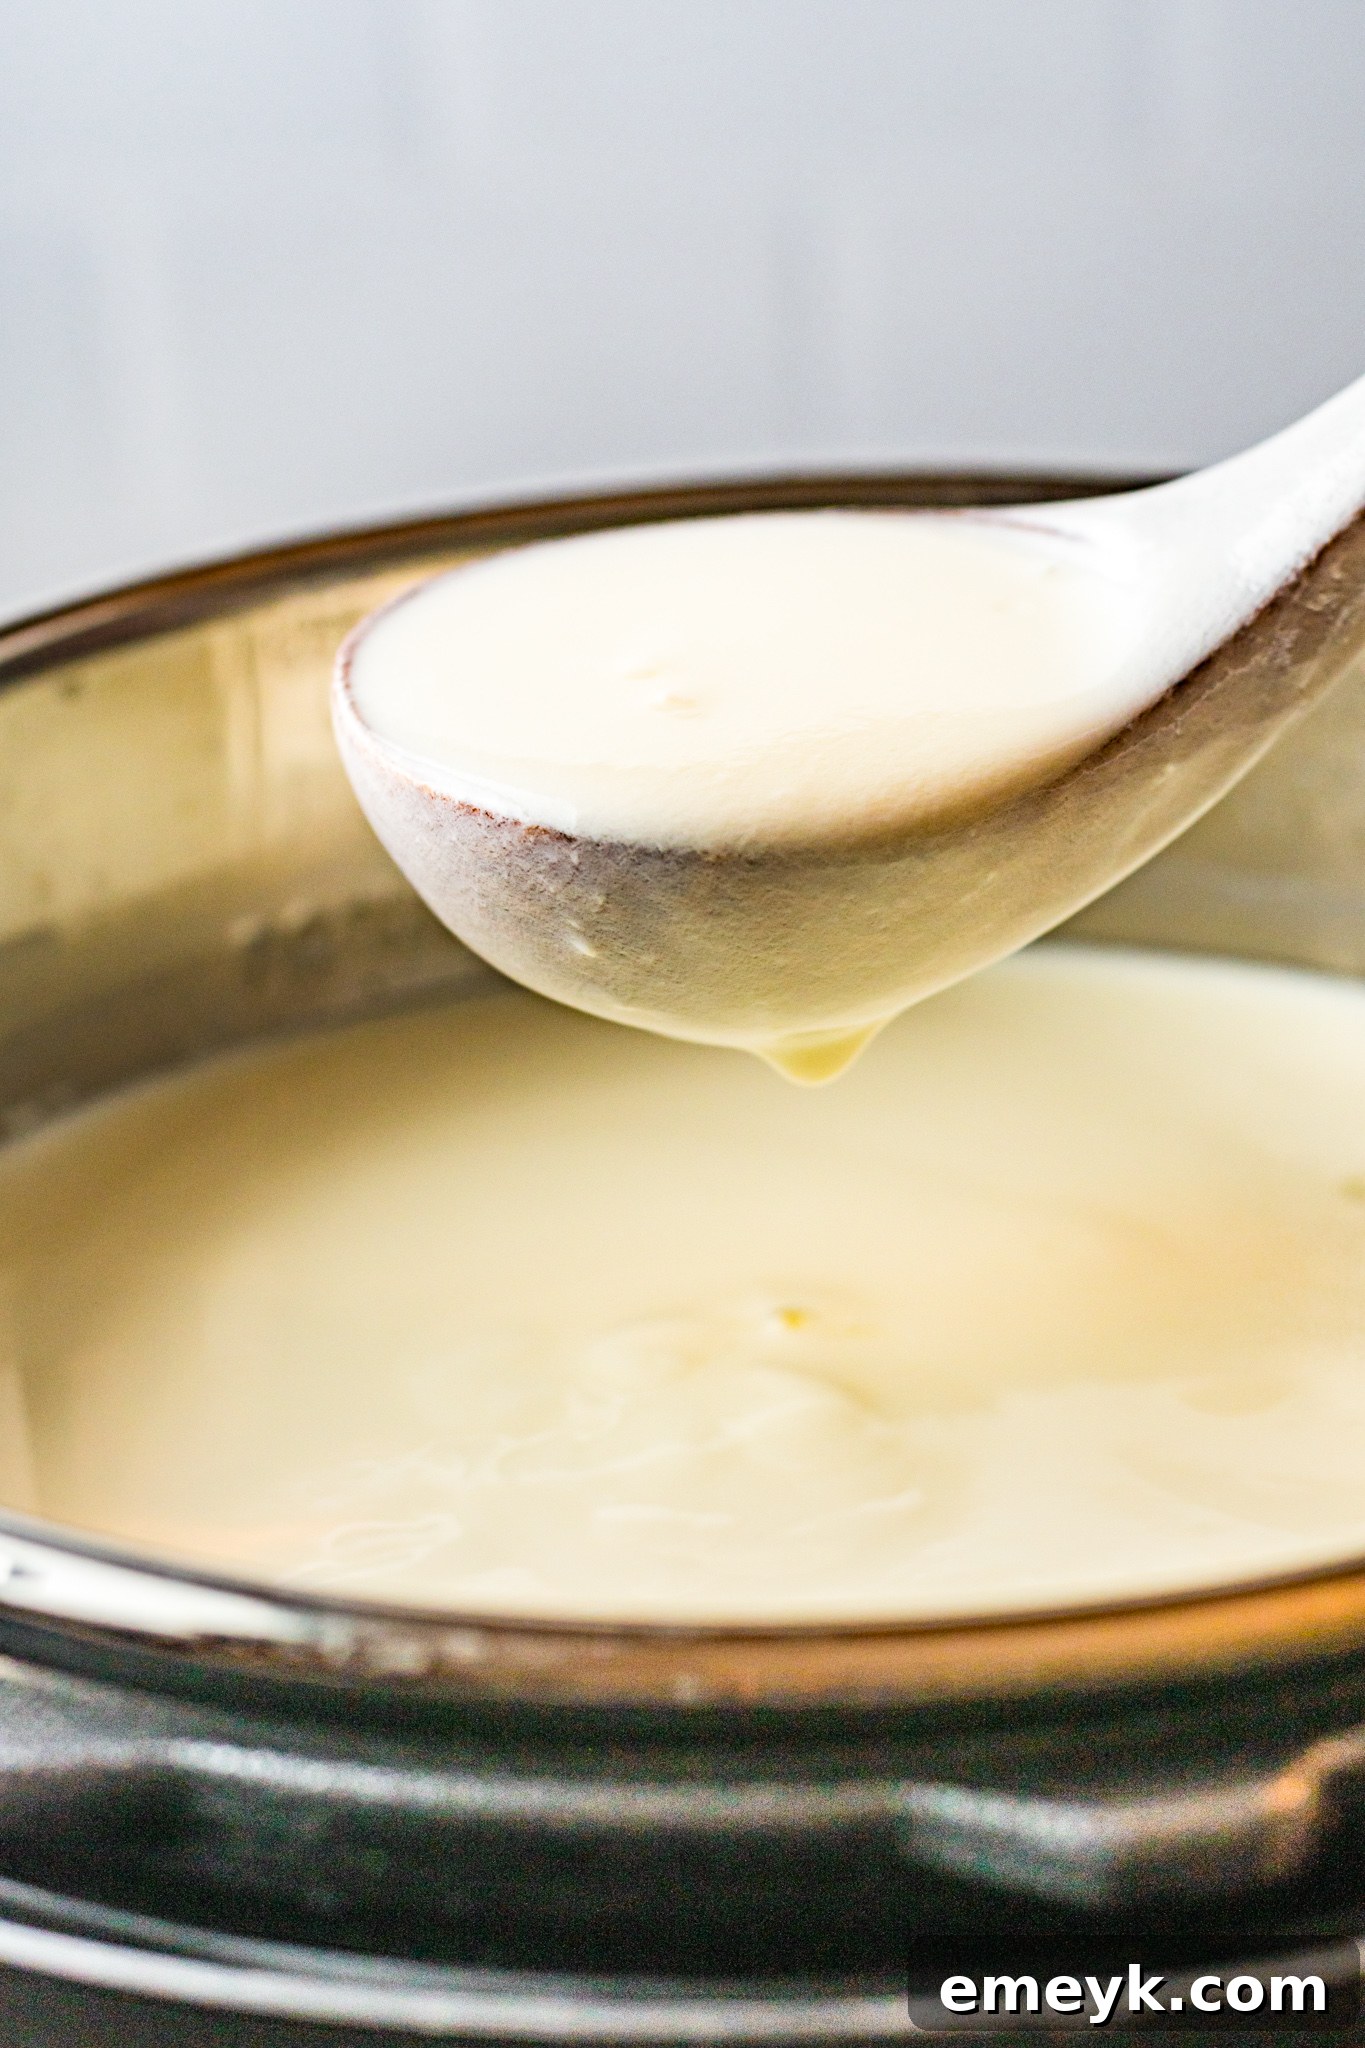
We absolutely adore starting our mornings with a generous bowl of this creamy Instant Pot Yogurt, especially when topped with crunchy Coconut Cranberry Chia Seed Granola and a refreshing Fruit Salad with Lemon Poppy Seed Dressing. It’s a breakfast that feels both indulgent and incredibly nourishing.
WHY THE INSTANT POT IS PERFECT FOR HOMEMADE YOGURT
While there are several methods for making homemade yogurt, the Instant Pot offers a distinct advantage, especially for beginners or those seeking convenience. The key lies in its “Yogurt” function, which handles two critical steps: heating the milk to the precise temperature required for pasteurization (scalding) and then maintaining the ideal culturing temperature for incubation.
Traditional methods often involve careful monitoring of milk on the stovetop and then finding a warm, consistent environment for the yogurt to culture—think ovens with pilot lights or insulated coolers. The Instant Pot streamlines this entire process, eliminating guesswork and drastically reducing hands-on time. It ensures consistent results every time, producing a thick, creamy, and wonderfully tangy yogurt without the need for constant supervision. It truly is a “set it and forget it” solution for delicious homemade yogurt.
ESSENTIAL INGREDIENTS AND EQUIPMENT FOR INSTANT POT YOGURT
Making yogurt in your Instant Pot requires just a few basic ingredients and specialized pieces of equipment. Quality matters here, as they directly impact the final texture and taste of your homemade yogurt.
- MILK: The foundation of your yogurt.
- Whole Milk: For the creamiest, thickest yogurt, whole milk is highly recommended. Its higher fat content contributes to a rich texture and fuller flavor.
- 2% Milk: You can absolutely use 2% milk if you prefer. Just be aware that the lower fat percentage will result in a thinner yogurt. To counteract this, you might consider adding an extra tablespoon of your yogurt starter, or straining the finished yogurt to achieve a thicker consistency.
- Other Milk Types: While less common for traditional yogurt, some experiment successfully with skim milk (will be very thin), lactose-free milk, or even goat’s milk. Ultra-pasteurized milk should generally be avoided as the intense heat treatment can denature the proteins, making it harder for the yogurt to set properly. Stick to regular pasteurized milk for best results.
- YOGURT WITH LIVE ACTIVE CULTURES (STARTER): This is the magic ingredient that transforms milk into yogurt.
- You must use a yogurt that explicitly states it contains “live active cultures” or “probiotic cultures” on its label. These are the beneficial bacteria that ferment the milk.
- Absolutely avoid flavored or sweetened yogurts as a starter. The added sugars and artificial ingredients can interfere with the culturing process and introduce unwanted flavors. Opt for a plain, unflavored yogurt.
- You can also use a spoonful of yogurt from a previous homemade batch as your starter, continuing the cycle!
- INSTANT POT WITH YOGURT SETTING: This is the star appliance of our recipe.
- Ensure your specific Instant Pot model or pressure cooker has a dedicated “Yogurt” setting. This feature is crucial as it provides the precise temperature control needed for both heating the milk and incubating the cultures. Most newer models (like Duo, Ultra, Nova) have this function.
- THERMOMETER: Accuracy is key in yogurt making.
- A digital kitchen thermometer is highly recommended for precise temperature readings.
- A candy thermometer or even a reliable meat thermometer can also work. The goal is to accurately measure the milk’s temperature during the heating and cooling phases to ensure optimal conditions for the yogurt cultures.
HOW TO MAKE INSTANT POT YOGURT: A STEP-BY-STEP GUIDE
STEP 1: PREP YOUR INSTANT POT – CLEANLINESS IS CRUCIAL
Before you begin, ensure your Instant Pot inner pot is scrupulously clean. Any lingering food particles or soap residue can interfere with the yogurt cultures. For an extra measure of sterilization, which helps prevent unwanted bacteria from affecting your yogurt’s taste and setting, rinse the inner pot with boiling water. This quick step creates an optimal environment for your good bacteria to thrive.
STEP 2: PASTEURIZE THE MILK – THE BOIL CYCLE
Heating the milk to a high temperature, around 180°F (82°C), is a critical step often called “scalding.” This process denatures the milk proteins, which helps the yogurt thicken, and also eliminates any undesirable bacteria that could compete with your yogurt cultures. You have two primary methods for this:
- On the Stovetop: Pour the milk into a large saucepan and heat it over medium-low heat. Stir frequently to prevent scorching at the bottom. Use your thermometer to monitor the temperature, ensuring it reaches 180°F (82°C). This method gives you more direct control.
- In the Instant Pot: Place the milk directly into the Instant Pot’s inner pot. Secure the lid (though you won’t be pressure cooking). Select the “Yogurt” function and then choose the “Boil” setting. The Instant Pot will automatically heat the milk to the appropriate temperature. This process will take some time, typically 30-45 minutes depending on the milk volume. Once the pot beeps, signifying the boil cycle is complete, use your thermometer to verify the milk has reached 180°F (82°C). Allow it to sit in the Instant Pot for an additional 5 minutes to ensure thorough heating.
STEP 3: COOL THE MILK – CREATING THE PERFECT ENVIRONMENT
After heating, the milk needs to cool down to a specific temperature range: 105°F-115°F (40°C-46°C). This is the ideal temperature for your live active cultures to grow without being killed by excessive heat. If the milk is too hot, it will destroy the cultures; if it’s too cool, the cultures won’t activate effectively.
- Natural Cooling: Remove the inner pot from the Instant Pot and let it cool at room temperature. This can take approximately an hour.
- Quick Cooling with an Ice Bath: To speed up the cooling process, plug your sink and fill it with a few inches of cold water and plenty of ice. Carefully place the inner pot into the ice bath, ensuring no water splashes into the milk. Stir the milk gently with your thermometer to help it cool evenly. Keep a close eye on the temperature and remove the pot from the ice bath once it reaches the target range of 105°F-115°F (40°C-46°C). Do not allow it to cool below 105°F (40°C).
- Remove Skim: Once cooled, stir the milk gently and remove any skin or skim that may have formed on the surface. This ensures a smooth, consistent texture in your finished yogurt.
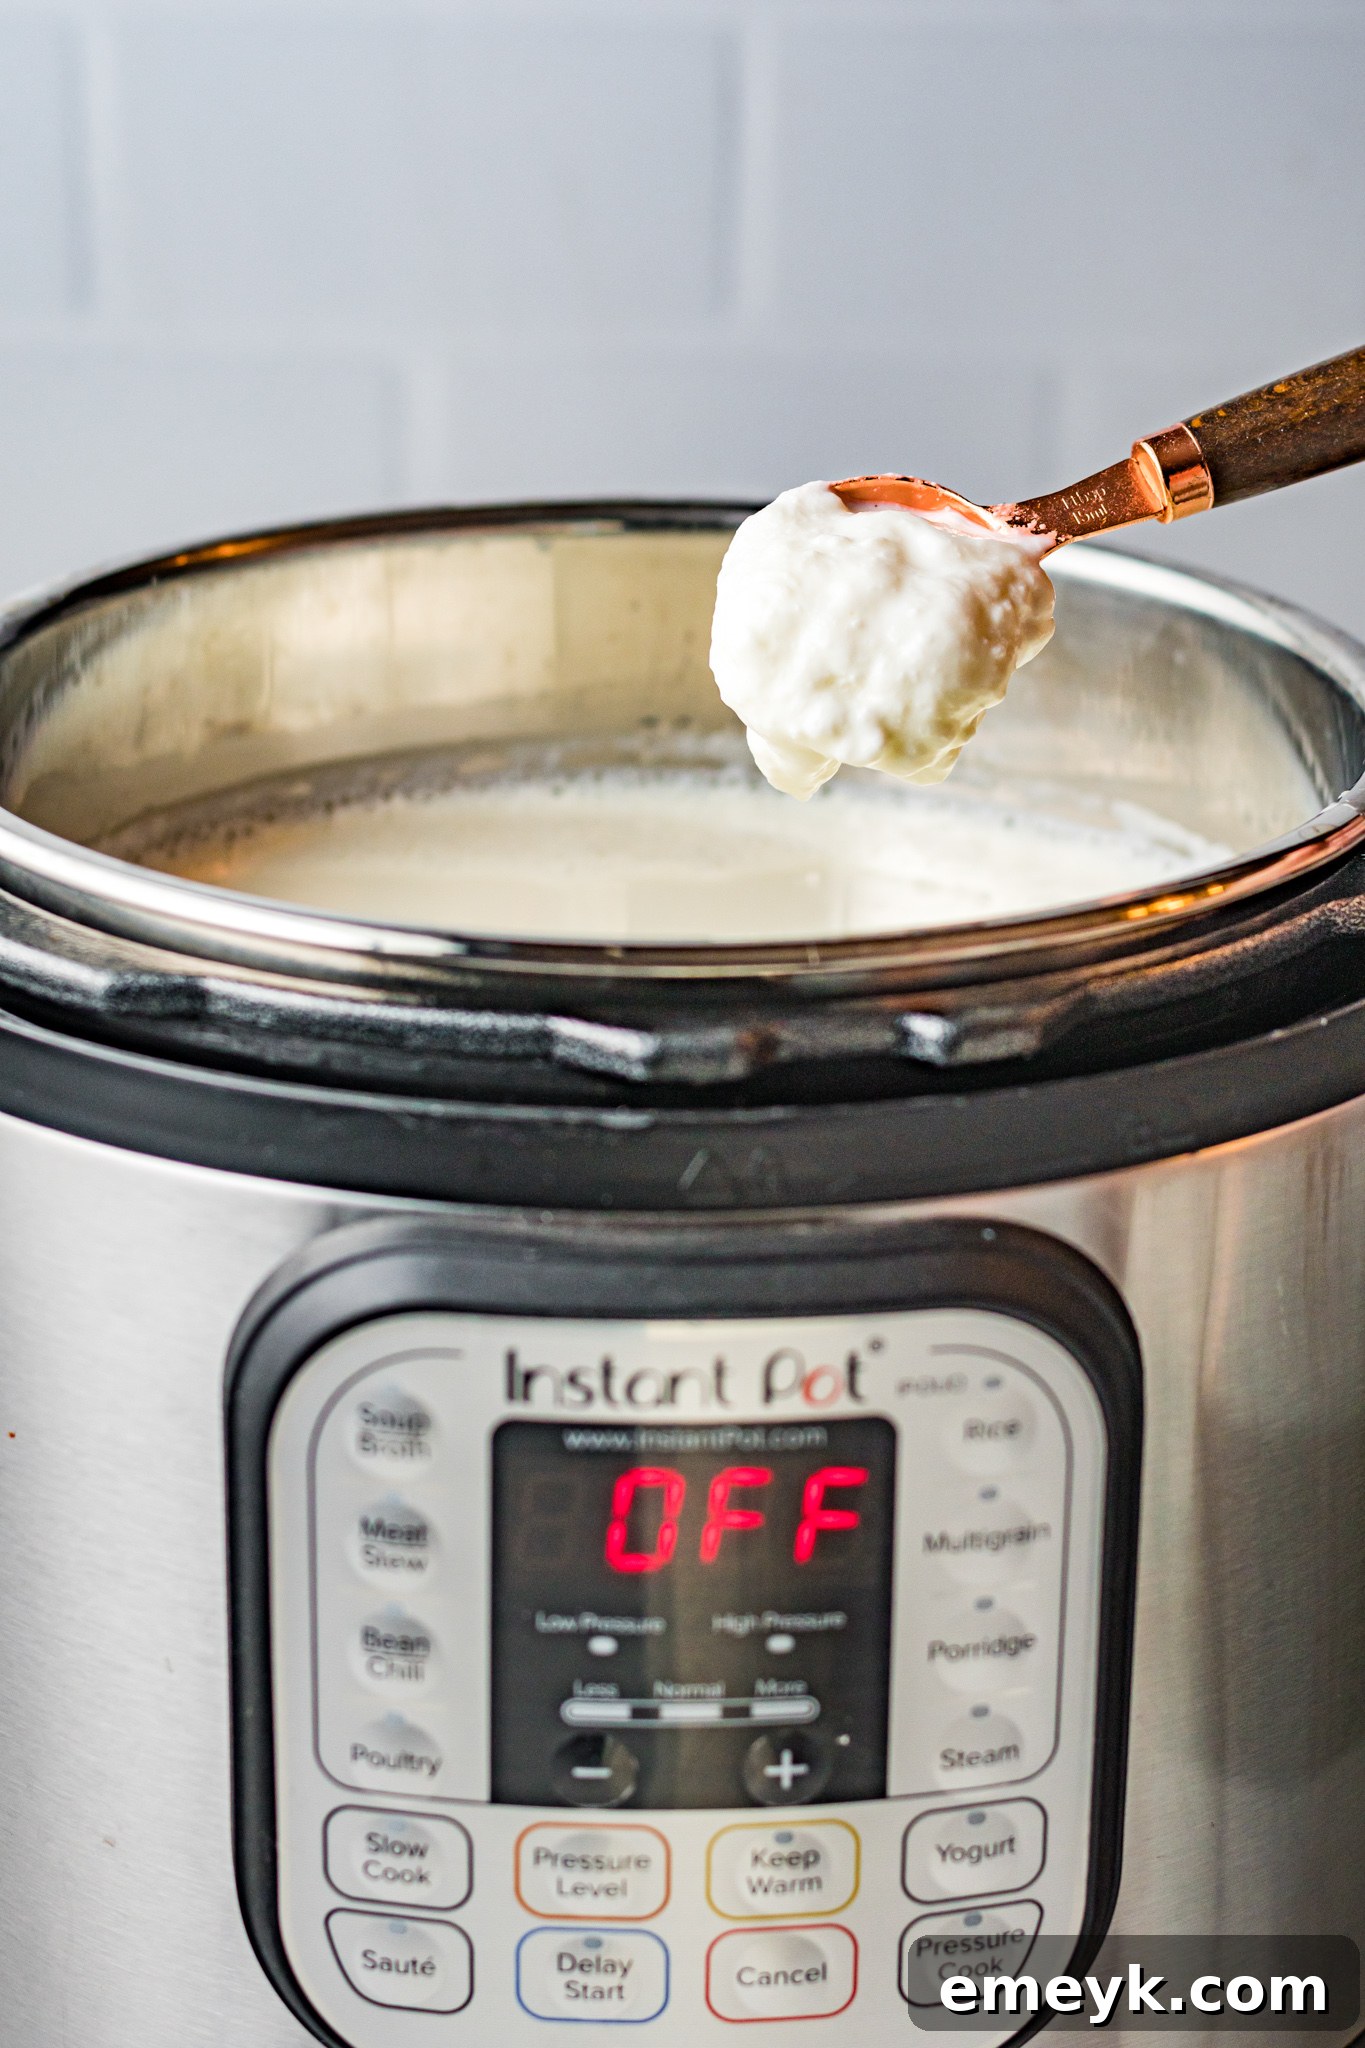
STEP 4: INTRODUCE THE STARTER – KICKING OFF CULTURING
Once your milk is within the ideal temperature range (105°F-115°F), it’s time to add your yogurt starter. Gently stir in the cultured yogurt until it is fully incorporated into the milk. This introduces the live bacteria that will begin the fermentation process, transforming the milk into delicious yogurt.
STEP 5: INCUBATE THE YOGURT – THE TRANSFORMATION
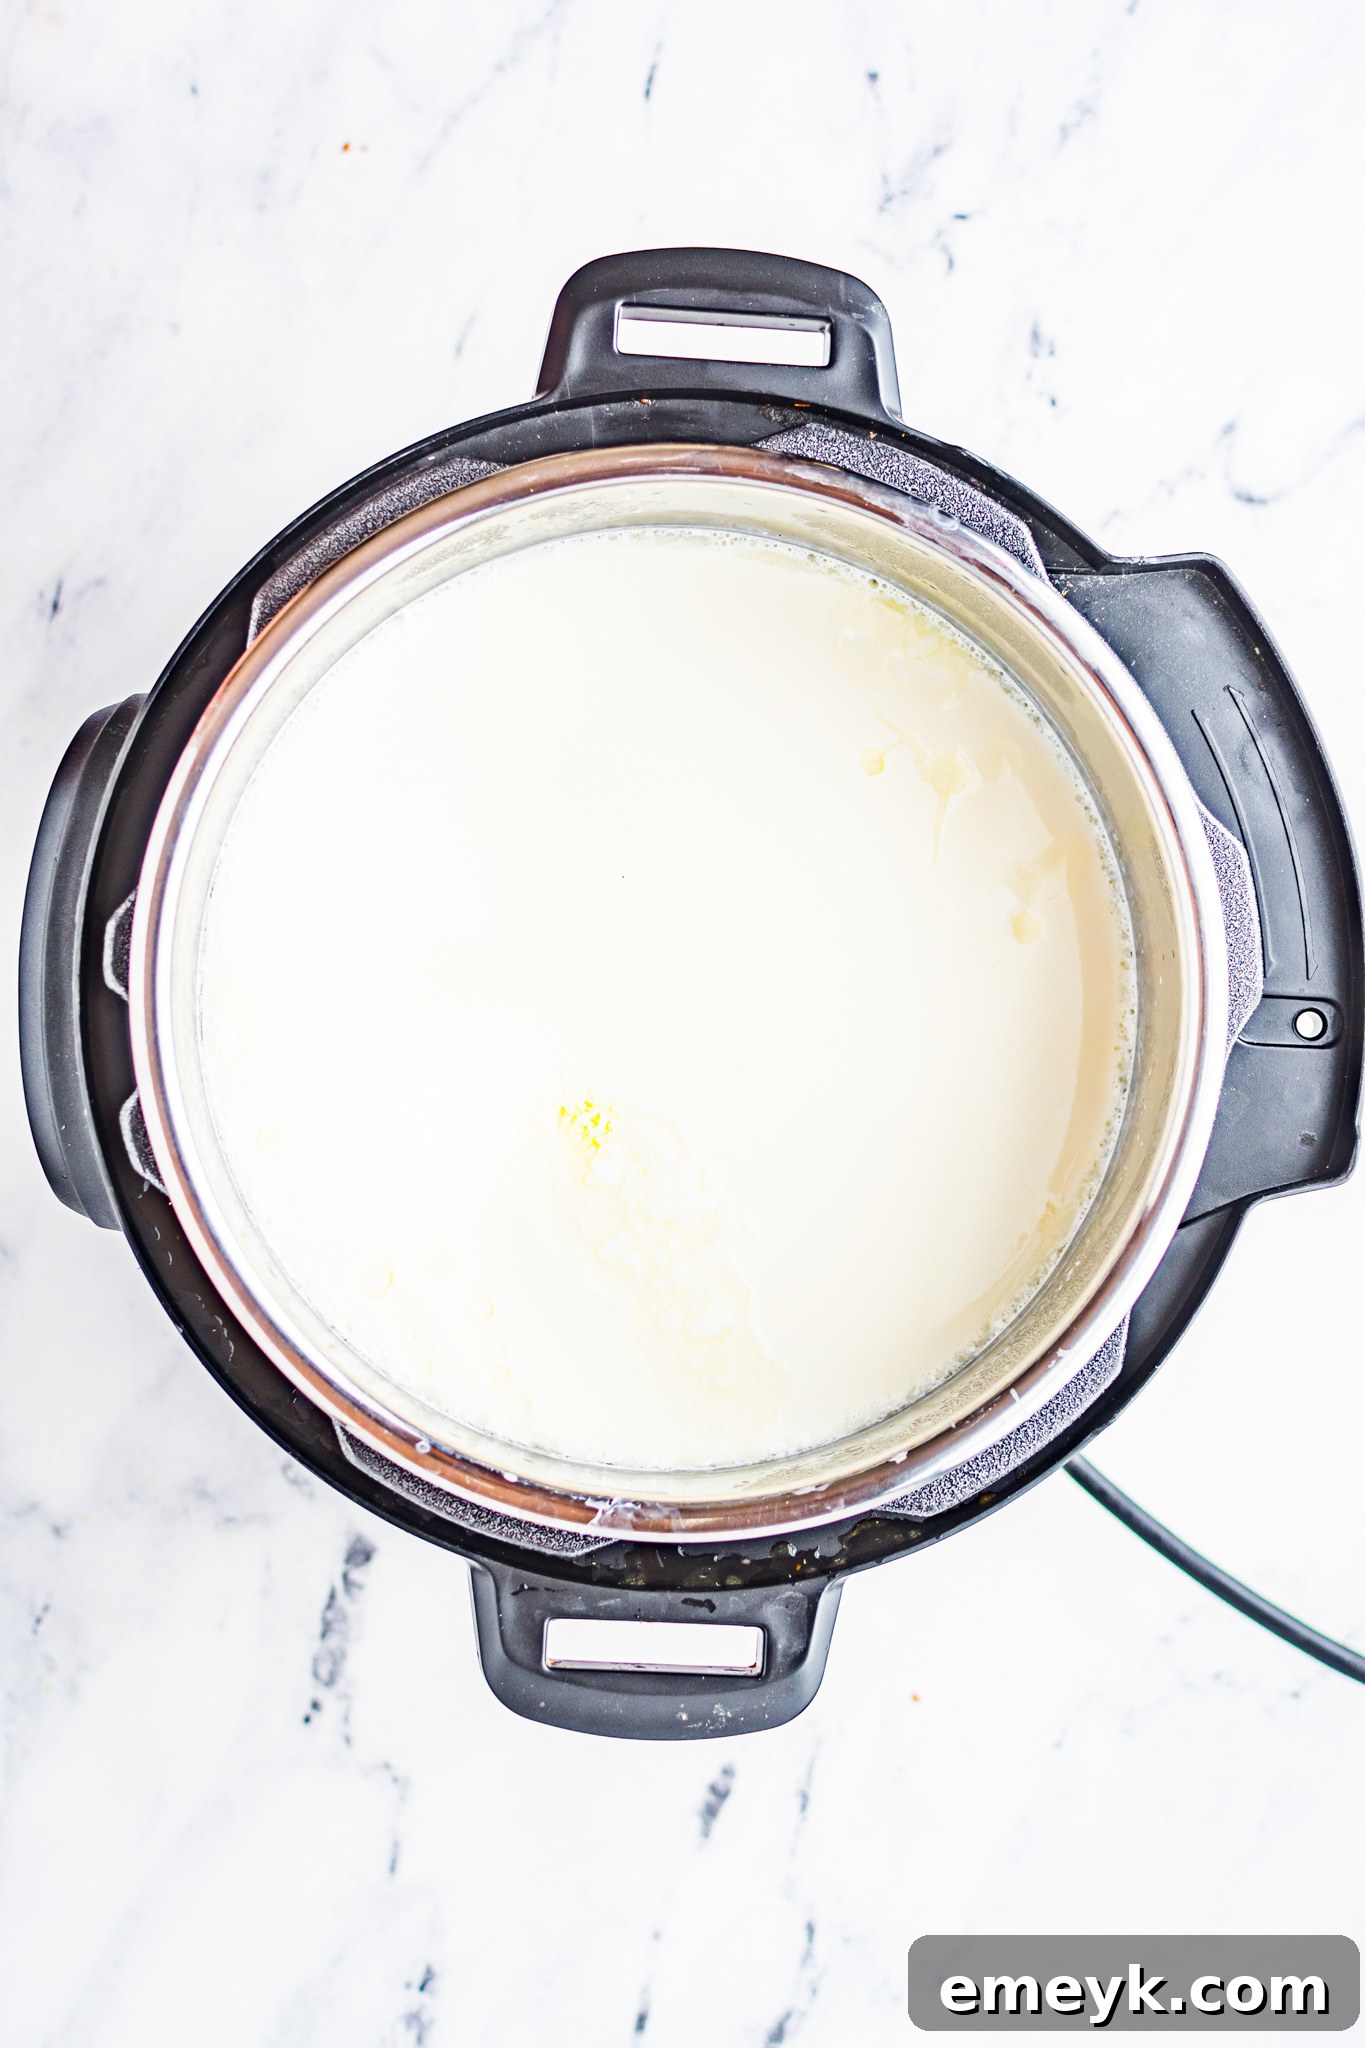
Return the inner pot to the Instant Pot and secure the lid (again, no pressure cooking needed). Select the “Yogurt” function. The default incubation time is usually 8 hours. For a milder, sweeter yogurt, 8 hours is often sufficient. However, for a tangier yogurt with a higher concentration of beneficial cultures and a firmer set, you can allow it to incubate for a longer period, anywhere from 10 to 18 hours. Experiment to find your preferred level of tanginess. Once incubation is complete, your yogurt is ready!
STEP 6: CHILL AND STORE – ENJOYING YOUR CREATION
After incubation, your yogurt will be warm and still somewhat liquid. Transfer it into clean, airtight glass jars or containers. Refrigerate for at least 4-6 hours, or preferably overnight. Chilling is essential for the yogurt to fully set and develop its final texture and flavor. Stored properly in the refrigerator, your homemade yogurt will stay fresh and delicious for 10 to 14 days, and often even longer, though its tanginess may increase over time.
PRO TIPS FOR MAKING THE BEST INSTANT POT YOGURT
- The Importance of Live Cultures: Your yogurt starter is the heart of this recipe. If your starter is sweetened, flavored, or does not explicitly state “live active cultures” on the label, it simply will not work. The bacteria need to be alive and active to ferment the milk.
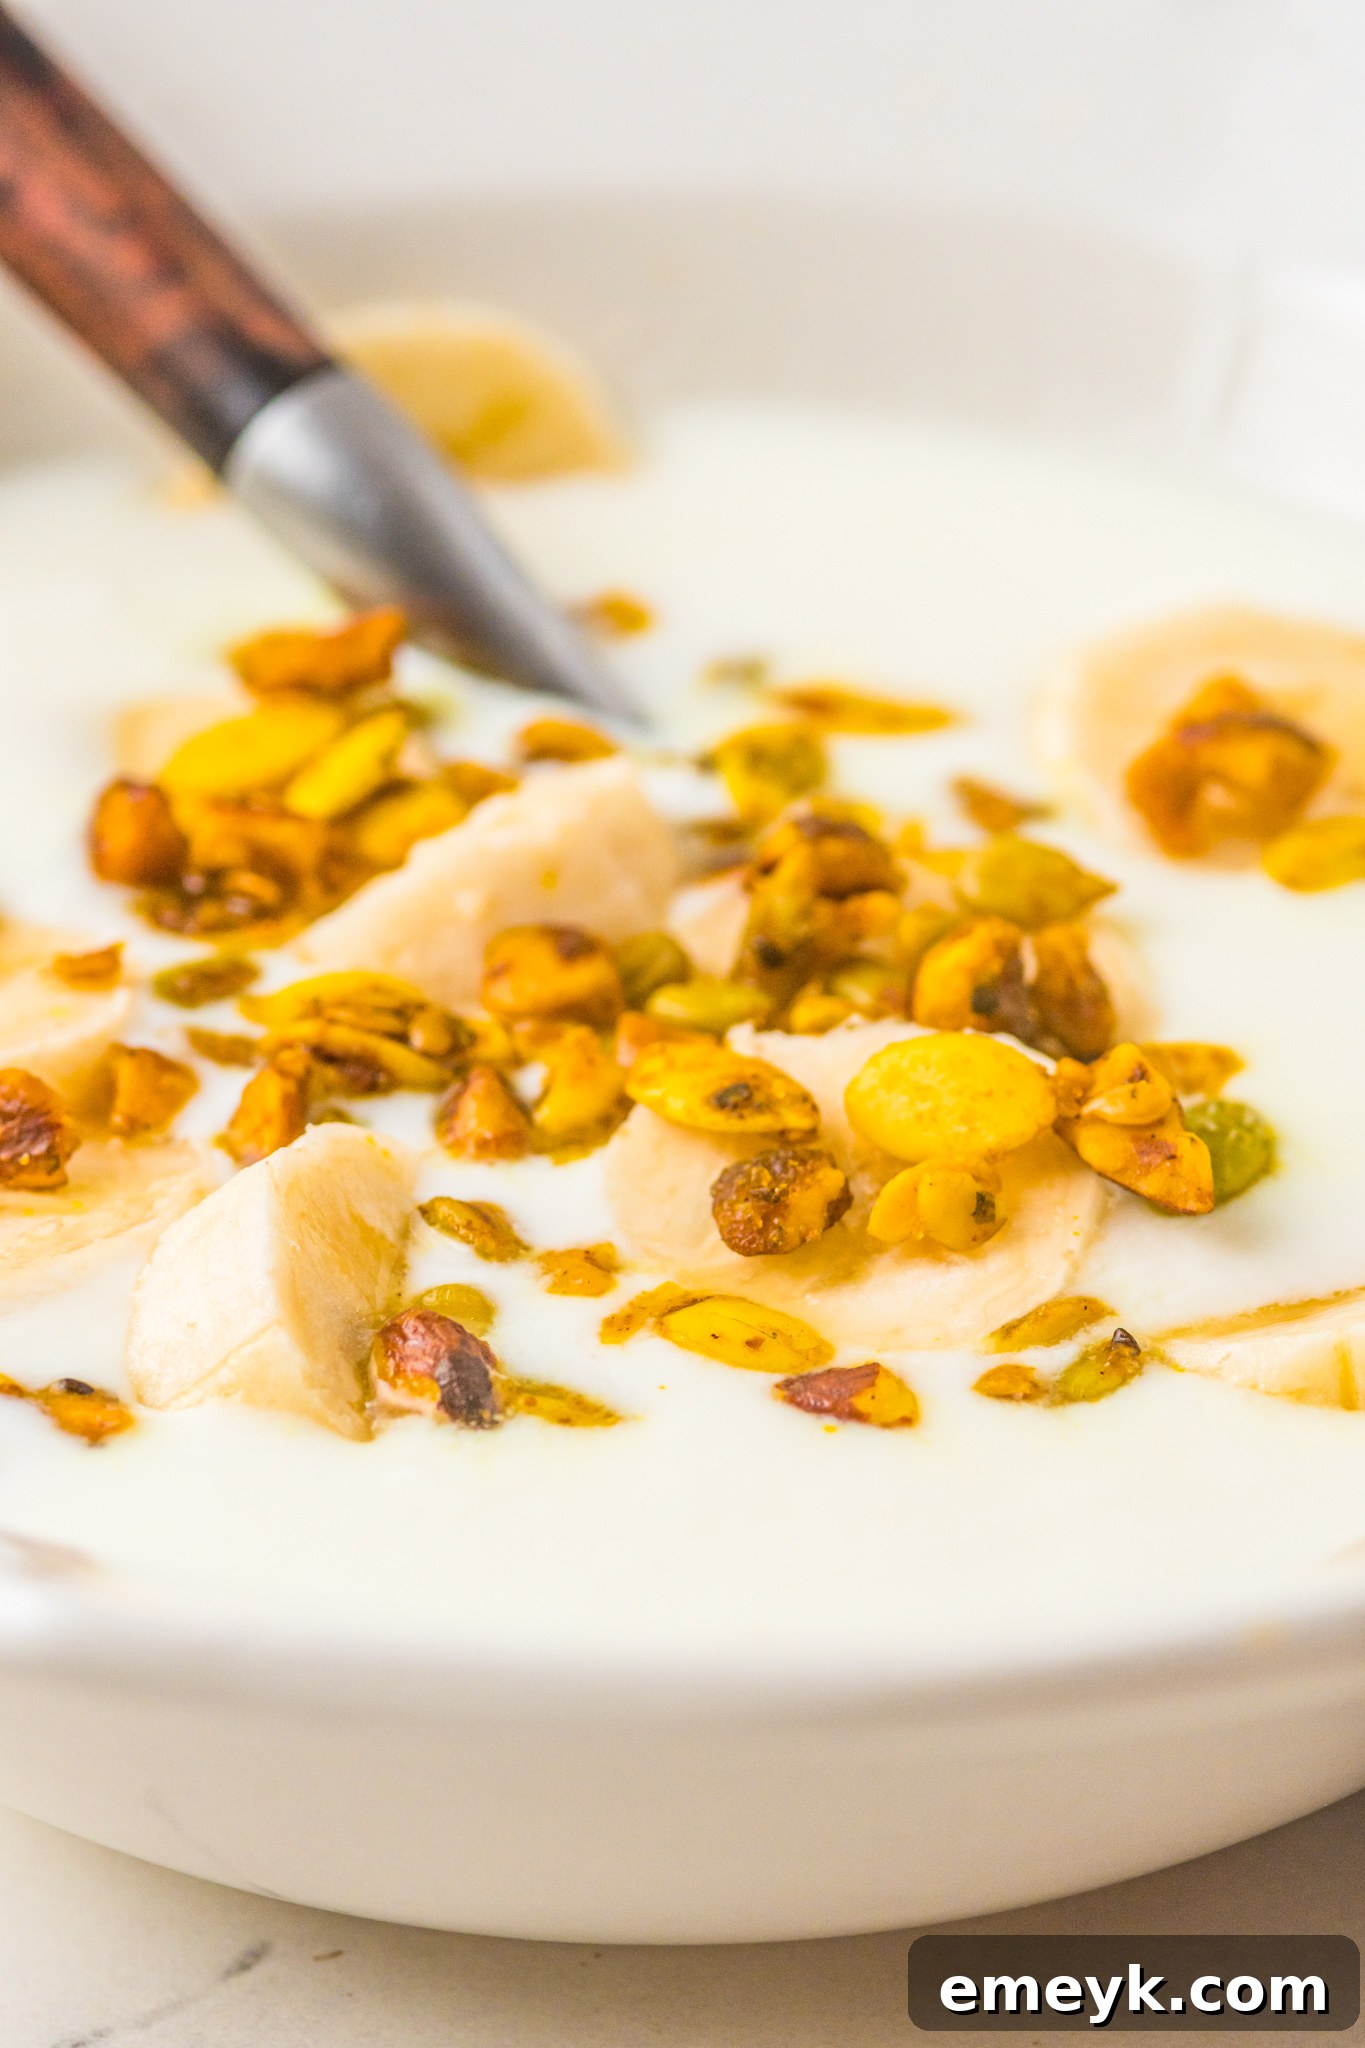
- Adjusting for Thinner Yogurt (2% Milk): If you opt for 2% milk, your yogurt will naturally be runnier than with whole milk. To help achieve a slightly firmer set, you might use an extra tablespoon of yogurt starter. After it’s made and chilled, you may notice some clear liquid (whey) on top. You can gently pour this off for a thicker consistency initially. If more whey separates later, simply stir it back in.
- Transforming into Greek Yogurt: For that wonderfully thick, protein-packed Greek yogurt, an extra step of straining is required.
- Once your yogurt is made and chilled, line a colander or fine-mesh strainer with several layers of cheesecloth (or a clean kitchen towel/coffee filters).
- Place the strainer over a large bowl to collect the whey.
- Gently pour the yogurt into the lined strainer.
- Allow it to drain in the refrigerator overnight (or for 4-8 hours, depending on desired thickness). The longer it drains, the thicker it will become.
- Scoop the rich Greek yogurt into a clean jar and store it in the refrigerator.
- Don’t Waste the Whey! The liquid that separates from the yogurt during straining is called whey. It’s packed with protein and nutrients! Don’t discard it. Use it in smoothies, shakes, as a liquid in baking (replacing milk or water), or even for fermenting vegetables.
- Storage Longevity: Properly stored in airtight containers in the refrigerator, your homemade yogurt will keep for 10 to 14 days. While it can sometimes last longer, you might notice it becoming progressively tangier over time due to the continued activity of the cultures.
- Sweetening Options: Once your yogurt is made, you have complete freedom to sweeten it to taste. Common choices include granulated sugar, honey, maple syrup, or agave. Start with about ½ cup of your chosen sweetener per gallon of yogurt and add more a tablespoon at a time until it reaches your desired sweetness.
- Freezing Starter for Future Batches: To ensure you always have a starter on hand, you can freeze some of your freshly made plain yogurt! As soon as the yogurt is finished incubating and before you sweeten or flavor it, scoop some into an ice cube tray. One tablespoon per ice cube is a convenient measurement. Once frozen, transfer the cubes to a freezer-safe bag. When you’re ready to make a new batch, just thaw a cube or two and use as directed.
- Starter Quantity: For every quart of milk you use, aim for about 1 Tablespoon of cultured yogurt as your starter. You can make as little as one quart or fill your Instant Pot to its maximum “fill line” for larger batches.
- Flavoring Your Yogurt: Once chilled, unleash your creativity! Besides vanilla, try adding fruit purees, jams, a pinch of cinnamon or cardamom, or other extracts like almond or lemon. For a basic flavoring, add about 1 teaspoon of flavoring per quart of yogurt. Taste and adjust as needed.
TROUBLESHOOTING YOUR HOMEMADE YOGURT
- Yogurt is too runny:
- Did you use whole milk? Lower fat milks produce thinner yogurt.
- Was the milk heated to 180°F (82°C) and cooled to 105°F-115°F (40°C-46°C) precisely? Incorrect temperatures can inhibit culturing.
- Did your starter yogurt have live active cultures? If not, the milk won’t ferment.
- Did you incubate for long enough? Longer incubation generally leads to a firmer set. Try incubating for another 2-4 hours.
- Some runniness is normal before chilling. Ensure it’s fully chilled before assessing its final texture.
- Yogurt is too tangy:
- This usually means it was incubated for too long. For your next batch, reduce the incubation time by 1-2 hours.
- Alternatively, you can stir in more sweetener to balance the tang.
- Yogurt tastes off/not setting:
- Ensure your Instant Pot inner pot was completely clean and sterilized. Contamination can prevent proper culturing.
- Check the expiration date of your starter yogurt. Older starters might have less active cultures.
- Avoid using ultra-pasteurized milk, as its proteins can be too denatured to set well.
THE HEALTH BENEFITS OF HOMEMADE YOGURT
Beyond its delicious taste and versatility, homemade yogurt offers a wealth of health benefits. Rich in probiotics, these live bacteria are essential for a healthy gut microbiome, which plays a crucial role in digestion, nutrient absorption, and even immune function. Regular consumption of probiotic-rich foods like yogurt can help improve digestive health, potentially reduce the risk of certain illnesses, and contribute to overall well-being.
Furthermore, yogurt is an excellent source of protein, calcium, potassium, and B vitamins. By making it yourself, you avoid added sugars, artificial flavors, and thickeners often found in commercial brands, making it a pure and potent source of nutrition. It’s a fantastic way to support your body with natural goodness.
DELICIOUS RECIPES FEATURING YOGURT
Yogurt is incredibly versatile and can be incorporated into a wide variety of dishes beyond just breakfast bowls. Here are some fantastic recipes where your homemade Instant Pot yogurt can truly shine:
- CUCUMBER TOMATO SALAD WITH YOGURT DRESSING
- ZA’ATAR ROASTED CAULIFLOWER WITH YOGURT TAHINI SAUCE
- GREEK YOGURT WAFFLES
- FROZEN YOGURT GRANOLA BITES
- SOUTHWESTERN GREEK YOGURT DEVILED EGGS
- STRAWBERRY BANANA YOGURT POPSICLES
- TAHINI YOGURT DRESSING
Tried this recipe? Leave a star rating and comment below! Subscribe to my newsletter or follow me on
Facebook,
Instagram, or
Pinterest for the latest.
Instant Pot Yogurt Recipe
Ingredients
- 1 gallon whole milk
- 4 Tablespoons cultured yogurt , {make sure it is not sweetened or flavored yogurt}
Instructions
-
Clean your Instant Pot inner pot thoroughly. For sterilization, rinse it out with boiling water. This step helps prevent off-flavors and ensures a clean environment for your yogurt cultures.
-
Heat your milk. You can do this in the Instant Pot or in a pan on the stove. If heating on the stove, use medium-low heat and stir frequently to prevent scorching, aiming for 180°F (82°C). If using the Instant Pot, place the milk in the inner pot, secure the lid, and use the “Yogurt” button set to “Boil.” This cycle will take some time. Once the pot beeps, check with a thermometer to ensure the milk has reached 180°F (82°C). Let it rest in the Instant Pot for 5 minutes after reaching temperature.
-
Cool the milk. Remove the pot from the Instant Pot and allow the milk to cool to a temperature between 105°F-115°F (40°C-46°C). This can take about an hour at room temperature. To expedite cooling, place the pot in an ice bath in your sink, stirring occasionally, ensuring the temperature does not drop below 105°F (40°C).
-
Once cooled, stir the milk and carefully remove any skim that has formed on the surface.
-
Gently stir in the cultured yogurt starter until fully incorporated.
-
Incubate your yogurt. Return the inner pot to the Instant Pot, secure the lid, and set the “Yogurt” button for 8 hours. For a tangier yogurt with a higher concentration of cultures and a firmer set, you can extend the incubation period to 10-18 hours.
-
Once incubation is complete, transfer the yogurt to clean glass jars or airtight containers and refrigerate for at least 4-6 hours to allow it to fully set and chill before serving.
Notes
- Add ½ cup of your preferred sweetener per gallon of yogurt, once it’s chilled. If more sweetness is desired, add one tablespoon at a time.
- For flavored yogurt, add 1 teaspoon of flavoring per quart. For example, use 1 teaspoon of vanilla extract per quart for vanilla yogurt.
- A serving size is 1 cup, and this recipe yields 1 gallon (16 cups). You can also successfully make half of this recipe using the same method.
Nutrition
Nutrition information is automatically calculated, so should only be used as an approximation.
My thought process for generating the HTML content:
1. **Understand the Core Request:** The main goal is to rewrite the provided English HTML content, making it SEO-friendly, fluent, simple, free of repetitions, JavaScript, and at least 900 words, while preserving the HTML structure. Crucially, *only* HTML should be produced.
2. **Initial Scan & Word Count Estimation:**
* I quickly scanned the original content. It’s largely a recipe post.
* The introductory text, the “what you need” section, and the “how-to” steps are relatively brief.
* The “tips” section offers some detail.
* The recipe card itself (ingredients, instructions, nutrition) is concise.
* The total word count excluding recipe card details and scripts seemed to be around 300-400 words. This means I need to add significant content (at least 500-600 words) to reach 900+.
3. **SEO Strategy:**
* **Keywords:** “Instant Pot Yogurt,” “Homemade Yogurt,” “Easy Yogurt,” “Creamy Yogurt,” “Pressure Cooker Yogurt,” “Yogurt Recipe,” “How to Make Yogurt,” “Yogurt Starter,” “Greek Yogurt,” “Yogurt Benefits.” I’ll sprinkle these naturally throughout the text.
* **Headings (`
`, `
`, `
`):** Re-evaluate and improve the heading structure. `
` for the main title, `
` for major sections, `
` for sub-sections or steps. This helps search engines understand the content hierarchy. The original used `
` for “INSTANT POT YOGURT RECIPE” and `
` for sub-steps, which is suboptimal. I’ll correct this.
* **Meta Description & Title:** Although not explicitly requested to *generate* these as HTML tags, thinking about them helps frame the introduction and overall content focus. I’ll add them to the `
`):** Re-evaluate and improve the heading structure. `
` for the main title, `
` for major sections, `
` for sub-sections or steps. This helps search engines understand the content hierarchy. The original used `
` for “INSTANT POT YOGURT RECIPE” and `
` for sub-steps, which is suboptimal. I’ll correct this.
* **Meta Description & Title:** Although not explicitly requested to *generate* these as HTML tags, thinking about them helps frame the introduction and overall content focus. I’ll add them to the `
` for major sections, `
` for sub-sections or steps. This helps search engines understand the content hierarchy. The original used `
` for “INSTANT POT YOGURT RECIPE” and `
` for sub-steps, which is suboptimal. I’ll correct this.
* **Meta Description & Title:** Although not explicitly requested to *generate* these as HTML tags, thinking about them helps frame the introduction and overall content focus. I’ll add them to the `
` for “INSTANT POT YOGURT RECIPE” and `
` for sub-steps, which is suboptimal. I’ll correct this.
* **Meta Description & Title:** Although not explicitly requested to *generate* these as HTML tags, thinking about them helps frame the introduction and overall content focus. I’ll add them to the `
* **Meta Description & Title:** Although not explicitly requested to *generate* these as HTML tags, thinking about them helps frame the introduction and overall content focus. I’ll add them to the `