
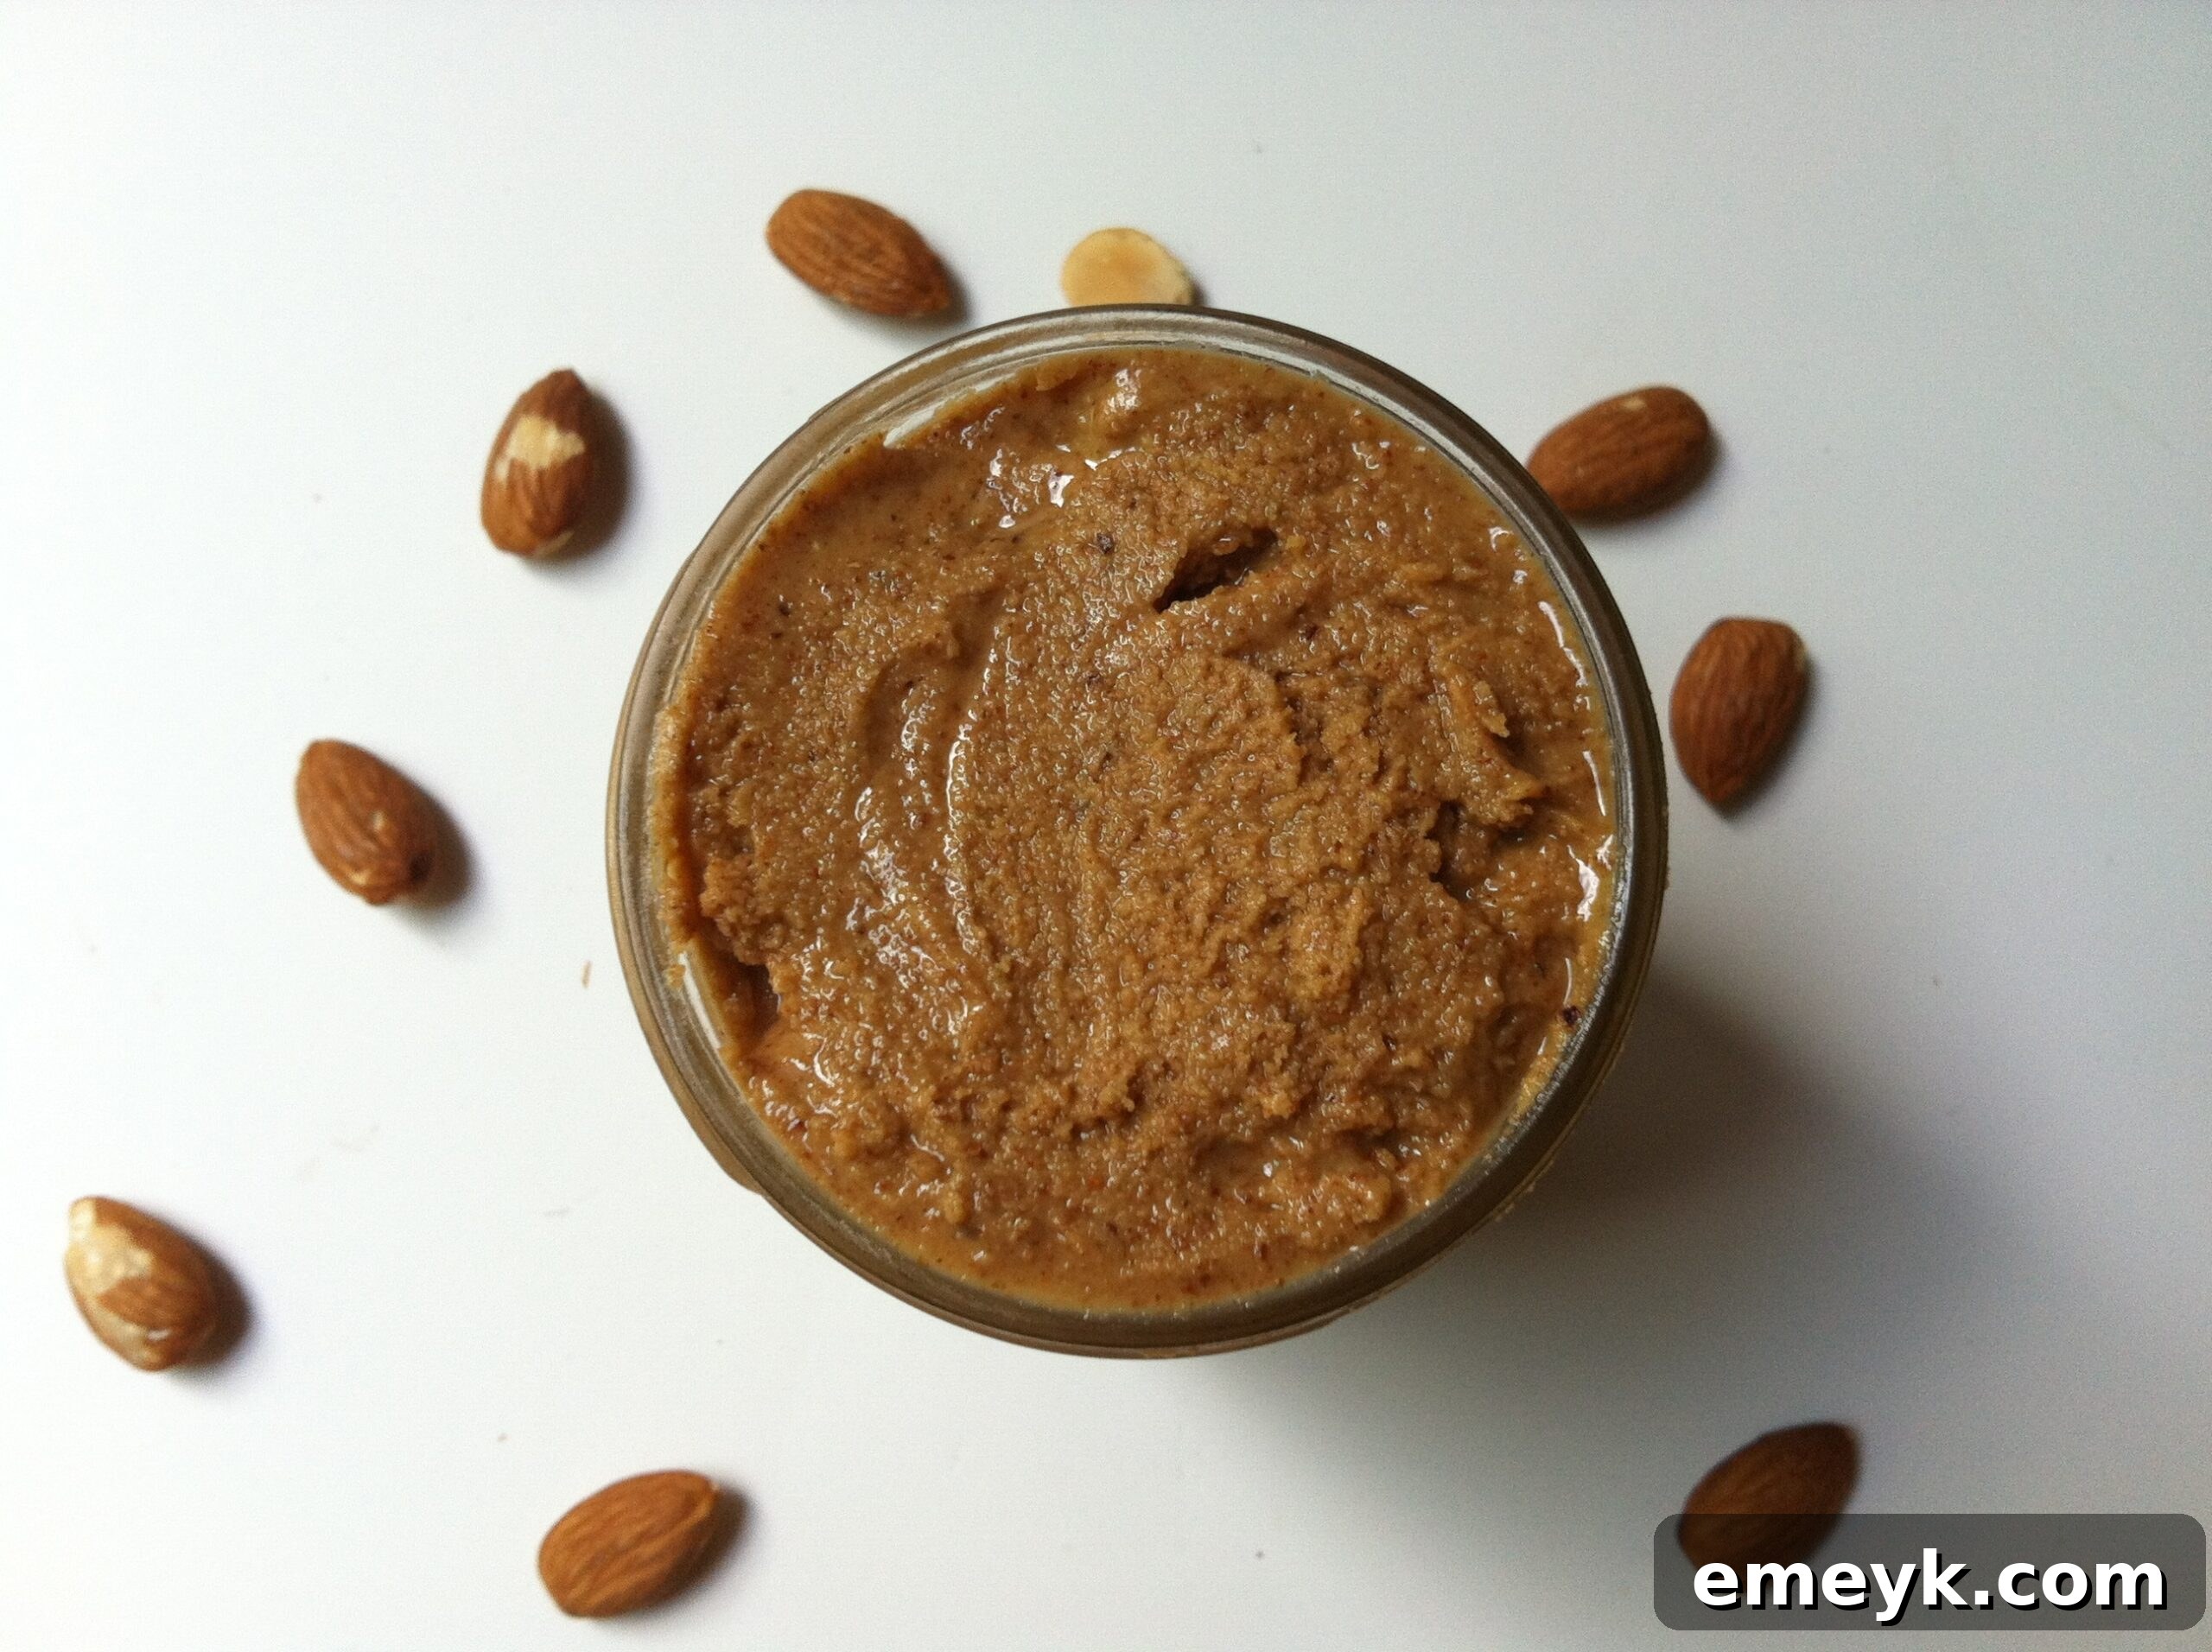
Unlock the Secret to Perfect Homemade Almond Butter: A Healthy and Delicious DIY Guide
Are you looking for a wholesome, delicious, and versatile spread that’s free from unnecessary additives? Look no further! Making your own almond butter at home is surprisingly simple, incredibly rewarding, and ensures you always have a fresh, healthy snack on hand. Forget those expensive store-bought jars; with just one ingredient and a reliable food processor, you can create a creamy, rich nut butter that rivals any gourmet brand.
Homemade almond butter offers a myriad of benefits. You control exactly what goes into it, avoiding unwanted sugars, hydrogenated oils, and preservatives often found in commercial varieties. This means a purer, healthier product packed with natural goodness. Plus, the satisfaction of creating something so delicious from scratch is truly unmatched. Whether you’re a seasoned chef or a kitchen novice, this guide will walk you through every step to achieving perfectly smooth and luscious almond butter.
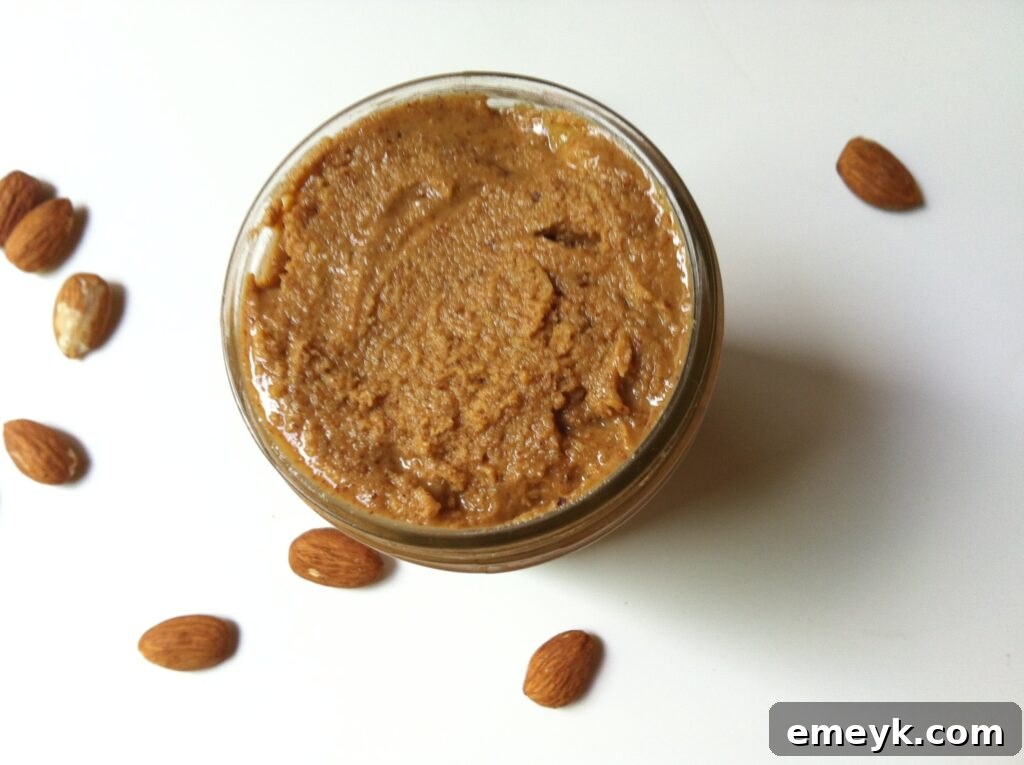
The Ultimate Guide to Making Homemade Almond Butter
Just like its popular cousin, peanut butter, almond butter is a fantastic source of healthy fats, protein, and fiber. It’s an excellent choice for those seeking a paleo, keto, vegan, or gluten-free addition to their diet. Once you taste the difference of homemade, you might never go back to store-bought! This recipe is incredibly adaptable, allowing you to customize the flavor and texture to your exact preferences. Get ready to elevate your snack game and impress your taste buds.
Ingredients You’ll Need:
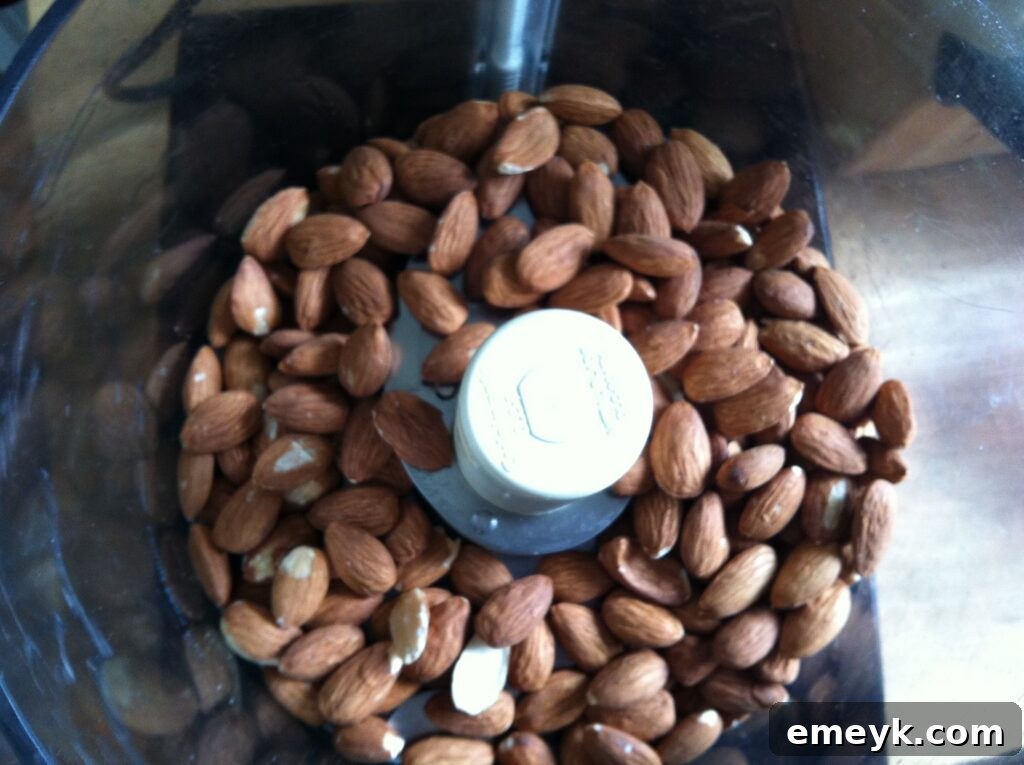
- 2 cups (approximately 240g) Almonds: You can use raw, dry roasted, or blanched almonds. For a richer flavor, we recommend dry roasted and unsalted almonds. If using raw almonds, you might want to roast them yourself for a deeper, more pronounced nutty taste.
- Pinch of Sea Salt (Optional): Enhances the flavor. Add to taste.
- Optional Flavor Boosters: A drizzle of honey or maple syrup, a dash of cinnamon, a splash of vanilla extract, or even a tablespoon of cocoa powder for a chocolatey twist.
Equipment Required:
- High-Powered Food Processor: This is the most crucial tool. A good quality food processor with a sharp S-blade is essential for transforming the almonds into a smooth, creamy butter. A blender might work, but typically struggles more and requires frequent scraping.
- Spatula: For scraping down the sides of the food processor bowl.
- Airtight Container or Jar: For storing your finished almond butter.
Step-by-Step Instructions for Making Almond Butter:
Step 1: Prepare Your Almonds (Roasting Optional but Recommended)
If you’re using raw almonds, roasting them beforehand will significantly enhance their flavor and make them easier to process into a smooth butter. Spread your raw almonds in a single layer on a baking sheet. Roast in a preheated oven at 350°F (175°C) for 8-10 minutes, or until fragrant and lightly golden. Be careful not to burn them! Let them cool slightly before proceeding. If using pre-roasted almonds, you can skip this step.
Step 2: Start Processing the Almonds
Pour your prepared almonds into the bowl of your high-powered food processor. Secure the lid. Begin processing the almonds, starting with a continuous run rather than pulsing. The magic happens as the almonds break down through several distinct stages, so patience is key!
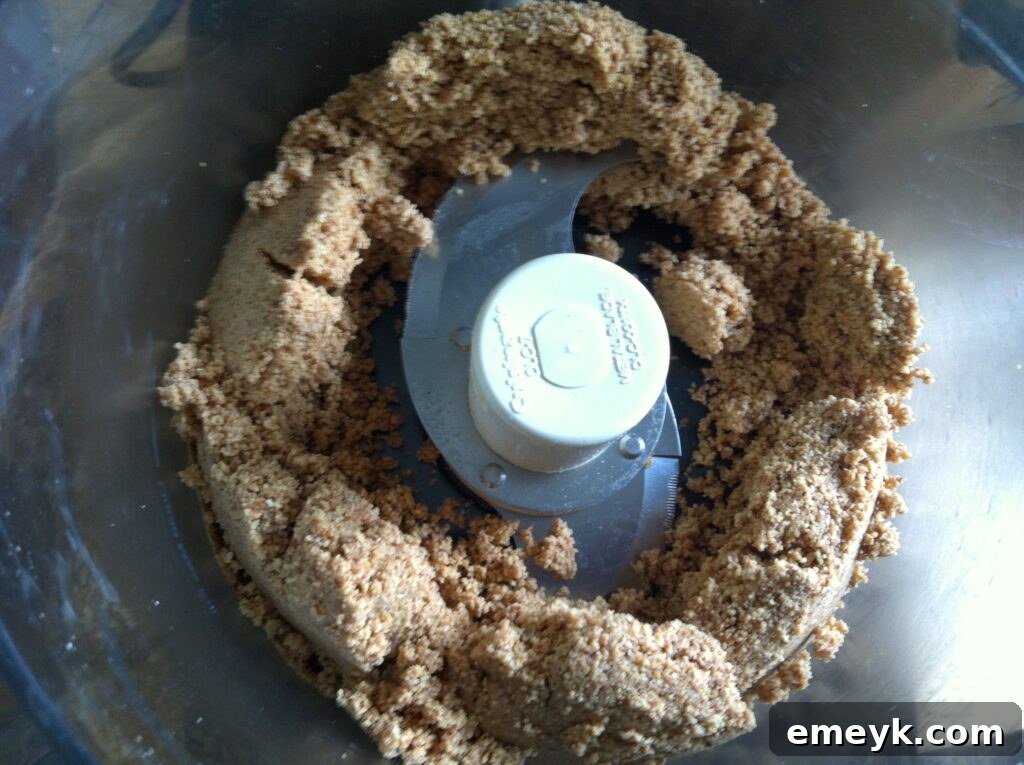
Step 3: Observe the Transformation – From Flour to Paste
Initially, the almonds will transform into a fine, crumbly flour. This typically happens within the first 1-2 minutes. The consistency will resemble ground nuts, similar to what you might use for baking. Continue to let the food processor run.
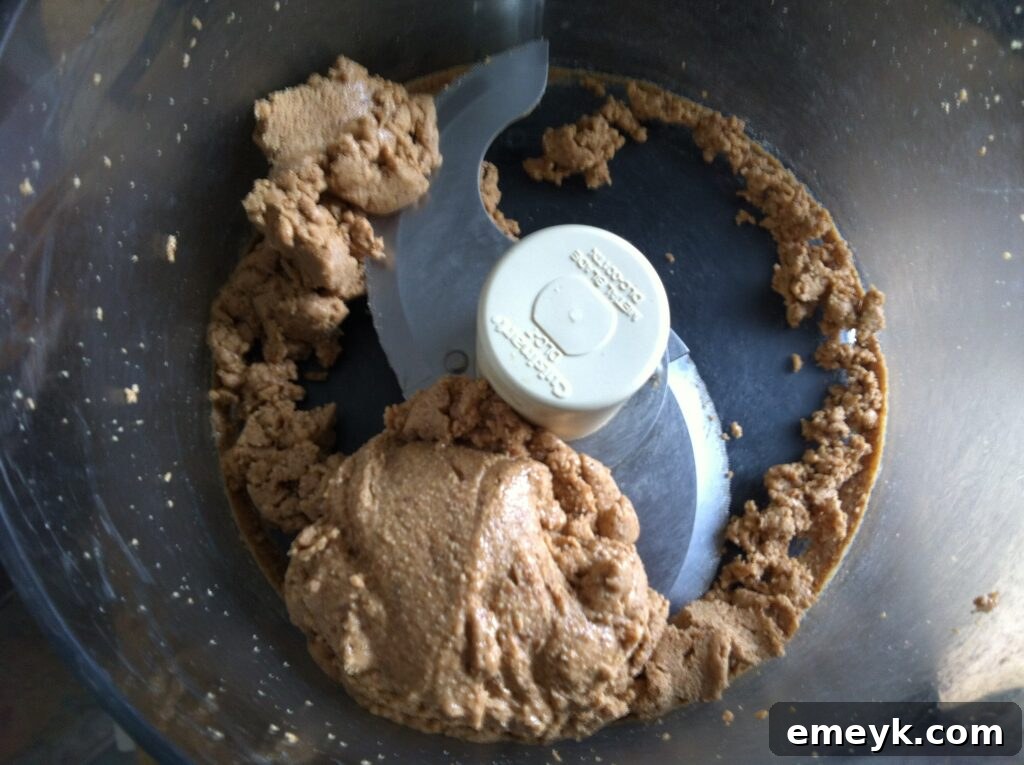
Step 4: The Almond Paste Stage
As the processing continues, the natural oils from the almonds will begin to release. The mixture will transition from a dry flour to a thicker, sticky paste. This usually occurs around the 3-5 minute mark. You’ll notice the paste starting to clump together and stick to the sides of the food processor bowl. At this point, it’s crucial to pause the machine every couple of minutes and use your spatula to scrape down the sides. This ensures all the almond bits are evenly processed and helps prevent the motor from overheating.
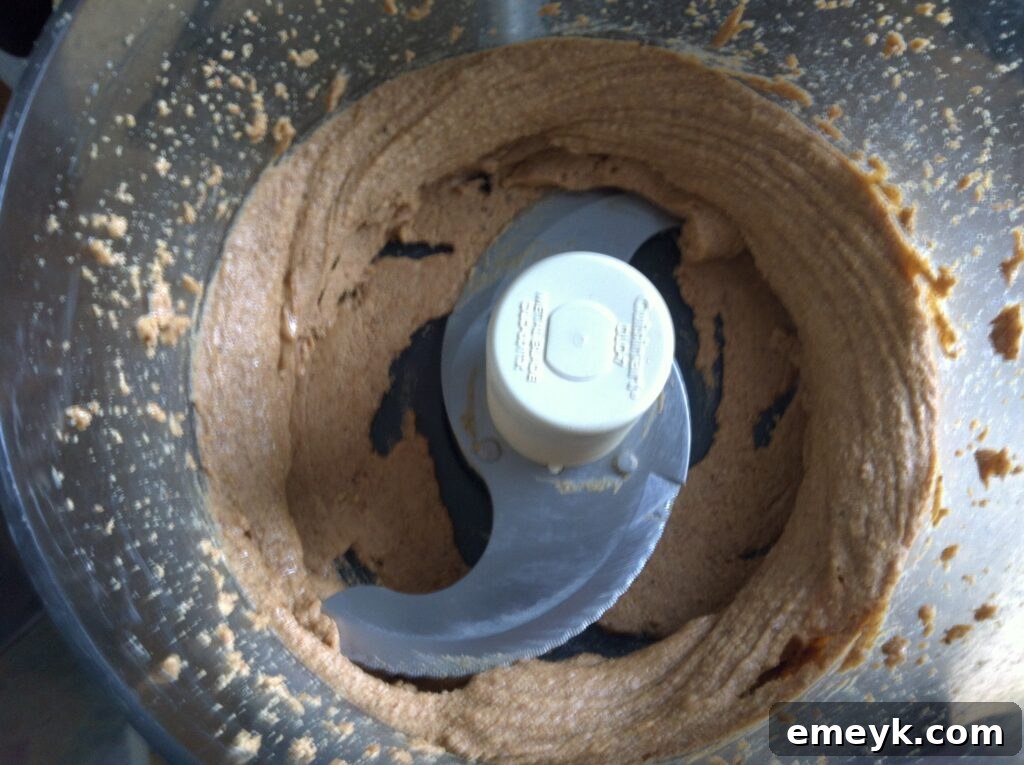
Step 5: Achieving the Creamy Butter Consistency
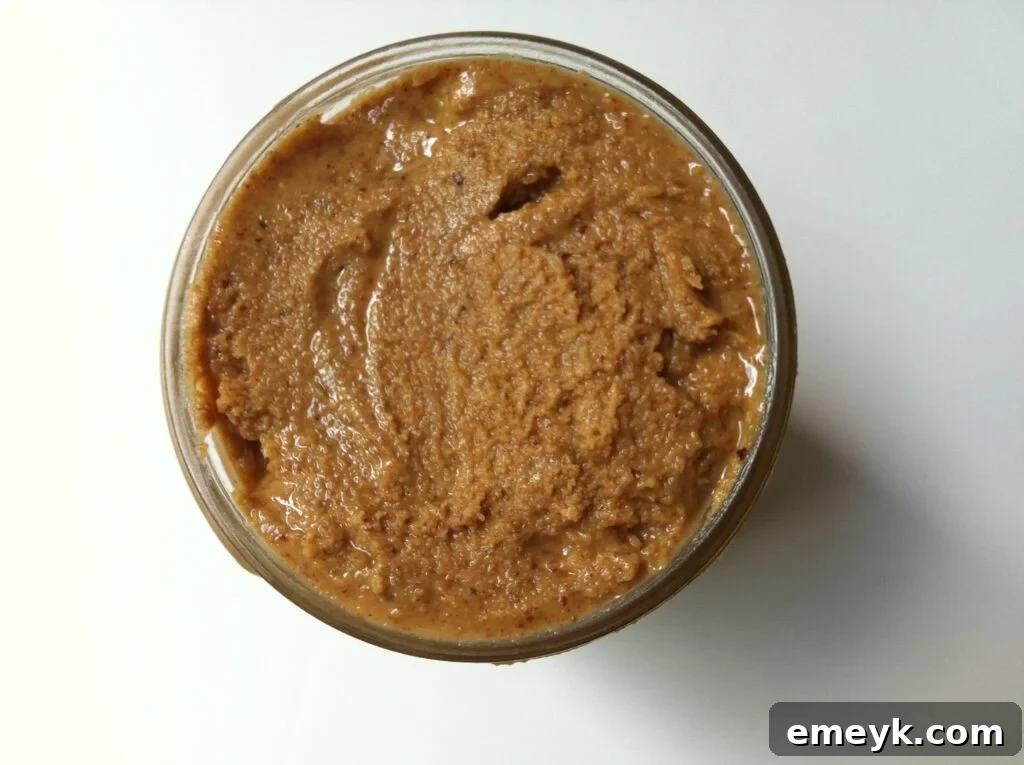
Keep processing! The mixture will go through another phase where it might look like a large, sticky ball or several smaller clumps. Don’t be discouraged; this is a normal part of the process. Continue running the food processor, scraping down the sides as needed. Within 8-15 minutes (depending on your machine’s power), the friction and heat will fully release the oils, and the clumps will magically break down into a wonderfully smooth, pourable, and buttery mixture. The texture will be glossy and fluid.
Step 6: Season and Customize
Once your almond butter has reached your desired creamy consistency, it’s time to taste and season. Dip a clean finger into the butter and assess its flavor. If you prefer a touch of savory, add a pinch of sea salt and process for another 30 seconds to ensure it’s fully incorporated. This is also the stage to add any optional flavorings like a drizzle of honey, maple syrup, vanilla extract, or cinnamon. Process briefly after adding any extras.
Tips for the Best Homemade Almond Butter:
- Patience is a Virtue: The entire process can take anywhere from 8 to 20 minutes, depending on your food processor. Don’t rush it; let the machine do its work.
- Don’t Overheat: If your food processor feels very hot or you smell the motor straining, turn it off and let it rest for 5-10 minutes before continuing. This prevents damage to your appliance.
- Consistency Check: If your almond butter seems too thick, you can add a very small amount (1-2 teaspoons) of neutral oil, like avocado or grapeseed oil, and process again. However, in most cases, with enough processing, the almonds will release enough of their own oil.
- Raw vs. Roasted: Raw almond butter will have a milder flavor and a slightly different nutritional profile. Roasted almonds yield a richer, deeper flavor that many prefer. Experiment to find your favorite!
- Variations Are Endless:
- Sweet: Add a tablespoon of honey, maple syrup, or agave nectar.
- Spiced: Incorporate cinnamon, nutmeg, or pumpkin pie spice.
- Chocolate: Blend in 1-2 tablespoons of unsweetened cocoa powder.
- Vanilla: A few drops of pure vanilla extract can add a wonderful aroma and taste.
Storage and Shelf Life:
Once your homemade almond butter is complete, transfer it to a clean, airtight jar or container. Store it in the refrigerator. Homemade almond butter, free from preservatives, typically lasts for about 2-3 weeks in the fridge. If you add ingredients like honey or other moisture-rich flavorings, its shelf life might be slightly shorter. Always use a clean spoon to scoop out the butter to prevent contamination.
Delicious Ways to Enjoy Your Homemade Almond Butter:
The versatility of almond butter knows no bounds! Here are just a few ideas to get you started:
- Classic Pairings: Spread it generously on apple slices, banana, celery sticks, or your favorite crackers for a quick and nutritious snack.
- Breakfast Booster: Swirl it into your oatmeal, yogurt, or spread it on a warm slice of toast.
- Smoothie Enhancer: Add a tablespoon or two to your morning smoothie for an extra boost of protein and healthy fats.
- Baking Ingredient: Incorporate it into cookies, muffins, energy balls, or homemade granola bars.
- Savory Creations: Believe it or not, almond butter can also be used in savory dishes! Think of it in dressings, sauces for stir-fries, or even as a base for marinades.
- Dessert Topping: Drizzle it over ice cream or a fruit salad for a delightful treat.
Making your own almond butter is an incredibly simple yet rewarding culinary adventure. It’s healthier, more economical, and allows for endless customization. Once you experience the fresh, natural taste, you’ll wonder why you ever bought it from the store. So go ahead, give it a try, and enjoy the wholesome goodness of homemade almond butter!