
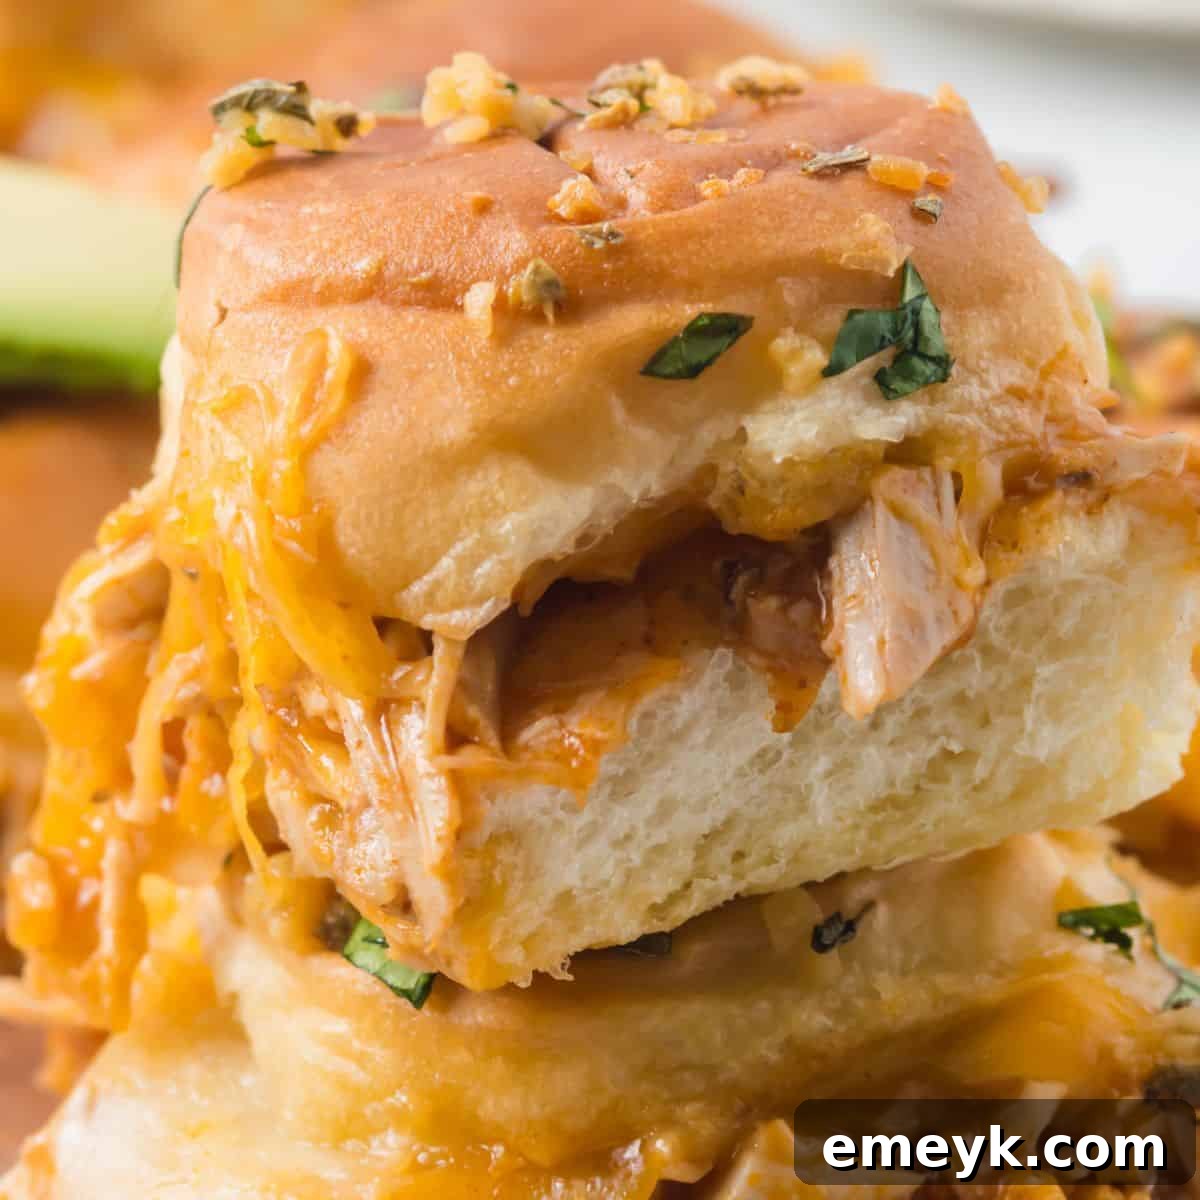
Chicken Enchilada Sliders offer a remarkably delicious and incredibly convenient way to transform leftover roast chicken into an exciting meal. These mini sandwiches are packed with flavor, combining tender shredded chicken with a zesty enchilada sauce, sautéed onions, aromatic garlic, and gooey melted cheese. Everything is nestled within soft rolls, brushed with a savory herb butter, and baked to golden perfection in the oven until wonderfully warm and bubbly. They’re a simple yet satisfying dish that brings a vibrant Mexican-inspired twist to your table, sure to delight family and friends alike.
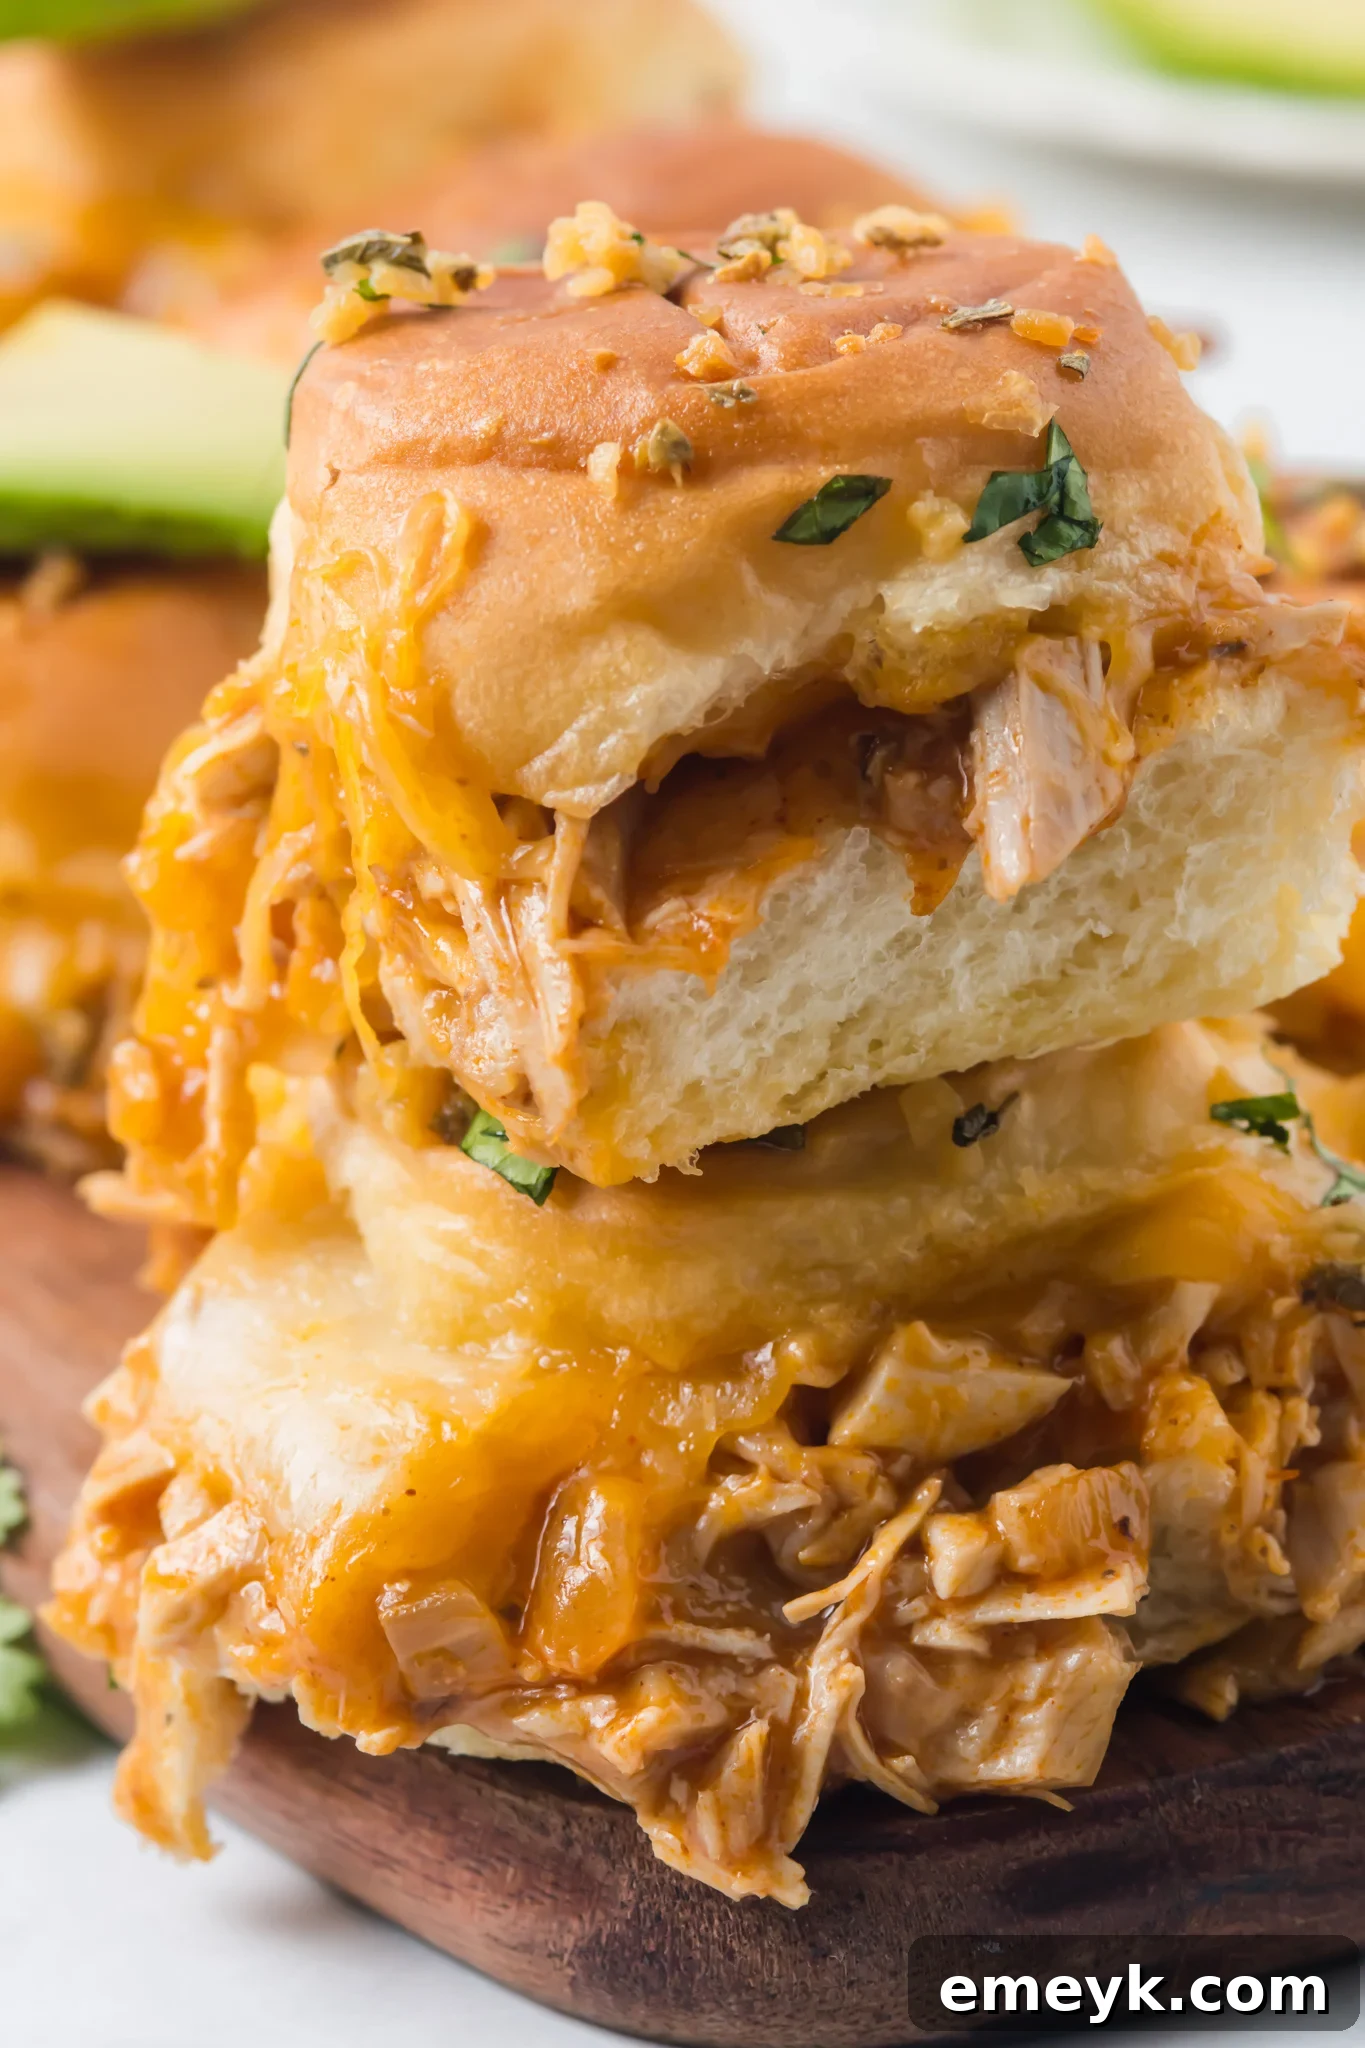
Why These Chicken Enchilada Sliders Will Be Your New Favorite!
When it comes to whipping up a fantastic meal in a flash, these Chicken Enchilada Sliders truly stand out. Requiring just 20 minutes of active prep time and another 20 minutes in the oven, they are the ultimate solution for a busy weeknight dinner or a spontaneous gathering. Their ease of preparation doesn’t compromise on flavor; instead, it delivers a deeply satisfying dish that tastes like you spent hours in the kitchen.
These sliders are incredibly versatile, making them perfect for almost any occasion. Planning a tailgating party? Hosting a game-day spread? Need an effortless dish for a potluck? Look no further! They’re designed to feed a crowd, and I often prepare one tray of these savory Easy Chicken Sliders alongside a tray of today’s enchilada version for larger parties. Without fail, they disappear quickly – always a massive hit with guests!
Beyond their speed and crowd-pleasing qualities, these sliders are a champion of efficiency, particularly for using up leftovers. If you have extra rotisserie chicken from dinner, or even leftover herb-roasted turkey from a holiday like Thanksgiving, this recipe offers a delicious and creative way to repurpose them. You can also easily prepare the shredded chicken fresh using convenient methods such as Instant Pot Shredded Chicken or this incredibly simple Slow Cooker Shredded Chicken.
If you’re a fan of the slider concept and looking for more variety, you might also enjoy exploring these other tempting options: Roasted Beef Sliders, Taco Beef Sliders, or the comforting Easy Chicken Parmesan Sliders. Each offers a unique flavor profile while maintaining the beloved grab-and-go format that makes sliders so popular.
Essential Ingredients for Your Enchilada Sliders
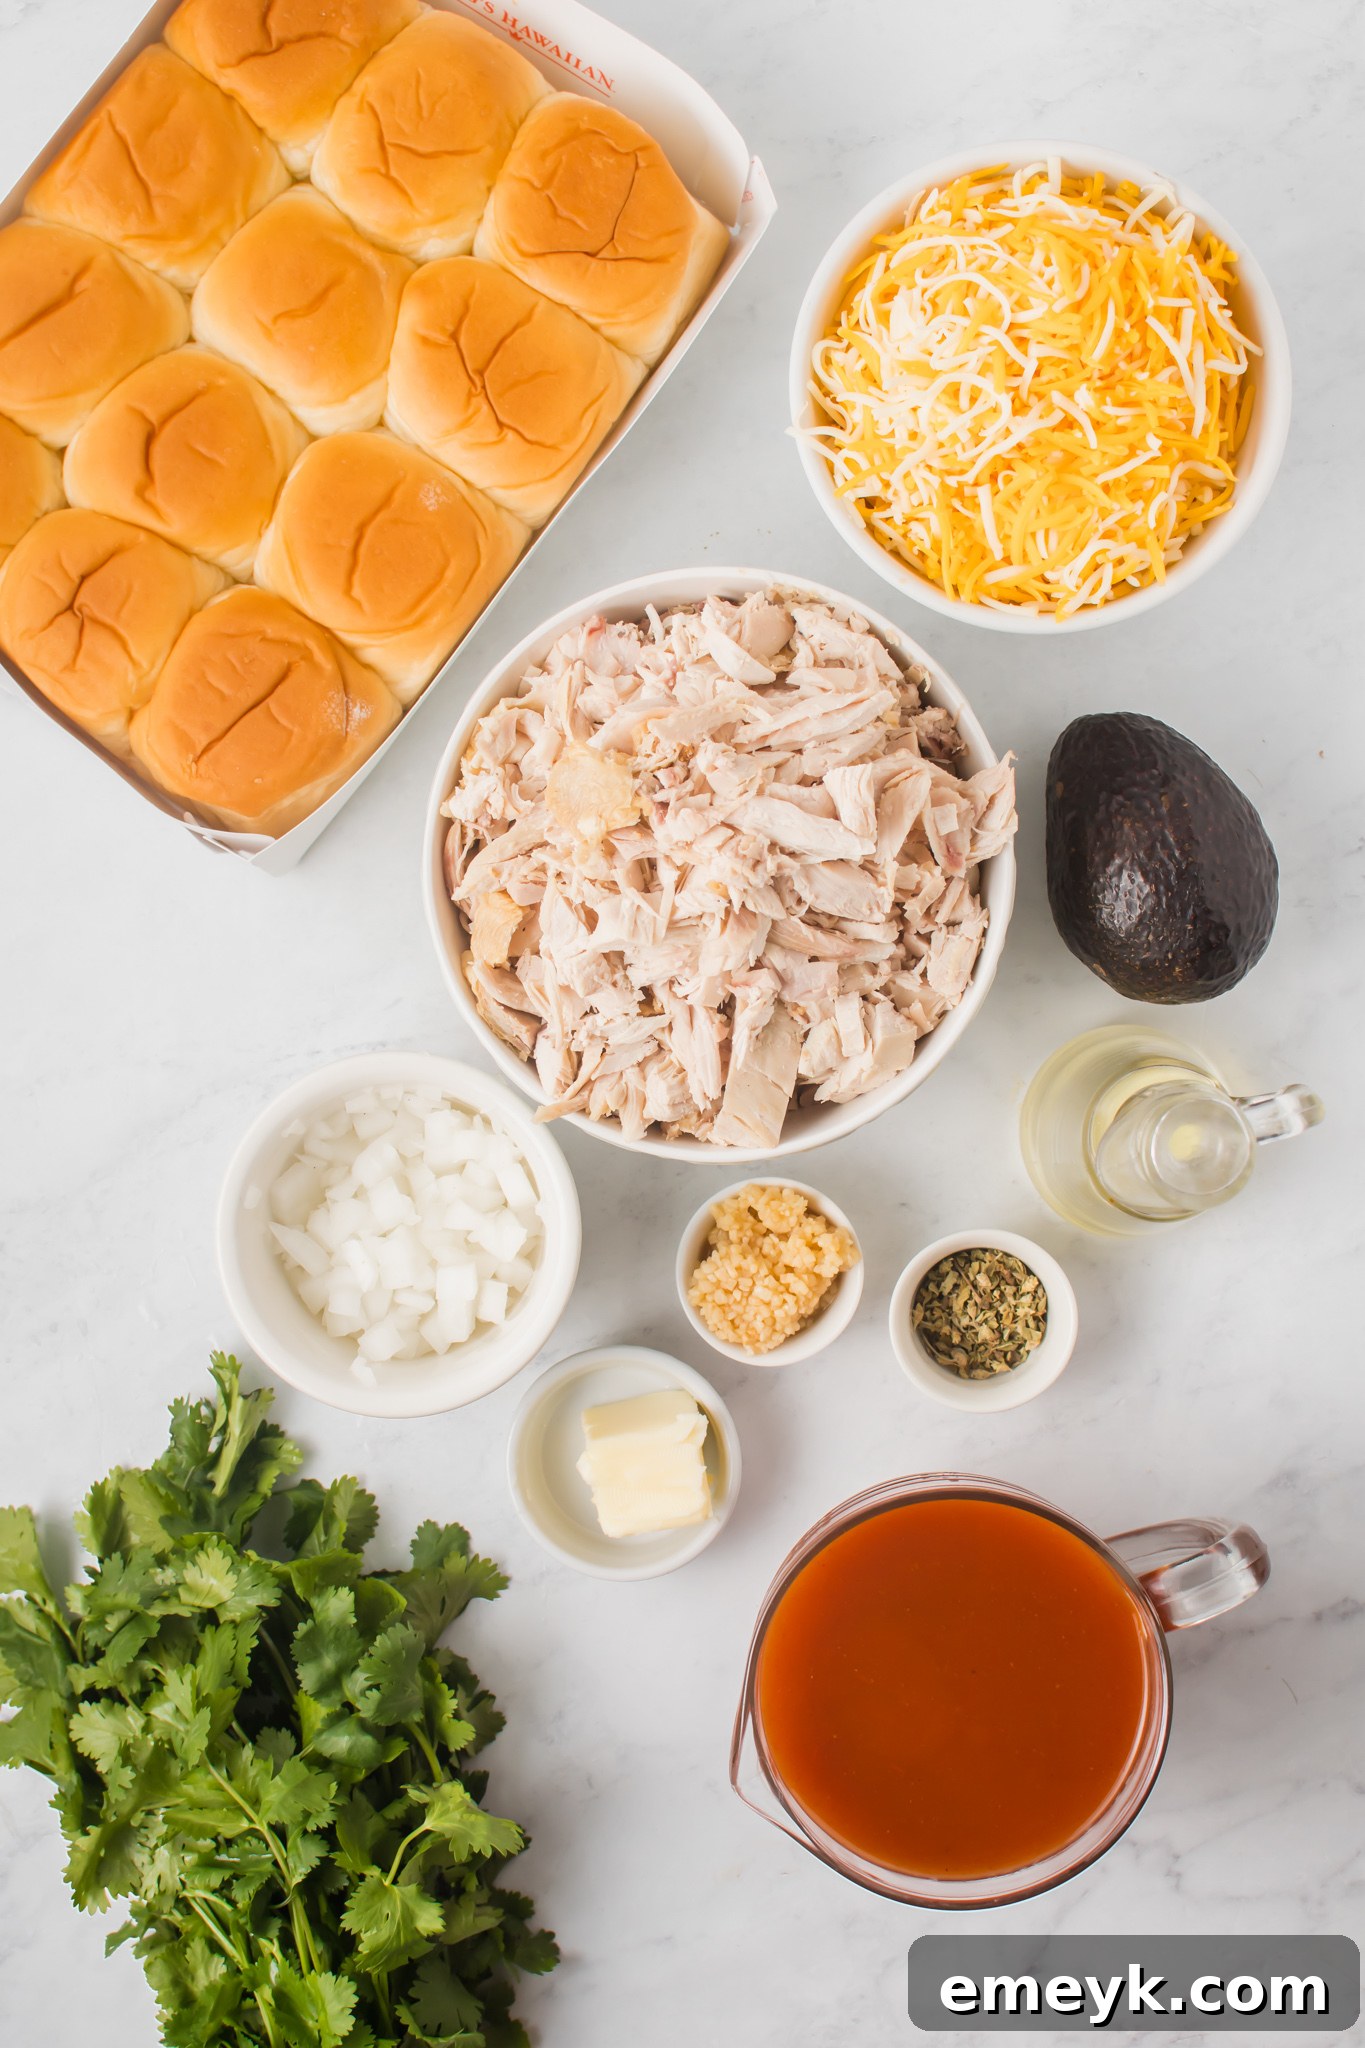
Crafting these delectable sliders requires a few key components. For precise measurements and detailed instructions, always refer to the full recipe card provided below.
- Chicken: The foundation of our sliders! While I personally love the robust flavor and convenience of rotisserie chicken, any pre-cooked and shredded chicken will work perfectly. It’s an excellent opportunity to use up leftover chicken from a previous meal. Don’t limit yourself to chicken; leftover Thanksgiving turkey can also be a fantastic substitute, adding a unique twist.
- Enchilada Sauce: This is where the “enchilada” magic happens. Feel free to use your favorite brand of store-bought enchilada sauce for a quick option, or if you have time, a homemade sauce will elevate the flavor even further. Both red and green enchilada sauces can be used, depending on your preference.
- Cheese: The cheese is crucial for that irresistible gooey texture and rich flavor. I typically opt for a Mexican blend shredded cheese, which offers a delightful mix of flavors. However, feel free to experiment with other shreddable cheeses like Monterey Jack, pepper jack for a kick, sharp cheddar for a bolder taste, or even mozzarella for a milder, stretchier melt.
- Butter: Butter is used to create a savory topping for the rolls before baking. Both salted and unsalted butter are suitable for this recipe. If using salted butter, you might want to slightly reduce any additional salt in the herb mixture.
- Dried Herbs (Mexican Oregano): A sprinkle of dried Mexican oregano over the top of the rolls before baking is optional but highly recommended. It infuses the sliders with an authentic, earthy Mexican aroma and flavor that truly enhances the dish. As an alternative, you could use a pinch of crushed red pepper flakes for a subtle heat, or Italian seasoning for a different herbal note.
- Slider Rolls: Fresh, soft slider rolls or Hawaiian sweet rolls are ideal. Their slight sweetness perfectly complements the savory, spicy chicken filling. Make sure they are sturdy enough to hold the generous filling.
- Onion and Garlic: These aromatic vegetables form the flavor base for the chicken filling, adding depth and sweetness when sautéed.
- Olive Oil: Used for sautéing the vegetables, ensuring they become tender and flavorful.
- Fresh Cilantro & Avocado (for garnish): Fresh cilantro adds a bright, herbaceous finish, and sliced avocado provides a creamy, cool contrast to the warm, spicy sliders.
Step-by-Step Guide: Crafting Your Chicken Enchilada Sliders
Follow these simple steps to create a batch of incredibly flavorful and satisfying Chicken Enchilada Sliders. You’ll be amazed at how quickly these come together!
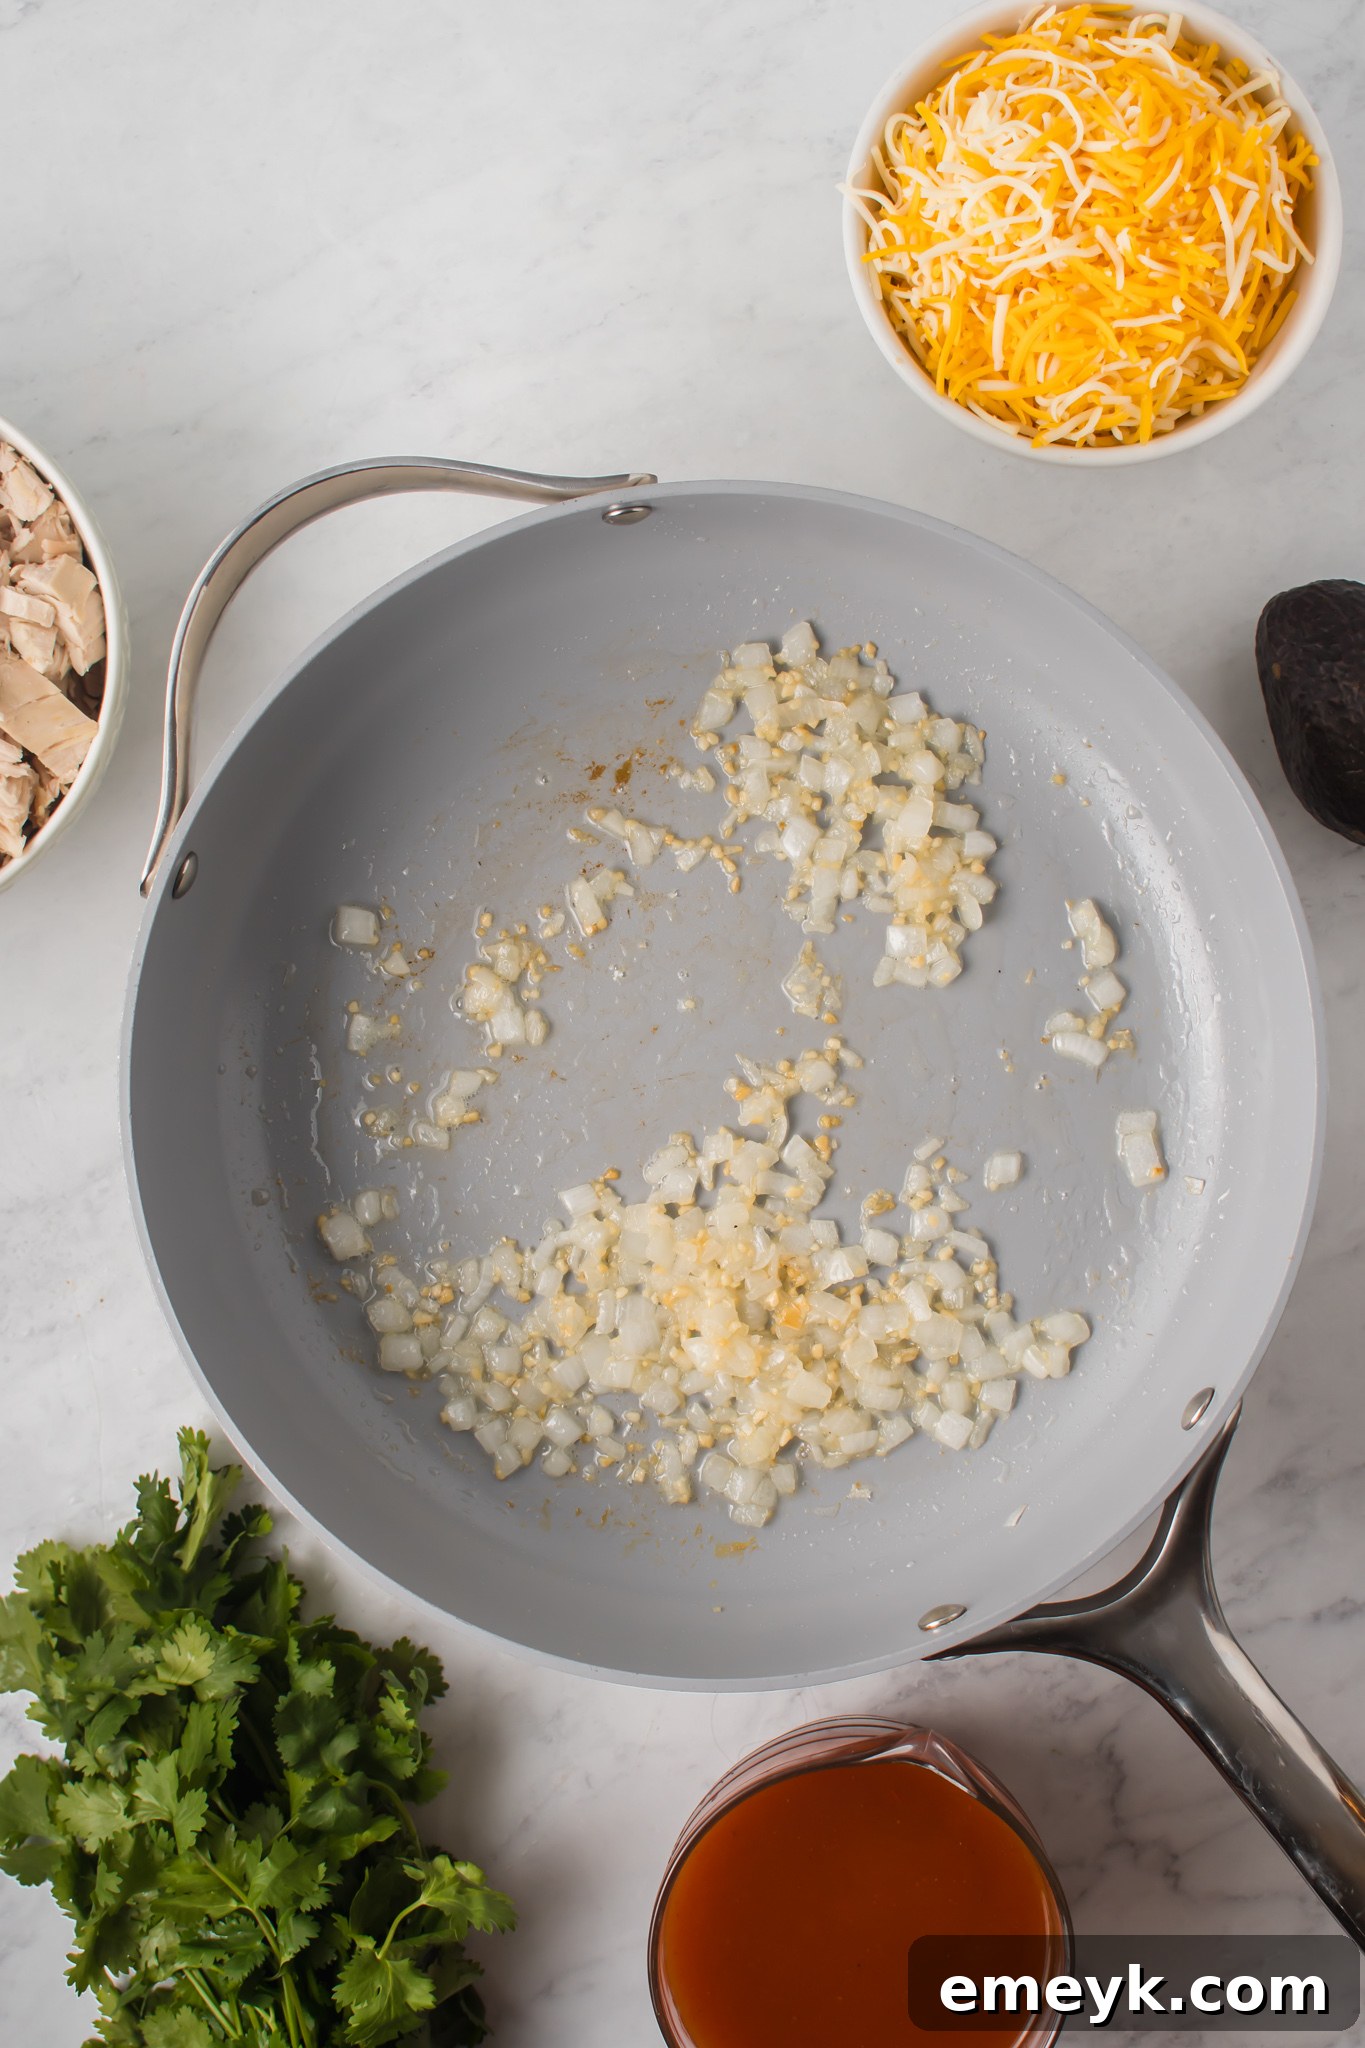
Step 1: Prepare Your Baking Pan & Sauté Aromatics. Begin by preheating your oven to 350°F (175°C). Lightly spray a 9×13 inch baking pan with cooking spray to prevent sticking. In a medium sauté pan, heat the olive oil over low heat. Add the diced onions and 2 teaspoons of minced garlic. Cook gently, stirring occasionally, until the onions become translucent and soft, about 5-7 minutes. If you prefer a deeper flavor, you can let them brown slightly.
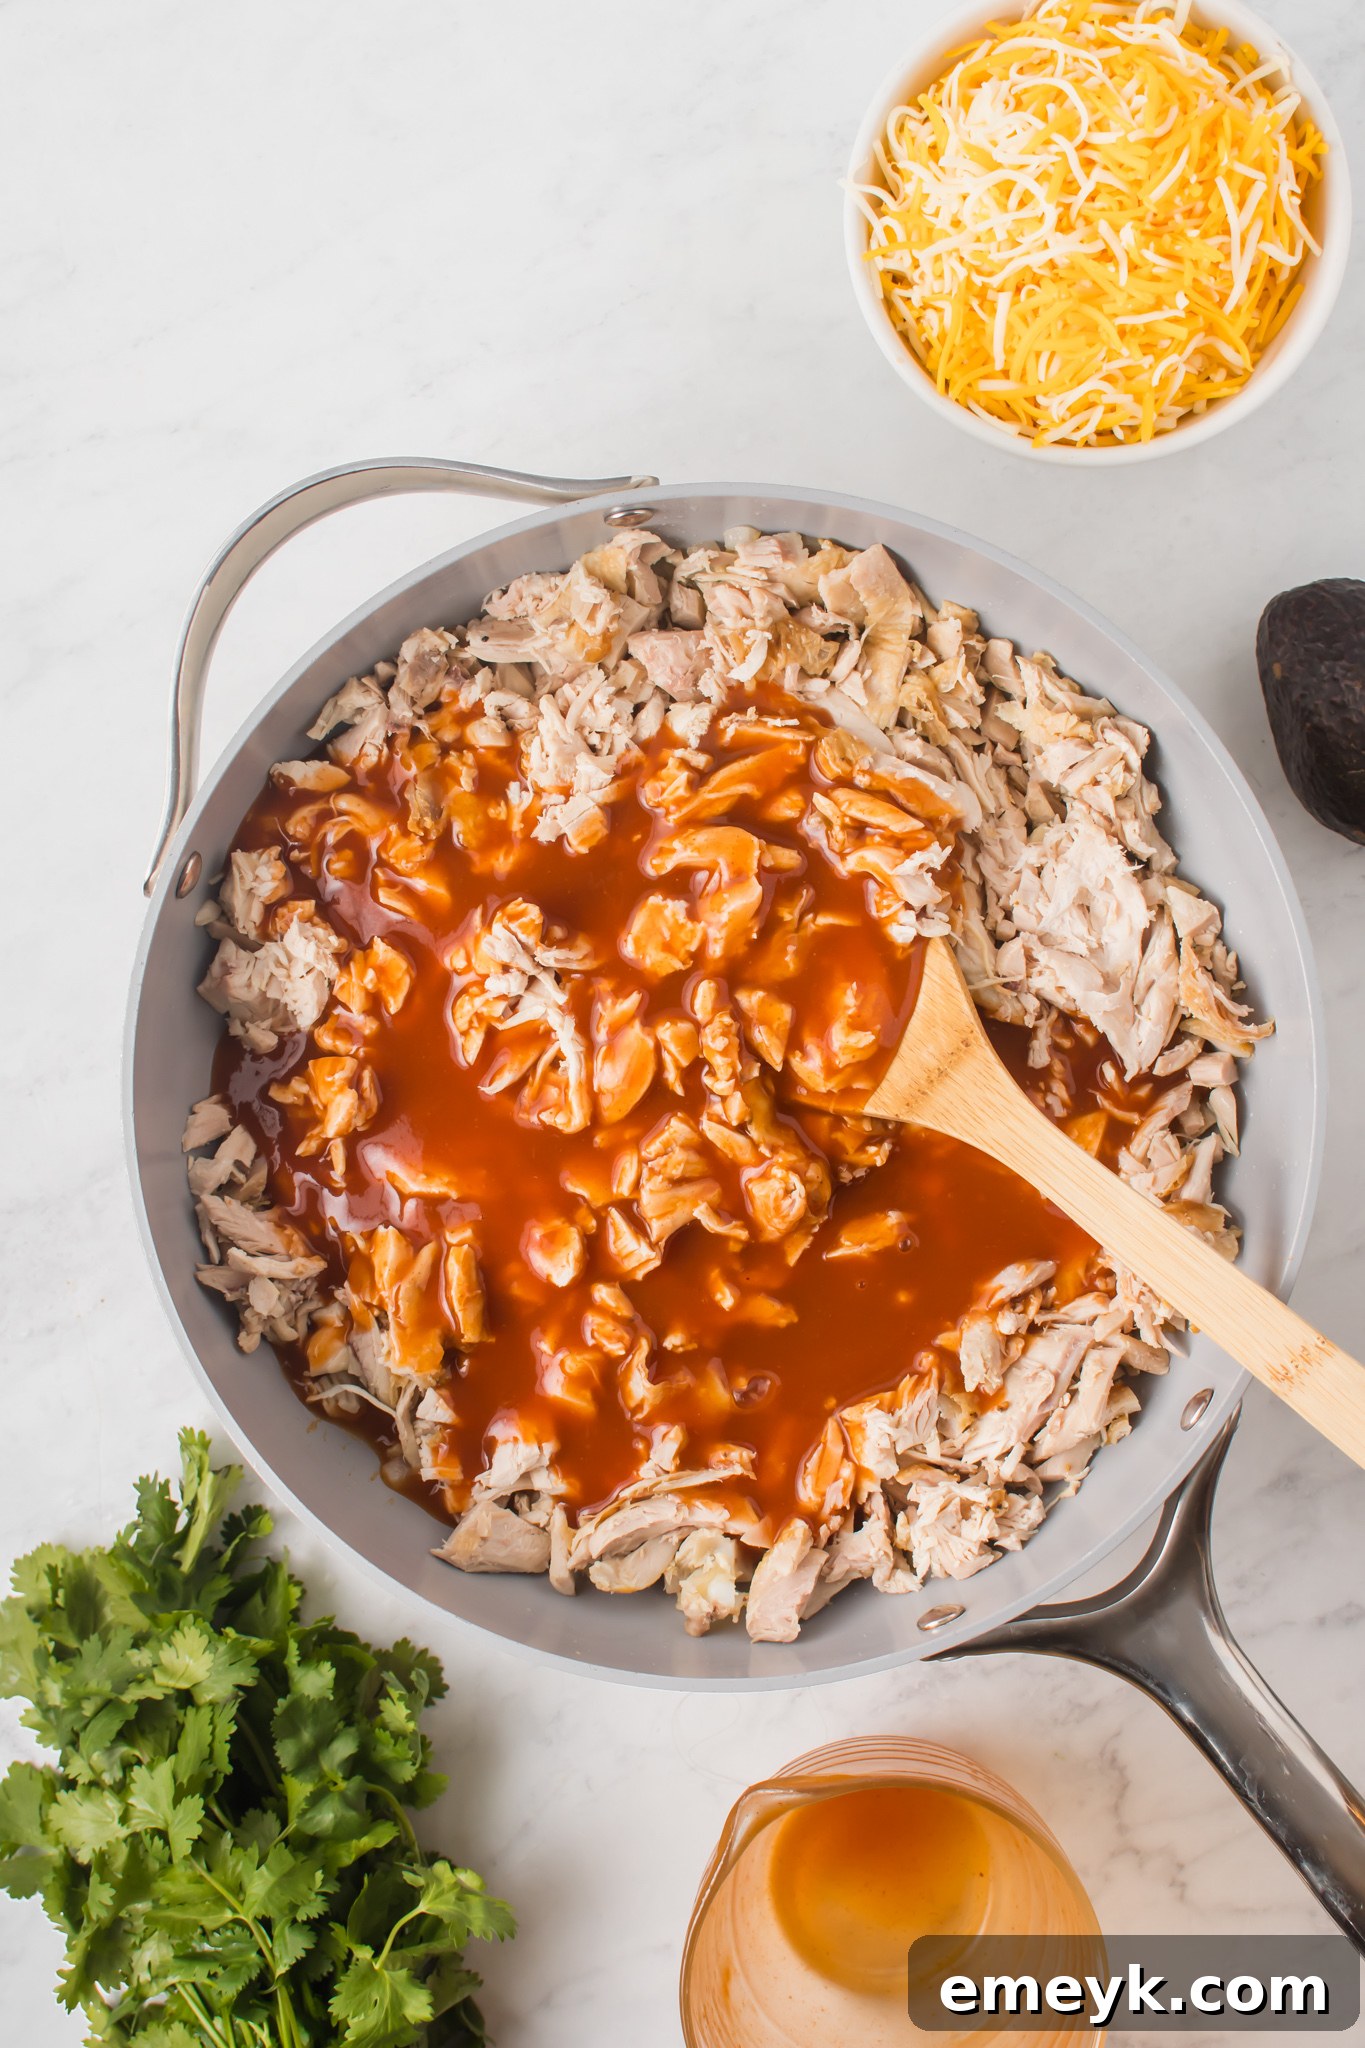
Step 2: Combine Chicken & Enchilada Sauce. Once the onions and garlic are fragrant and tender, add the shredded cooked chicken to the pan. Pour in the enchilada sauce and stir everything together thoroughly, ensuring the chicken is well coated. Allow the mixture to gently simmer for about 2 minutes, allowing the flavors to meld and the chicken to absorb some of the sauce. Remove from heat.
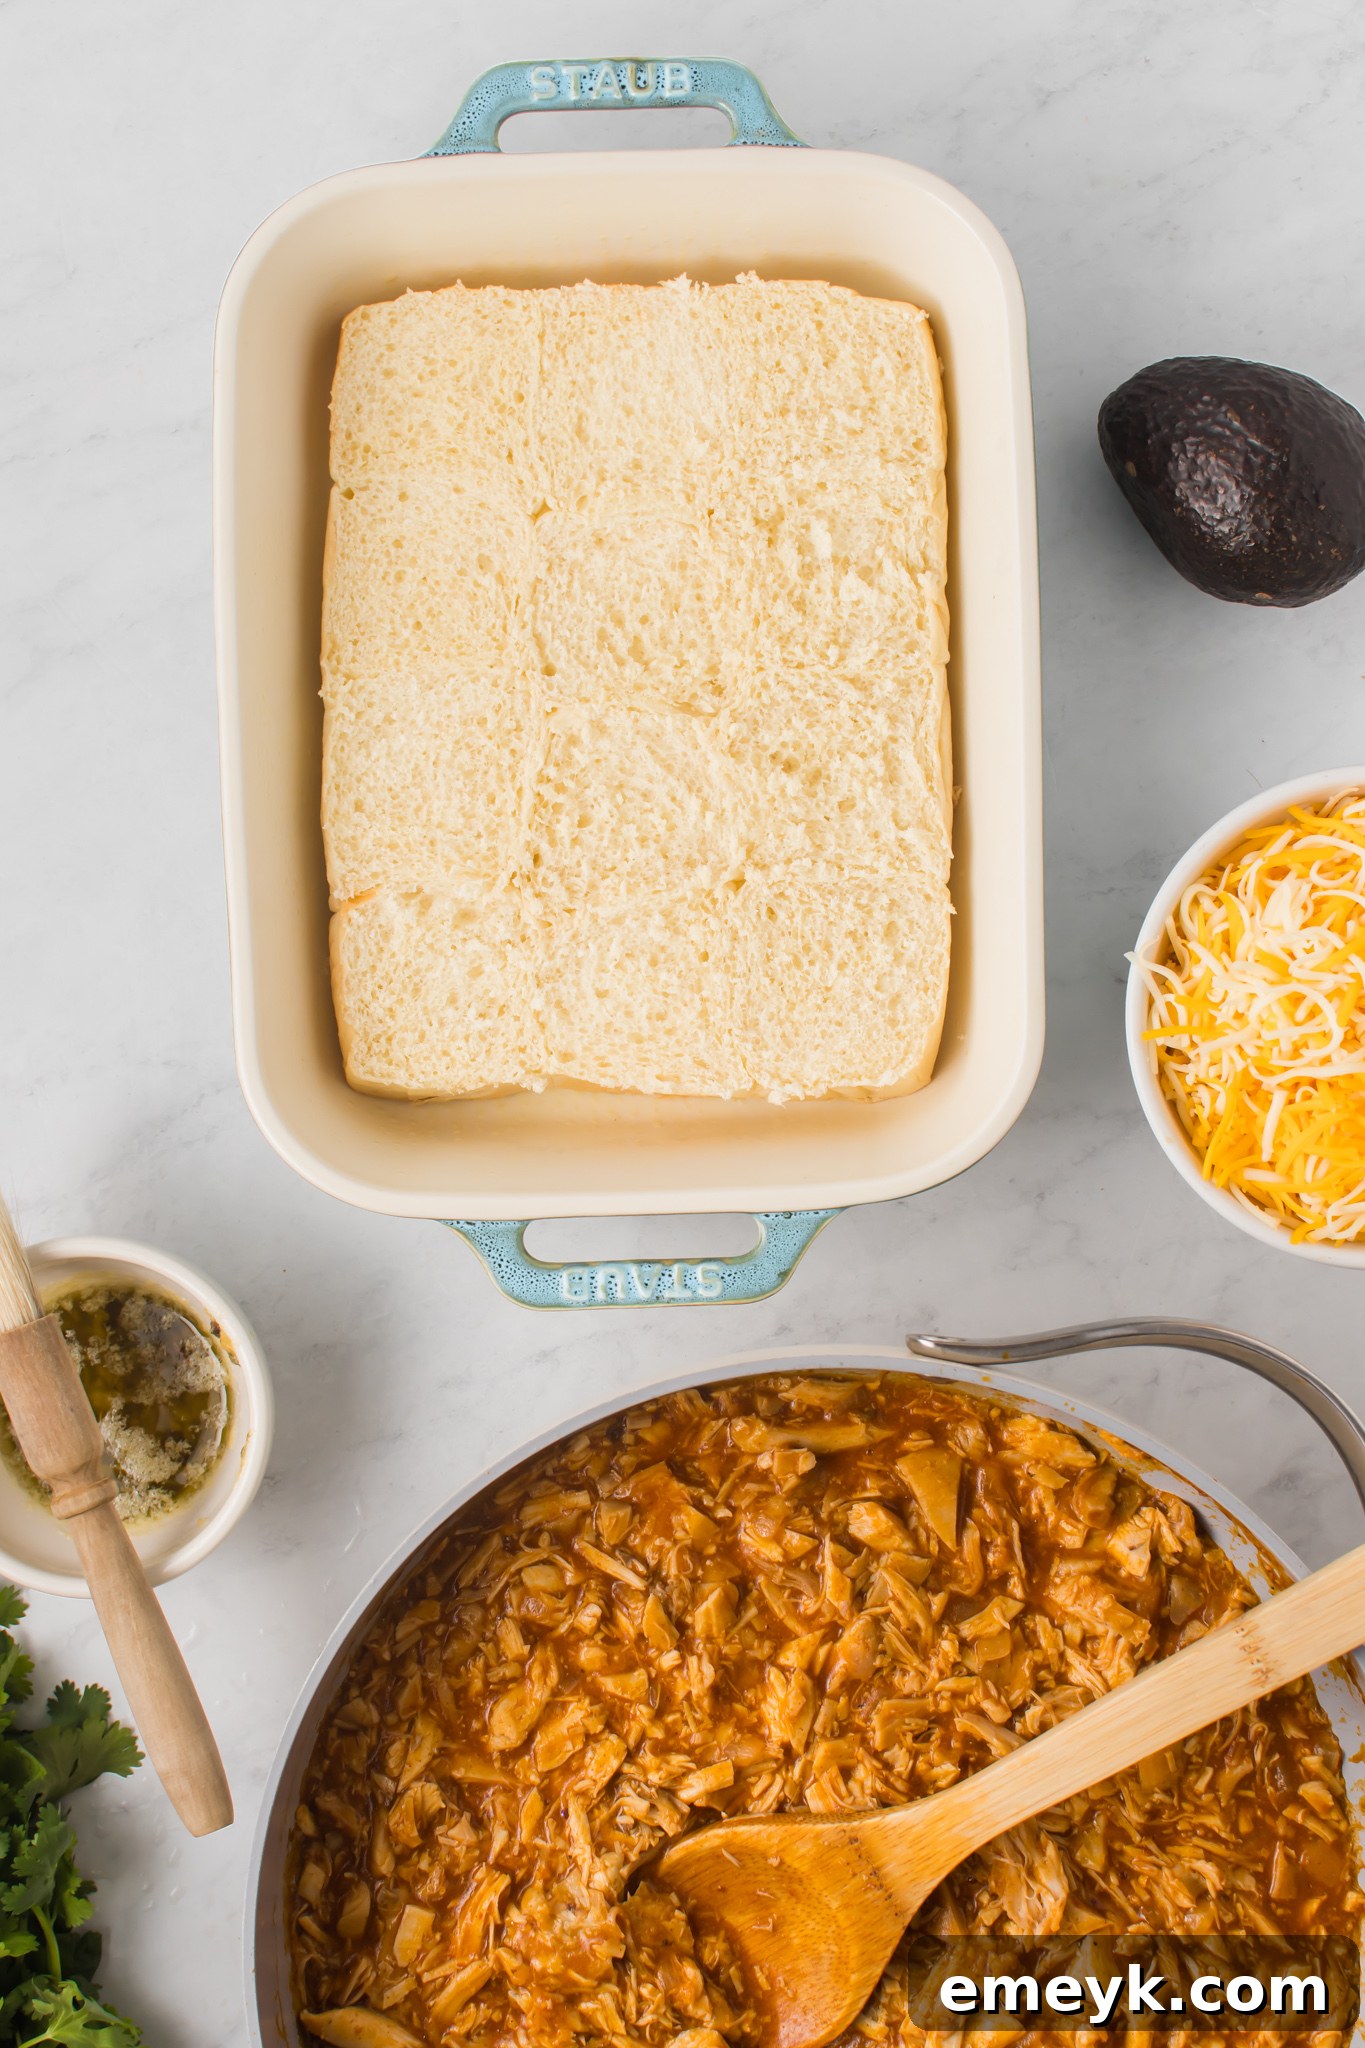
Step 3: Arrange the Slider Rolls. Take your slider rolls and carefully slice them horizontally, keeping the entire block of rolls connected if possible. Place the bottom halves of the rolls evenly into the prepared 9×13 inch baking pan.
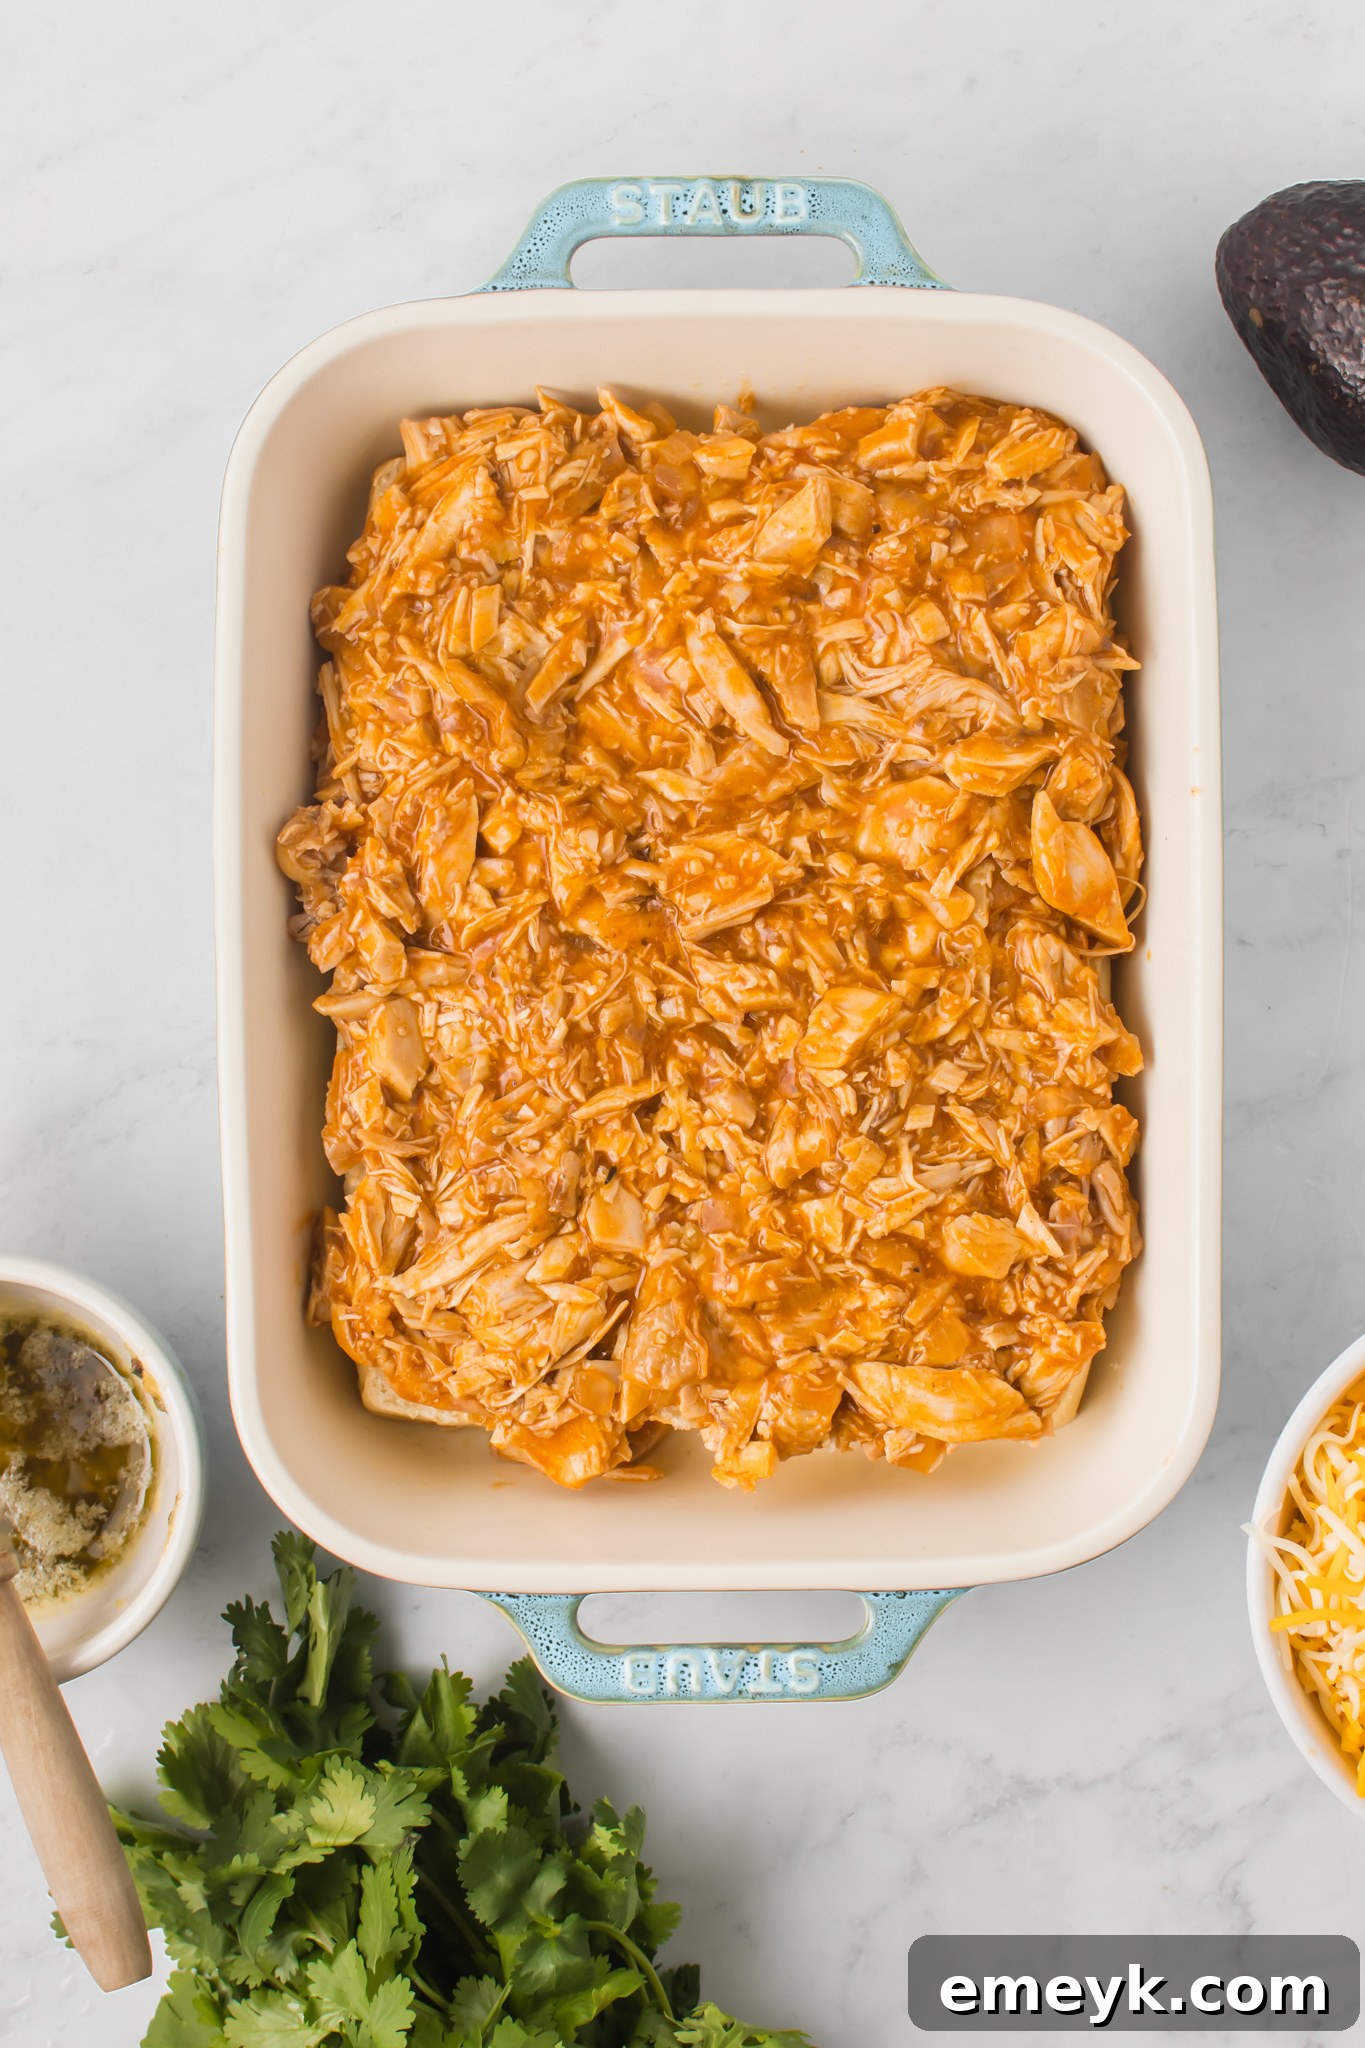
Step 4: Spread the Chicken Mixture. Generously spoon the warm enchilada chicken mixture over the bottom halves of the rolls, spreading it out evenly to cover every piece. Don’t be shy – a thick layer ensures maximum flavor in every bite!
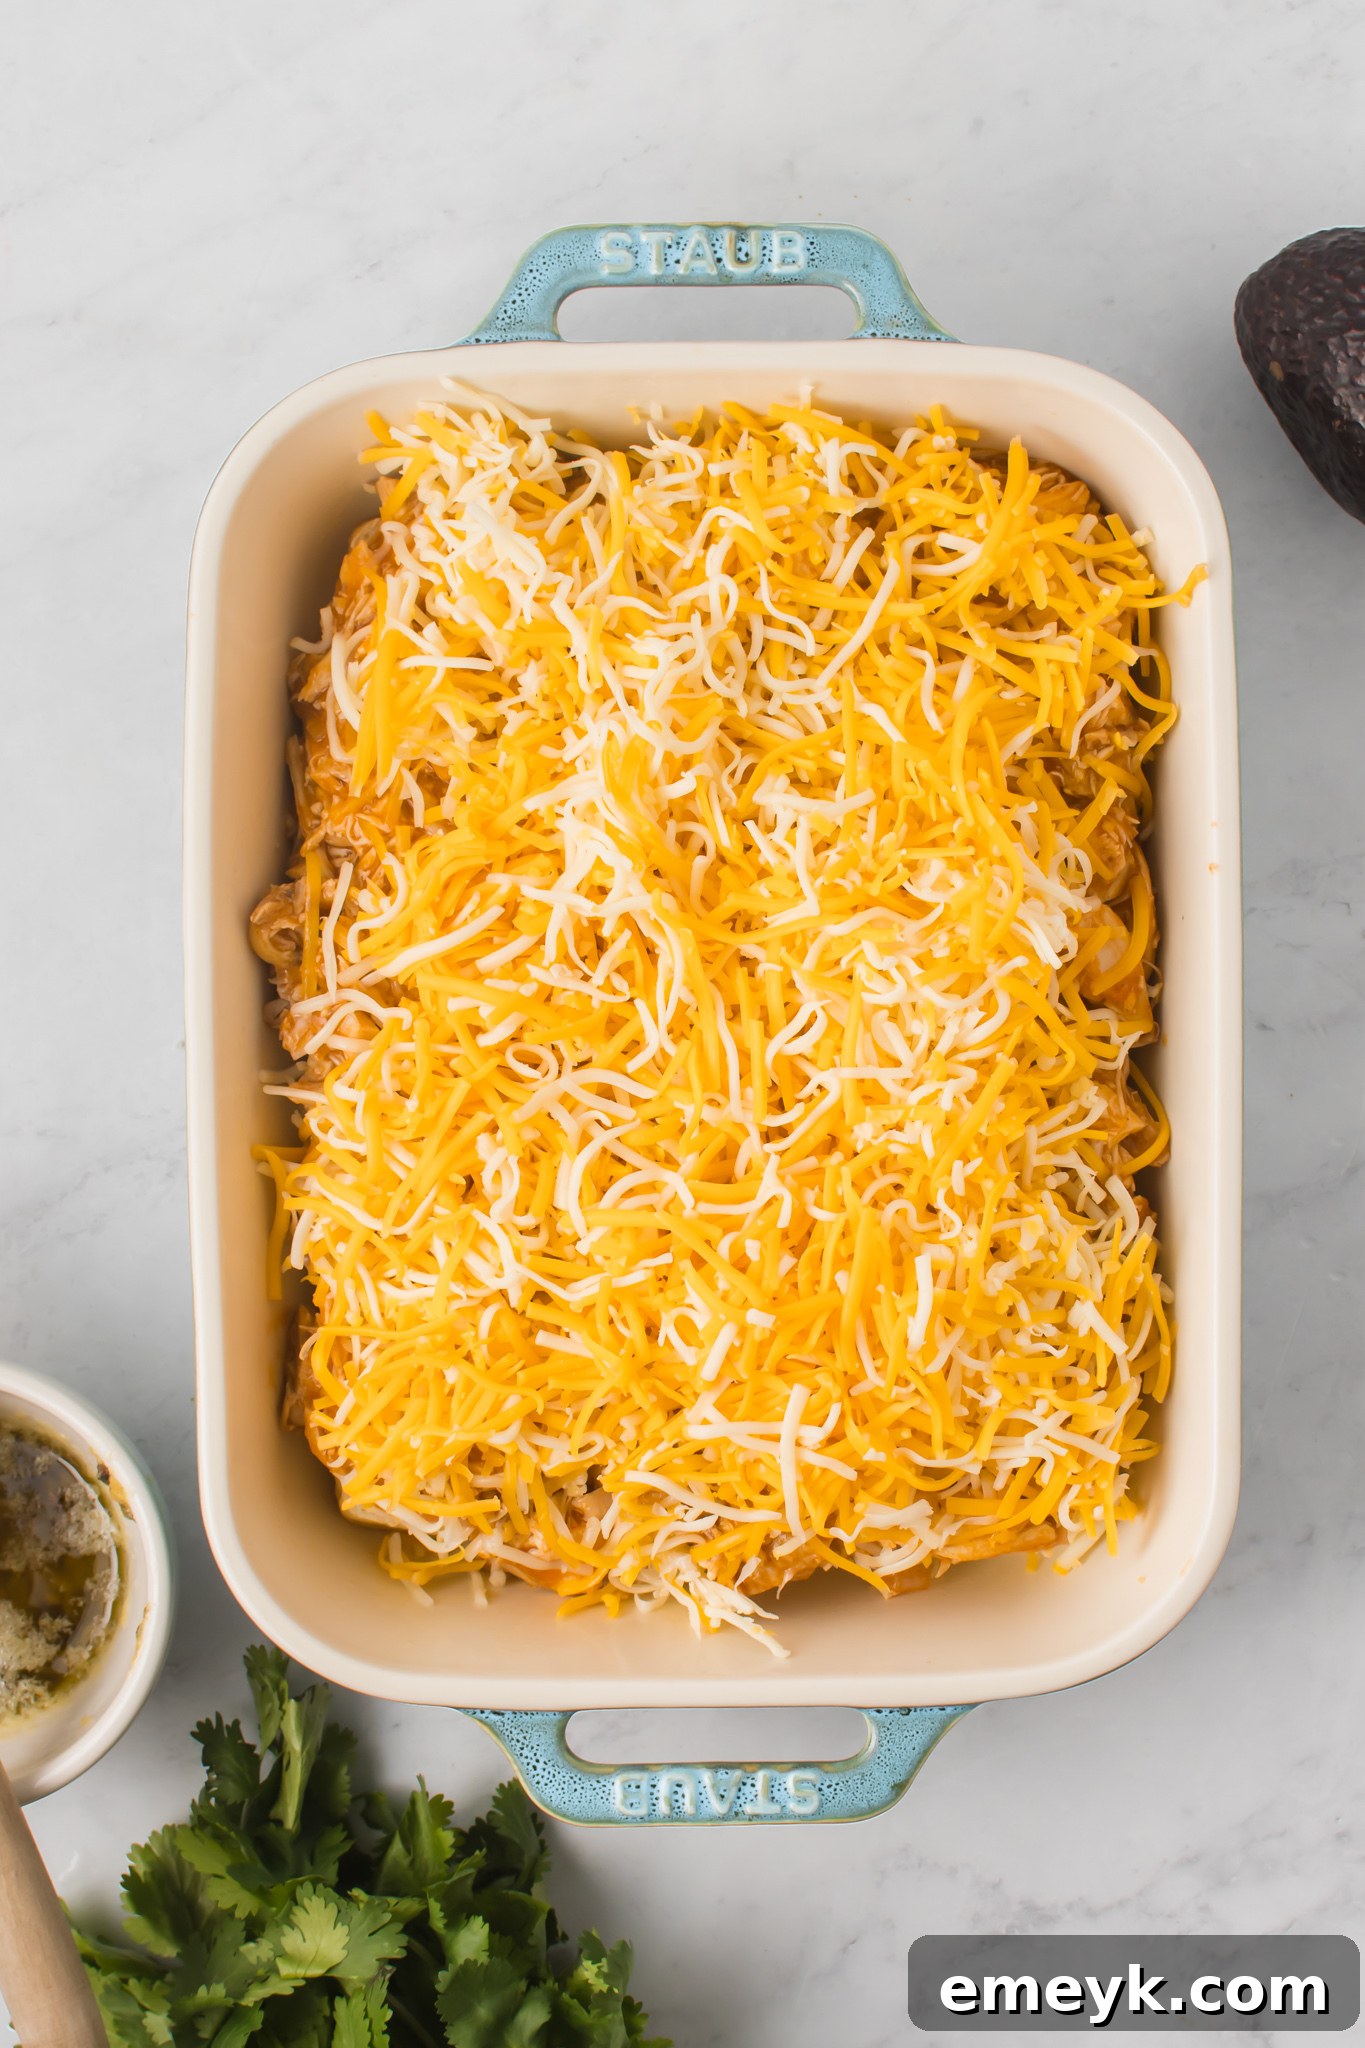
Step 5: Add a Layer of Cheese. Now, sprinkle a generous amount of your shredded Mexican blend cheese (or your preferred cheese) directly over the chicken filling. This layer will melt into a wonderfully gooey, cheesy blanket, holding everything together.
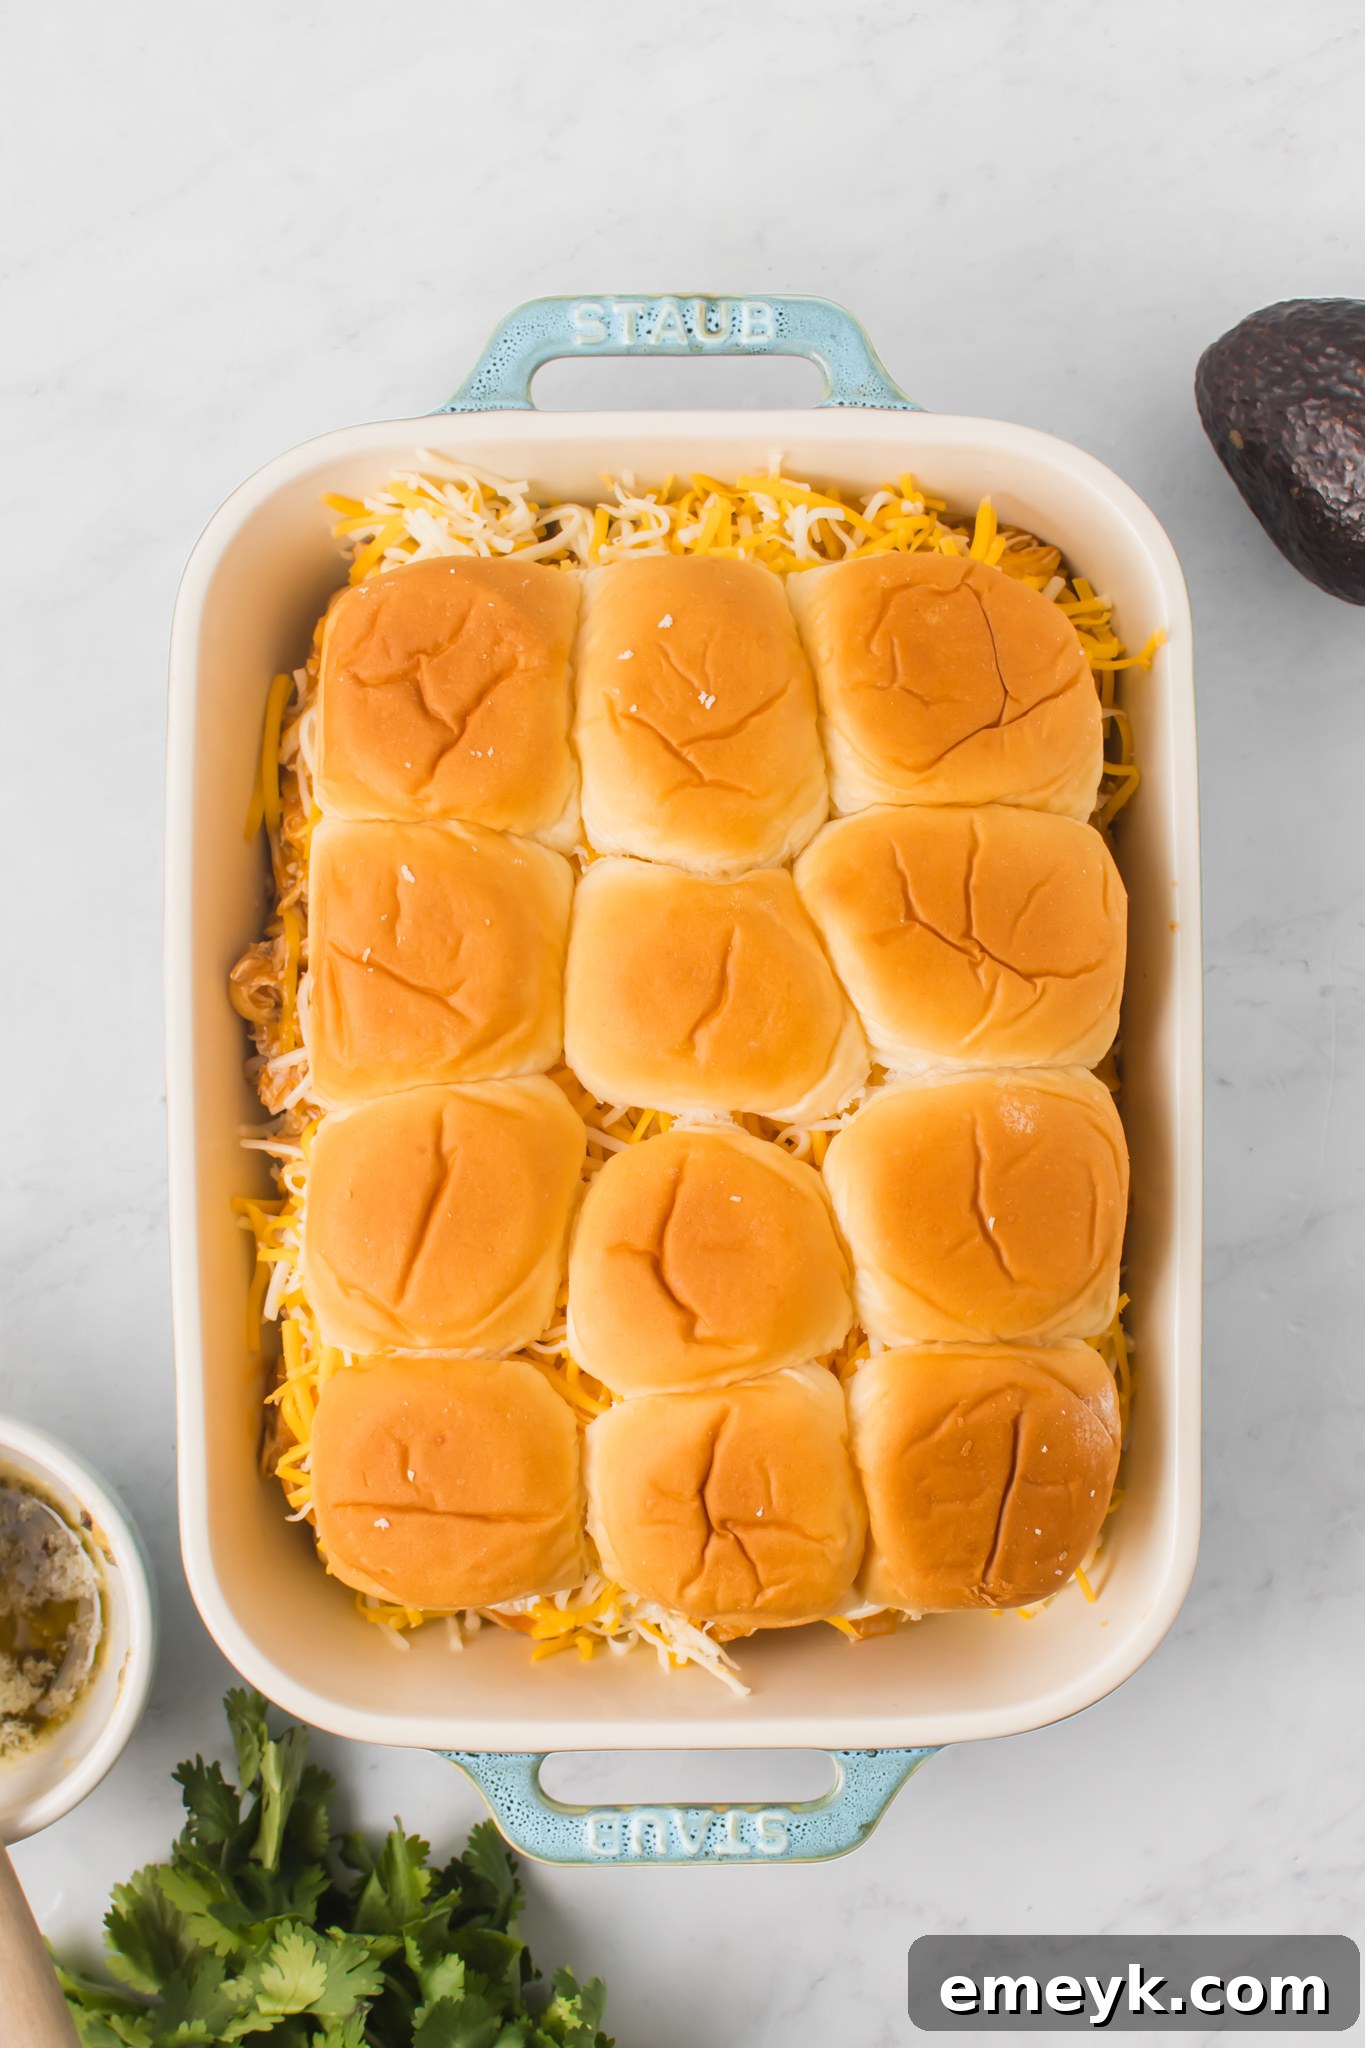
Step 6: Cover with Top Halves. Carefully place the top halves of the slider rolls back over the cheesy chicken mixture. Gently press them down slightly to ensure good contact with the filling. Your sliders are now assembled and ready for their final delicious touches!
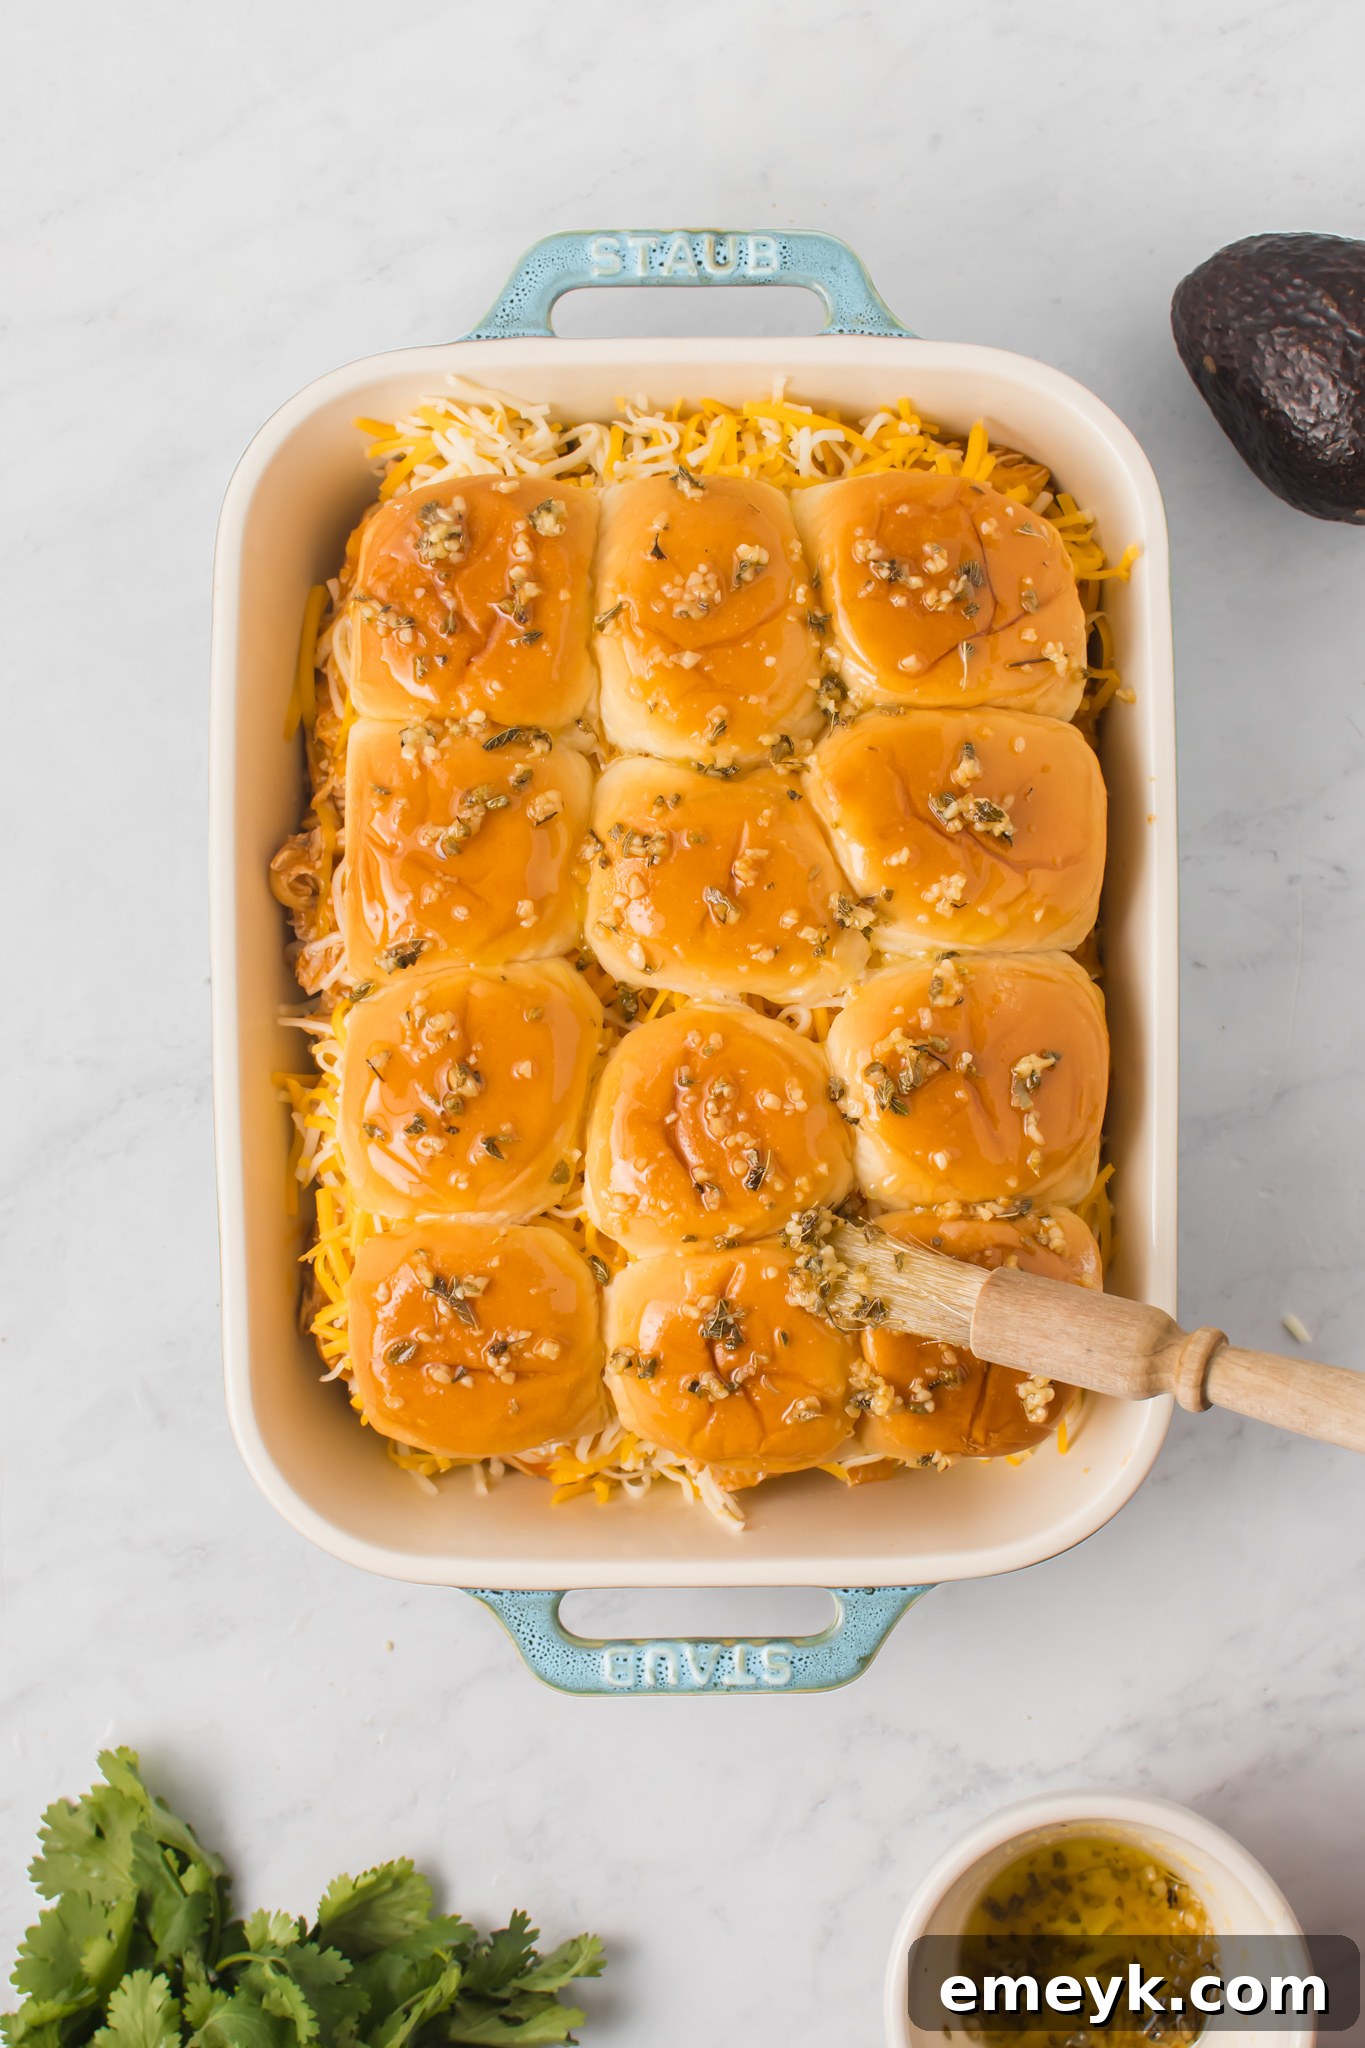
Step 7: Prepare & Brush Herb Butter Topping. In a small saucepan, melt the butter over low heat. Once melted, stir in the remaining 1 teaspoon of minced garlic and the Mexican oregano. Cook for just 1 minute until fragrant. Remove the pan from the heat and generously brush this aromatic herb butter mixture over the tops of all the slider rolls. This step adds a beautiful golden crust and extra layer of flavor.
Step 8: Bake to Perfection. Gently tent a piece of aluminum foil over the baking pan, ensuring it doesn’t touch the herb-brushed tops of the rolls too much. Place the pan into your preheated oven and bake for 15 minutes. After 15 minutes, carefully remove the foil. Return the uncovered pan to the oven and bake for an additional 3 to 5 minutes, or until the tops of the rolls are slightly browned and the cheese is thoroughly melted and bubbly.
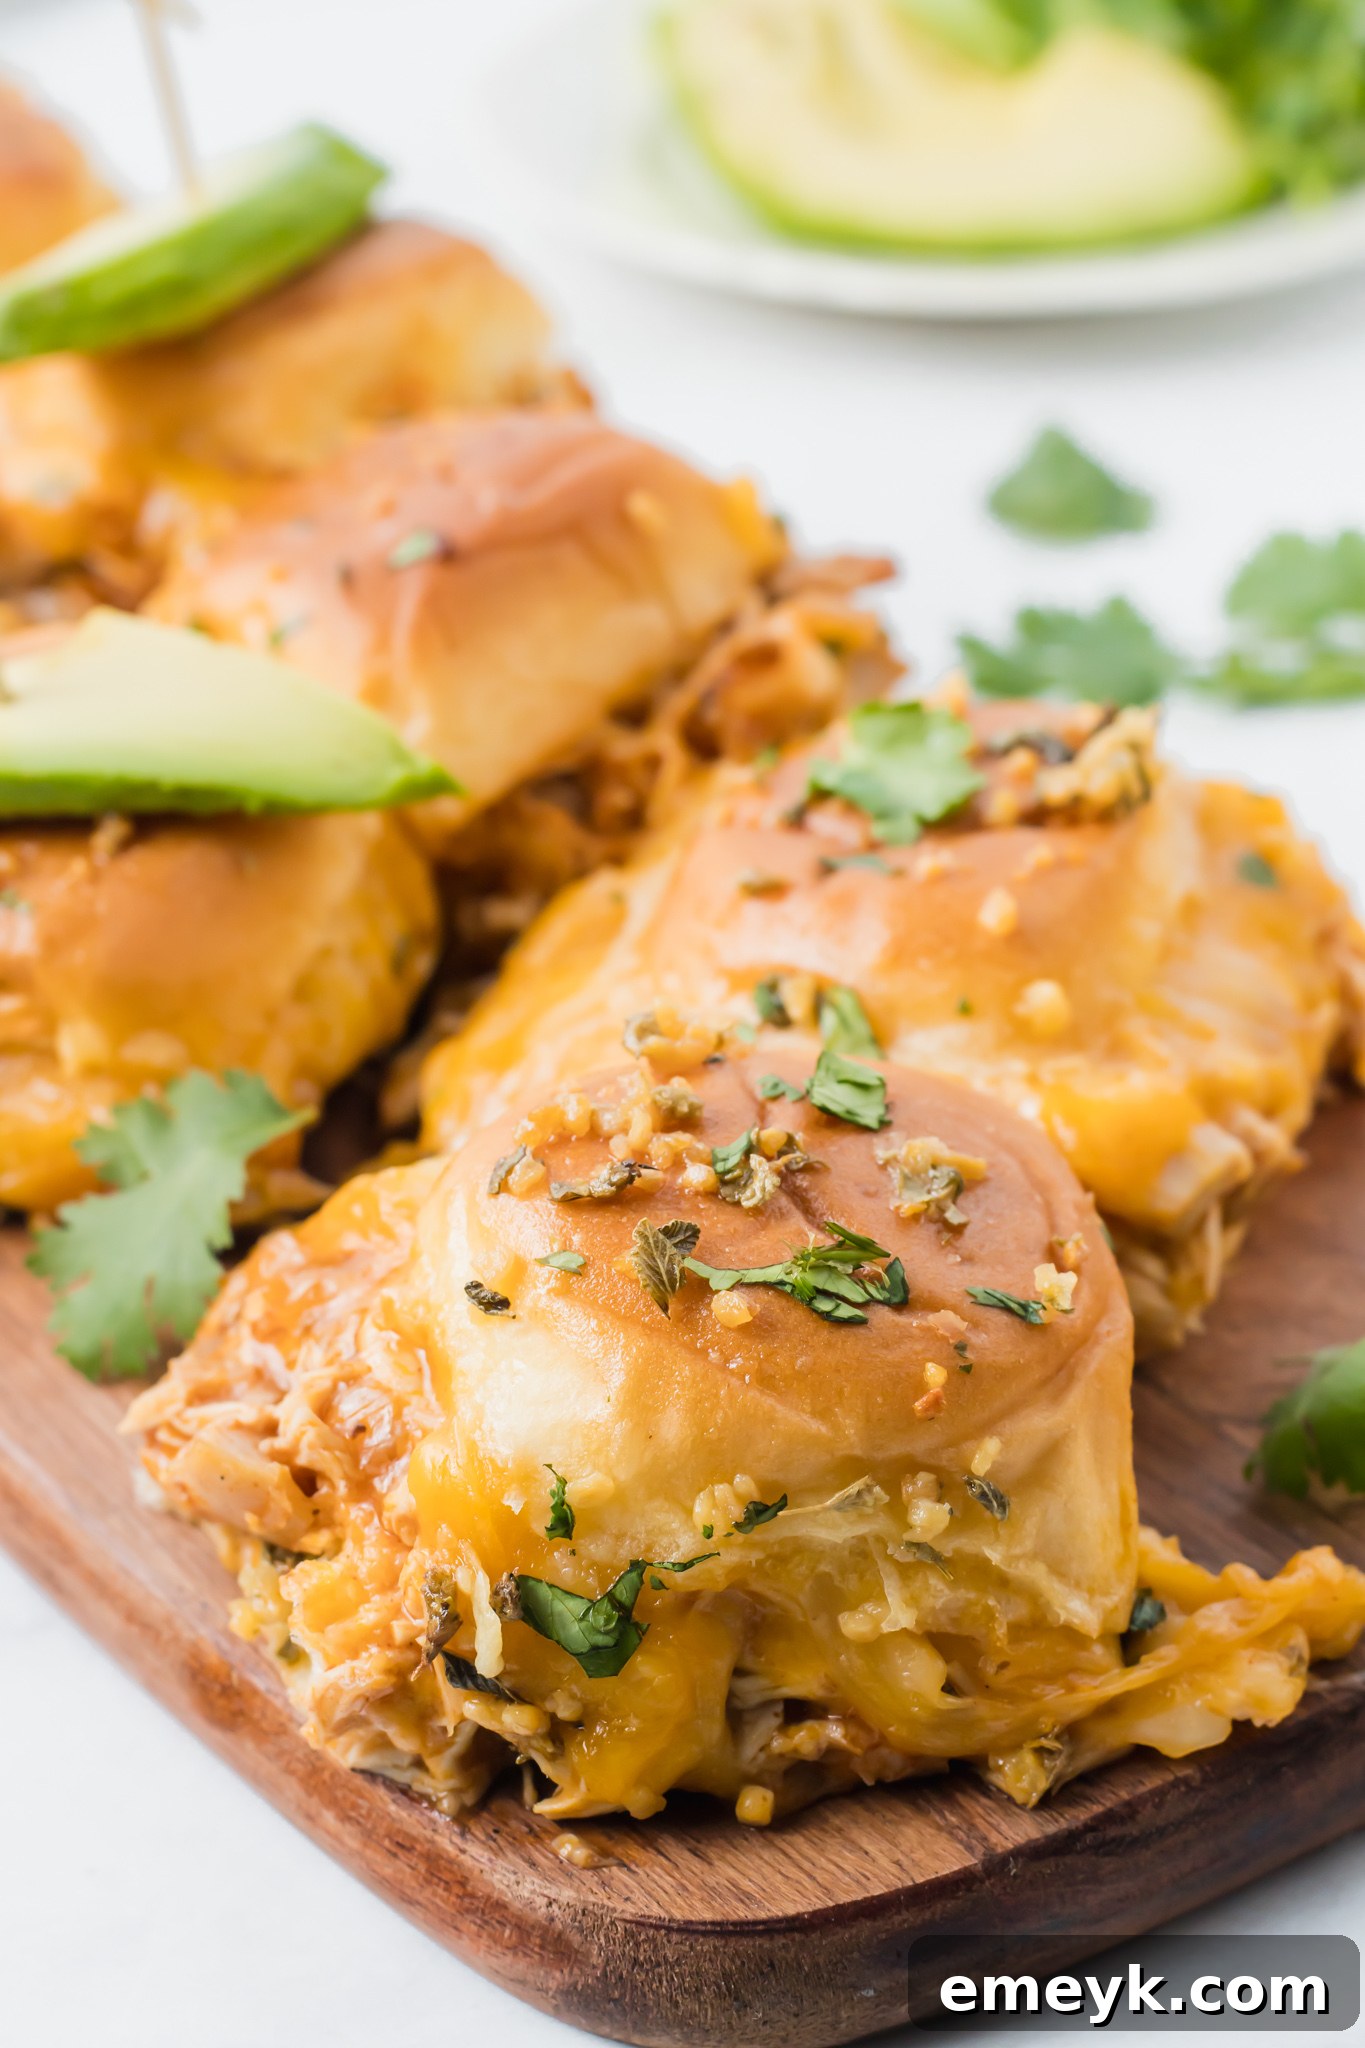
Step 9: Garnish & Serve Immediately. Once baked, remove the pan from the oven. Using a sharp knife, carefully slice the baked sliders into individual portions along their natural perforations. Sprinkle generously with freshly chopped cilantro and arrange avocado slices on top for a vibrant and cooling addition. Serve these hot, cheesy, and utterly irresistible Chicken Enchilada Sliders immediately for the best experience!
Tips for Perfect Chicken Enchilada Sliders Every Time
- Don’t Overcook the Onions: Sautéing the onions until translucent or lightly browned brings out their sweetness. Avoid burning them, as this can introduce a bitter flavor.
- Keep Rolls Connected: When slicing your slider rolls, try to keep the entire block connected if possible. This makes it much easier to transfer the bottom and top halves to and from the baking pan, ensuring your sliders stay neat.
- Tent with Foil: This step is critical! Covering the sliders loosely with foil during the initial baking period prevents the tops of the rolls from burning before the internal filling is heated through and the cheese is perfectly melted.
- Generous Cheese Layer: Don’t skimp on the cheese! A good layer ensures gooey goodness and helps bind the filling to the bread.
- Serve Warm: Sliders are always best served warm, straight from the oven, when the cheese is at its meltiest and the flavors are most vibrant.
Exciting Ways to Customize Your Chicken Enchilada Sliders
One of the best things about these Chicken Enchilada Sliders is how easily they can be adapted to your taste preferences or whatever ingredients you have on hand. Get creative with these delicious modifications:
- Boost Your Veggies: Enhance the nutritional value and texture by folding in extra sautéed vegetables into the chicken mixture. Consider adding finely diced bell peppers (any color), mushrooms, corn kernels, black beans, or even thinly sliced zucchini. For a tangy crunch, sprinkle some pickled red onions on top after baking.
- Crank Up the Heat: If you love a spicy kick, there are several ways to add more chili heat. Mix some diced fresh chilies, such as jalapeños or serranos, directly into the chicken mixture. A dash of your favorite hot sauce can also be stirred into the enchilada sauce. For a simple fiery finish, sprinkle red pepper flakes over the cheese before baking.
- Flavorful Toppings: After baking, transform your sliders with additional fresh toppings. A slice of fresh, ripe tomato can add a burst of juiciness, while a dollop of creamy guacamole or a spoonful of vibrant salsa offers a refreshing contrast to the warm, savory filling. A drizzle of sour cream or crema Mexicana is also a fantastic addition.
- Cheese Variations: While Mexican blend cheese is a classic choice, don’t hesitate to experiment with different types of cheese. Pepper Jack will add a noticeable zing, Colby Jack provides a mild creaminess, and a sharp cheddar can deliver a more robust flavor profile.
- Smokey Flavor: A pinch of smoked paprika in the chicken mixture or even a tiny amount of chipotle powder can add a wonderful smokey depth to your enchilada sliders.
Storage and Reheating Advice
Planning ahead or dealing with delicious leftovers is easy with these sliders. Store any uneaten Chicken Enchilada Sliders in an airtight container in the refrigerator for up to 5 days. For optimal freshness and safety, ensure they cool completely before refrigerating.
When you’re ready to enjoy them again, simply place the sliders in an oven-safe pan. Cover the pan loosely with aluminum foil to prevent the rolls from drying out or burning. Place them into a preheated oven (around 300-325°F or 150-160°C) and bake until warmed through, typically 10-15 minutes, depending on your oven. The foil keeps the bread soft while the filling heats up. You can remove the foil for the last couple of minutes if you prefer the tops to crisp up slightly.
Frequently Asked Questions About Chicken Enchilada Sliders
Yes, absolutely! It is very important to cover the baking pan with aluminum foil during the initial part of baking. This crucial step prevents the tops of the rolls from browning or burning prematurely, ensuring that the entire slider heats through evenly and the cheese melts perfectly before the bread becomes too crisp.
Chicken Enchilada Sliders are wonderfully versatile! They can be served on their own as a satisfying appetizer for parties, a quick and delicious snack, or even a light lunch. For a more substantial main meal, consider pairing them with classic sides such as crispy potato fries or savory sweet potato fries, a refreshing coleslaw, a vibrant pasta salad, or a hearty bean salad. They also go exceptionally well with fresh tomato salsa, creamy guacamole, crunchy onion rings, or some grilled corn on the cob. Don’t forget a side of extra enchilada sauce for dipping!
Absolutely! Using a homemade enchilada sauce will undoubtedly elevate the flavor of your sliders. If you’re looking for a great recipe, you can try this Homemade Blender Enchilada Sauce. It’s a fantastic, flavorful option that works wonderfully in these sliders and is also perfect for other Mexican dishes like this Easy Vegetarian Enchiladas Recipe, classic Cheesy Chicken Enchiladas, or rich Three Cheese Beef Enchiladas. Your efforts will be richly rewarded with an even more authentic and delicious taste!
Explore More Delicious Chicken Recipes
If you loved these Chicken Enchilada Sliders, you’re in for a treat! Chicken is an incredibly versatile ingredient, and there are countless ways to prepare it for every meal and occasion. Whether you’re seeking quick weeknight dinners, healthy options, or flavorful dishes to impress, our collection of chicken recipes has something for everyone. Dive into these other popular chicken creations that promise to satisfy your cravings and expand your culinary repertoire:
Chicken
Bright and Zesty Greek Lemon Chicken
Chicken
Classic Chicken Shawarma Recipe
Chicken
Easy Air Fryer Chicken Tenders
Chicken
Easy Baked Chicken Tenders (Extra Crispy!)
Loved this recipe? Share your thoughts and photos! Subscribe to our newsletter for weekly updates or follow us on
Facebook,
Instagram, or
Pinterest for the latest delicious creations.
Chicken Enchilada Sliders
Julia Jolliff
20 minutes
20 minutes
40 minutes
6
Ingredients
- 1 tablespoon olive oil
- 1/2 cup diced onion
- 1 tablespoon minced garlic, divided (2 tsp for filling, 1 tsp for butter topping)
- 4 cups cooked chicken, shredded (rotisserie, slow cooker, or Instant Pot chicken all work great)
- 2 cups enchilada sauce (red or green, homemade or store-bought)
- 12 slider buns (Hawaiian sweet rolls are highly recommended)
- 2 cups Mexican blend cheese, shredded (or Monterey Jack, Pepper Jack, Cheddar)
- 2 tablespoons unsalted butter (or salted, adjust other seasonings accordingly)
- 1 teaspoon Mexican oregano (optional, but adds great flavor)
- 1 tablespoon fresh cilantro, chopped (for garnish)
- 1 avocado, sliced (for garnish)
Instructions
-
Preheat your oven to 350°F (175°C). Lightly spray a 9×13 inch baking pan with cooking spray. In a sauté pan, heat the olive oil over low heat. Add the diced onions and 2 teaspoons of minced garlic. Cook until the onions are translucent and tender, about 5-7 minutes.
-
Add the shredded chicken to the sautéed onions and garlic. Stir in the enchilada sauce until the chicken is well coated. Simmer gently for 2 minutes to allow the flavors to combine. Remove from heat.
-
Slice the slider rolls in half horizontally, keeping them connected if possible. Place the bottom halves of the rolls into the prepared baking pan.
-
Evenly spread the warm enchilada chicken mixture over the bottom layer of the rolls.
-
Generously sprinkle the shredded Mexican blend cheese over the chicken filling.
-
Carefully place the top halves of the rolls over the cheese and chicken filling, gently pressing down.
-
In a small pan, melt the 2 tablespoons of butter. Stir in the remaining 1 teaspoon of minced garlic and the Mexican oregano. Cook for 1 minute until fragrant. Brush this herb butter mixture evenly over the tops of the slider rolls.
-
Tent a piece of aluminum foil over the pan, ensuring it doesn’t stick to the rolls. Bake for 15 minutes. Remove the foil and bake for an additional 3 to 5 minutes, or until the tops are lightly browned and the cheese is melted and bubbly.
-
Remove the pan from the oven. Slice into individual sliders, then sprinkle with fresh chopped cilantro and top with avocado slices. Serve immediately and enjoy!
Notes
- Storage: Store any leftover sliders in an airtight container in the refrigerator for up to 5 days. Reheat gently in the oven, covered with foil, until warmed through.
- Customization: Feel free to jazz up your sliders! Add diced jalapeños for heat, a slice of fresh tomato for juiciness, or a dollop of guacamole for extra creaminess before serving.
- Baking Tip: Remember to cover the pan with tinfoil during the first part of baking. This prevents the rolls from burning while the filling heats up and the cheese melts perfectly.
Nutrition
Serving:
6g
,
Calories:
591kcal
,
Carbohydrates:
45g
,
Protein:
37g
,
Fat:
29g
,
Saturated Fat:
11g
,
Polyunsaturated Fat:
2g
,
Monounsaturated Fat:
10g
,
Trans Fat:
0.2g
,
Cholesterol:
112mg
,
Sodium:
1060mg
,
Potassium:
592mg
,
Fiber:
7g
,
Sugar:
11g
,
Vitamin A:
1114IU
,
Vitamin C:
8mg
,
Calcium:
336mg
,
Iron:
3mg
Nutrition information is automatically calculated, so should only be used as an approximation.
Tried this recipe?
Mention @acedarspoon or tag #acedarspoon!