
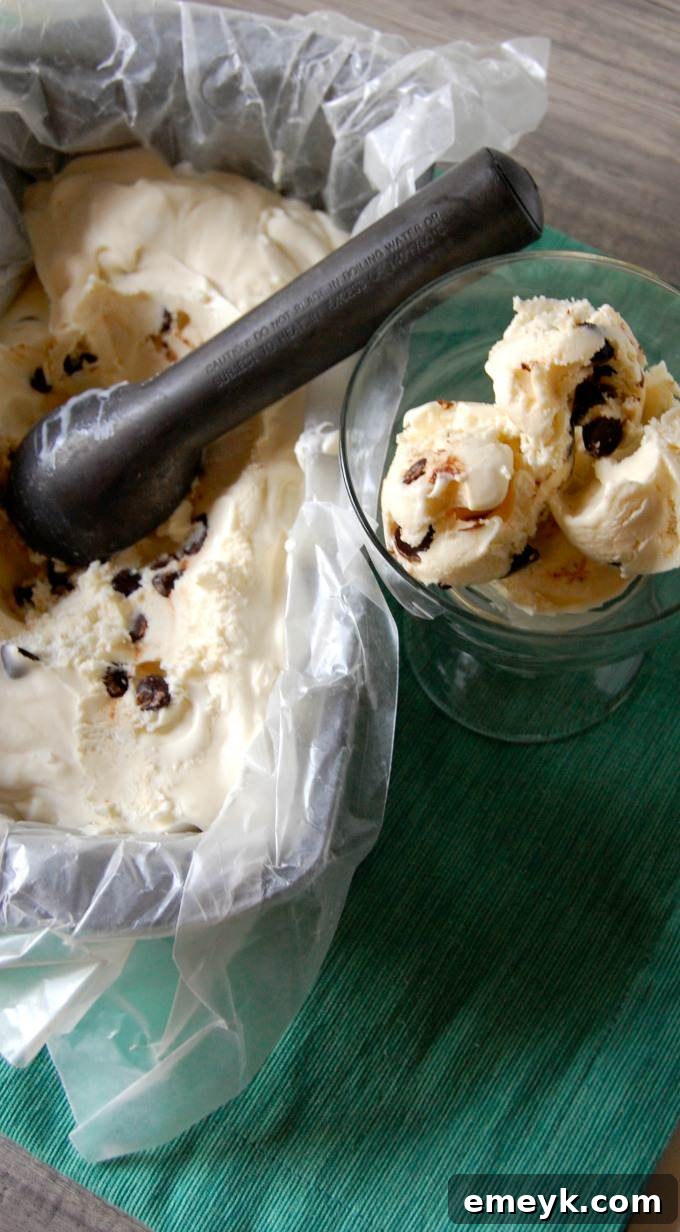
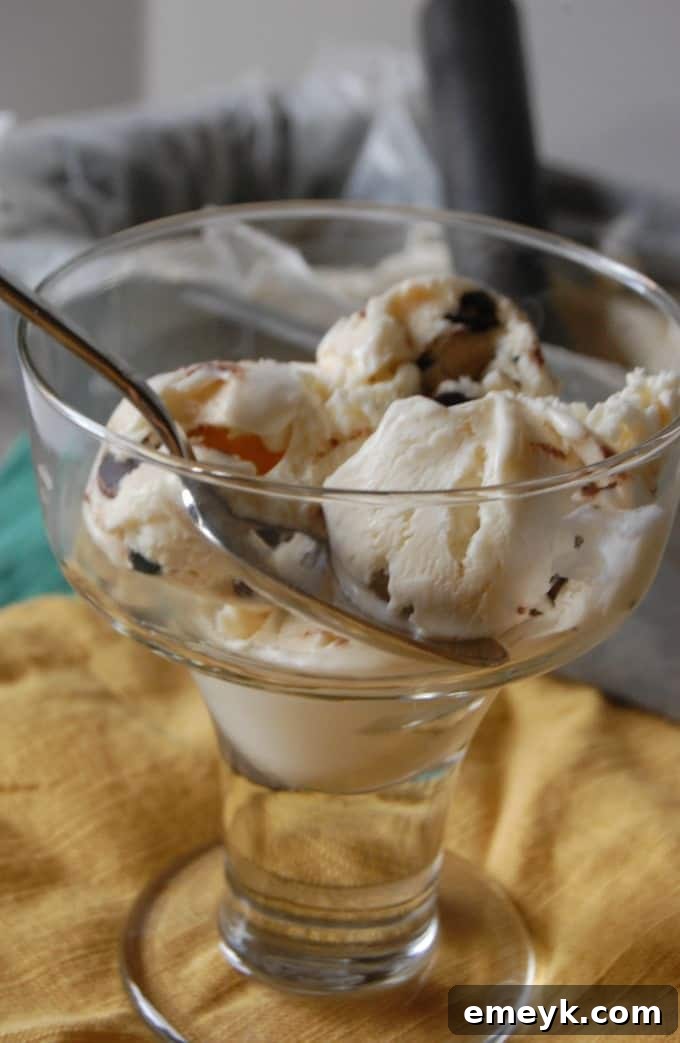
No Churn Peppermint Chip Ice Cream is like Christmas in July, offering the perfect summer indulgence with its cool, festive flavor. This incredibly creamy ice cream is crafted from just five simple ingredients, blending the refreshing taste of peppermint with delightful chocolate chips for an irresistible treat.
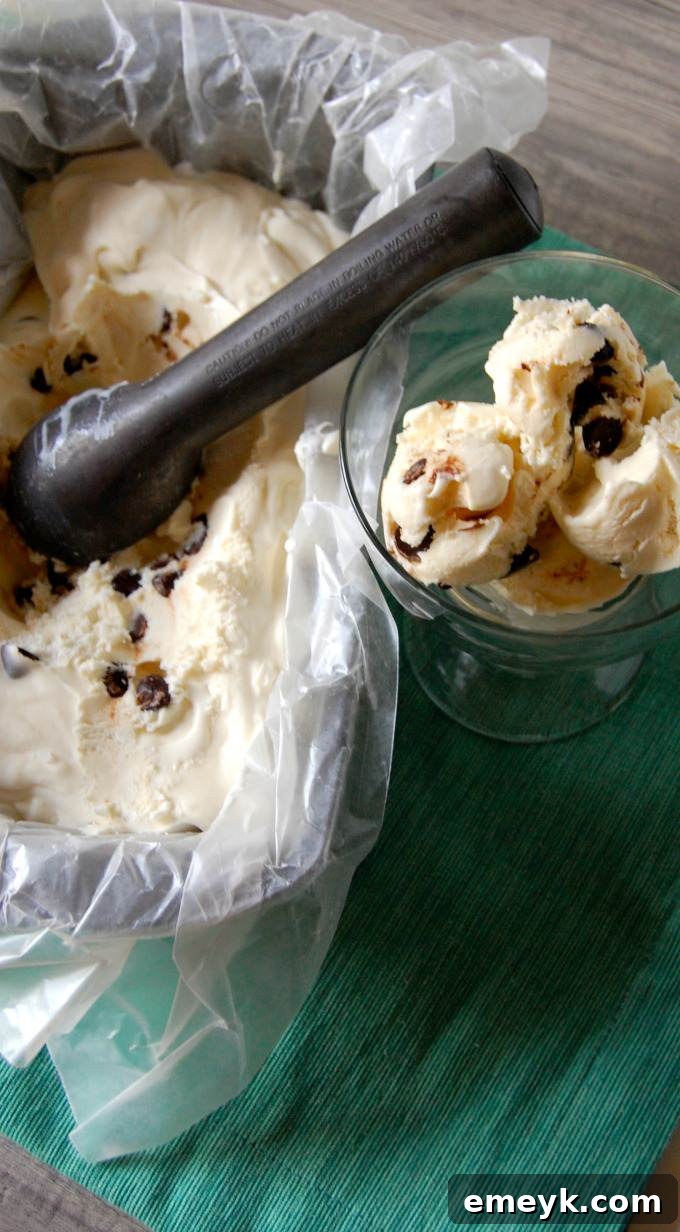
Easy No-Churn Peppermint Chip Ice Cream: Your Ultimate Summer Treat
Summer is undeniably flying by, and before we know it, August will be upon us. It feels like just yesterday we were welcoming the long, sunny days, and now we’re already contemplating the end of the season. To truly savor these remaining warm days, nothing quite hits the spot like a generous scoop of rich, creamy, homemade ice cream. Today, we’re diving into a recipe that promises pure bliss: our No-Churn Peppermint Chip Ice Cream. It’s the quintessential refreshing dessert, designed to cool you down and put a smile on your face, all without the hassle of an ice cream maker.
This delightful recipe is brought to you in partnership with my friends at REAL® Seal, just in time for National Ice Cream Month. We’re thrilled to share this incredibly easy, five-ingredient recipe that skips the need for any specialized equipment. All you’ll need is a hand mixer or a stand mixer and a bit of patience while this frosty delight sets in your freezer for about 5-6 hours. The result is a velvety-smooth ice cream that tastes like it came straight from your favorite parlor.
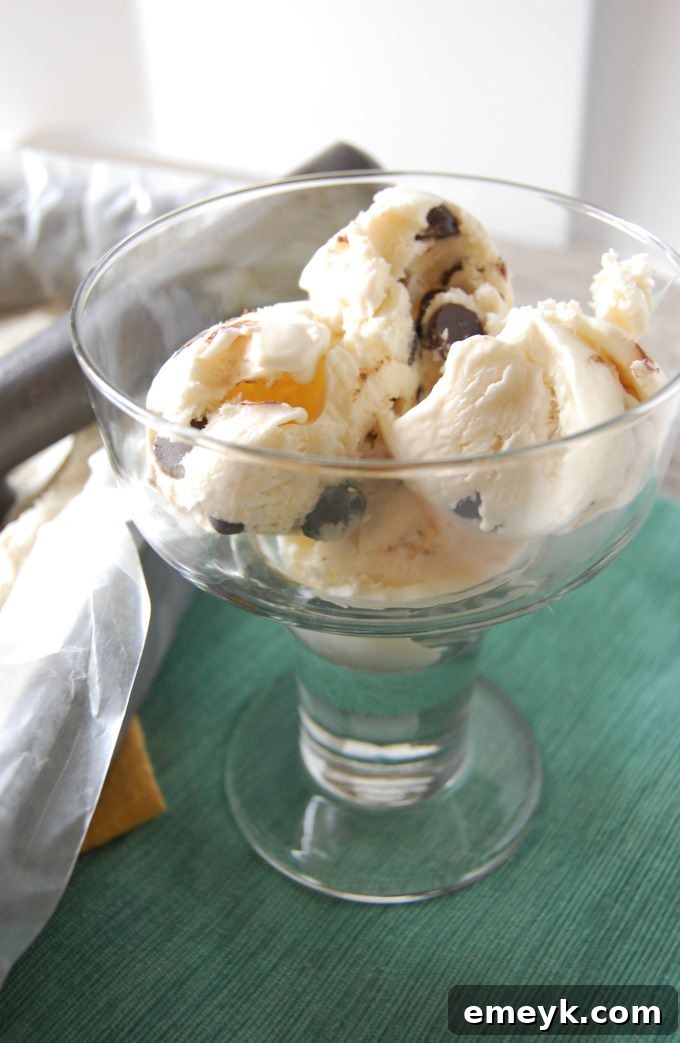
Why Choose No-Churn Ice Cream? The Simplicity and The Taste!
For many home cooks, the idea of making homemade ice cream can seem daunting, often associated with bulky ice cream makers, rock salt, and lengthy churning times. This is where the magic of “no-churn” comes in! Our No-Churn Peppermint Chip Ice Cream recipe revolutionizes the process, making it accessible to everyone, regardless of their kitchen equipment or culinary expertise.
Benefits of No-Churn Ice Cream:
- No Special Equipment Needed: Forget about buying an expensive ice cream machine. All you need is a mixer (stand or hand-held) and a freezer-safe container.
- Incredibly Easy: The process is straightforward – whip, fold, and freeze. It’s perfect for beginners and seasoned dessert makers alike.
- Rich and Creamy Texture: By whipping heavy cream to stiff peaks, you incorporate air, which is then stabilized by sweetened condensed milk. This creates an unbelievably light and smooth texture, mimicking traditional churned ice cream without the ice crystals.
- Endless Flavor Possibilities: The no-churn base is a blank canvas. While we’re focusing on peppermint and chocolate chips today, you can easily adapt it with different extracts, candies, fruits, or cookie crumbles.
- Quick Preparation Time: While freezing takes several hours, the active preparation time for this recipe is minimal – often less than 15-20 minutes.
When it comes to my personal weaknesses, especially in the realm of sweets and indulgent foods, ice cream always takes the top spot. I’m one of those people who will readily pass up cakes, cookies, and pies for a truly exceptional, creamy bowl of ice cream. My go-to flavors often lean towards the refreshing side: mint, peppermint, and vibrant raspberry. After recently crafting a delicious Peppermint Cacao Smoothie Recipe, the idea sparked that I absolutely had to translate that invigorating peppermint flavor into an ice cream masterpiece.
While A Cedar Spoon typically features a multitude of healthy and wholesome recipes, I firmly believe in the importance of occasional indulgences. Life’s treats are meant to be enjoyed! This particular ice cream recipe is a testament to that philosophy, utilizing heavy whipping cream and sweetened condensed milk to achieve its unparalleled creamy, rich texture. Let’s be clear: this isn’t a health food recipe, but it is a recipe for pure happiness!
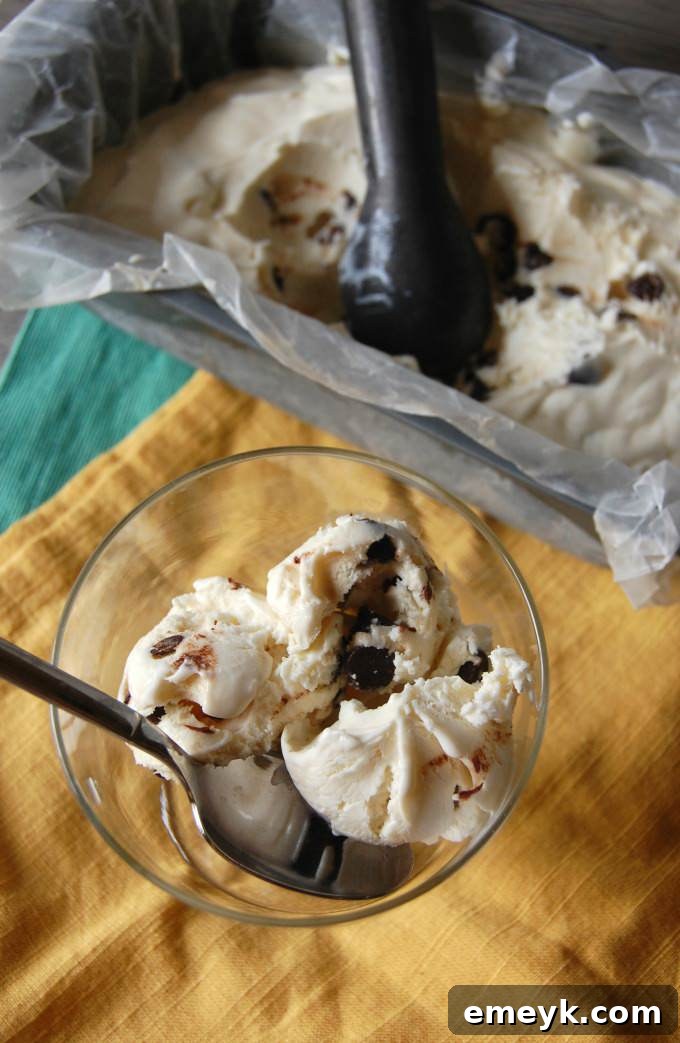
The REAL® Seal Difference: Quality Dairy You Can Trust
When you’re preparing a recipe where dairy is a star, like this decadent ice cream, the quality of your ingredients truly matters. That’s why I always recommend looking for the REAL® Seal when purchasing your condensed milk and heavy whipping cream. But what exactly is the REAL® Seal, and why is it so important?
The REAL® Seal is more than just a label; it’s an assurance. It signifies two critical things: first, that the product you’re buying is a genuine dairy food, and second, that it was made exclusively with milk from cows raised on U.S. dairy farms. This means no imported dairy, no substitute ingredients, and no imitations. In a country that consumes vast quantities of dairy, this distinction is incredibly important for consumers who prioritize quality, authenticity, and supporting local agriculture.
Why Trust the REAL® Seal?
- Authenticity: Guarantees you’re getting real dairy, not a blend of imported or imitation ingredients.
- Support for U.S. Farmers: By choosing REAL® Seal products, you’re directly supporting American dairy farmers and the agricultural economy.
- Quality Assurance: Products bearing the seal meet strict manufacturing requirements, ensuring a consistently high-quality dairy product.
- Taste and Texture: Real, high-quality dairy contributes significantly to the superior taste and creamy texture of your homemade ice cream.
- Transparency: It provides transparency about the origin and authenticity of your dairy products, empowering you to make informed choices.
Opting for REAL® Seal products ensures that your Peppermint Chip Ice Cream will not only taste amazing but also embody the integrity and quality you expect from the best ingredients.
Ingredients for Your No-Churn Peppermint Chip Ice Cream
One of the best aspects of this recipe is its simplicity, requiring only a handful of readily available ingredients. Here’s what you’ll need to create this frosty dream:
- Heavy Whipping Cream (2 cups, cold): This is the backbone of your ice cream, providing the volume and creamy texture. Ensure it’s very cold to achieve stiff peaks.
- Sweetened Condensed Milk (1 can, 14 oz): The magic sweetener and stabilizer that makes no-churn possible. It adds sweetness and prevents ice crystals from forming.
- Peppermint Extract (1-1.5 teaspoons): The star flavor! Adjust to your preference for a milder or stronger peppermint kick.
- Vanilla Extract (1 teaspoon): Enhances all the flavors and adds a classic ice cream base note.
- Green Food Coloring (optional, a few drops): For that festive, minty aesthetic.
- Mini Chocolate Chips or Crushed Peppermint Candies (1/2 cup): These add a delightful crunch and chocolatey goodness. You can use any type of chocolate chip (milk, dark, white) or get really festive with crushed candy canes.
Step-by-Step Instructions: Crafting Your Peppermint Dream
Making this ice cream is incredibly simple. Follow these steps for a perfectly creamy, minty treat:
- Prepare Your Equipment: Place your mixing bowl (preferably a chilled metal one) and whisk attachments (for a hand mixer) or the whisk attachment (for a stand mixer) into the freezer for 10-15 minutes. This helps the cream whip up faster and firmer.
- Whip the Cream: Pour the cold heavy whipping cream into your chilled bowl. Beat on medium-high speed until stiff peaks form. This means the cream will hold its shape when you lift the whisk. Be careful not to over-whip, or it might become grainy.
- Combine Sweetened Condensed Milk: In a separate bowl, whisk together the sweetened condensed milk, peppermint extract, and vanilla extract. If using green food coloring, add a few drops until you reach your desired hue.
- Gently Fold: Carefully fold about one-third of the whipped cream into the sweetened condensed milk mixture to lighten it. Then, gently fold in the remaining whipped cream until just combined. Overmixing at this stage can deflate the air from the cream, resulting in a less airy ice cream.
- Add Mix-Ins: Fold in the mini chocolate chips or crushed peppermint candies. Save a small amount for sprinkling on top, if desired.
- Transfer and Freeze: Pour the mixture into a freezer-safe container (a loaf pan works perfectly). Smooth the top and sprinkle with any reserved chocolate chips or candies. Cover tightly with plastic wrap or a lid.
- Chill Out: Freeze for at least 5-6 hours, or preferably overnight, until firm.
- Serve and Enjoy: When ready to serve, let the ice cream sit at room temperature for a few minutes to soften slightly, making it easier to scoop.
Tips for the Perfect No-Churn Peppermint Chip Ice Cream
While this recipe is incredibly forgiving, a few tips can elevate your ice cream from great to absolutely phenomenal:
- Keep Everything Cold: Chilling your bowl and whisk attachments truly makes a difference in getting perfectly whipped cream.
- Don’t Overmix the Whipped Cream: Whip until stiff peaks form, but stop there. Over-whipping can turn the cream grainy.
- Gentle Folding is Key: When combining the whipped cream with the condensed milk mixture, use a gentle folding motion to preserve the airiness.
- Adjust Peppermint to Taste: Peppermint extract can be potent. Start with 1 teaspoon and add more if you prefer a stronger flavor.
- Get Creative with Mix-ins: Instead of just chocolate chips, try crushed candy canes, white chocolate chunks, or even a swirl of chocolate fudge.
- Airtight Storage: Always cover your ice cream tightly in the freezer to prevent ice crystals from forming on the surface.
- Let it Soften: For the best scooping experience, let the ice cream sit out for 5-10 minutes before serving.
Creative Ways to Enjoy Your Peppermint Chip Ice Cream
This isn’t just a scoop-and-serve kind of ice cream, though it’s certainly delicious enough on its own! Here are some creative ways to enjoy your homemade peppermint chip ice cream:
- Classic Cone or Bowl: The simplest and often best way to savor its creamy texture and refreshing flavor.
- Ice Cream Sandwiches: Sandwich a scoop between two chewy chocolate chip cookies or brownies for an epic treat.
- Milkshakes: Blend with a splash of milk, extra peppermint extract (if desired), and a dollop of whipped cream for a frosty, delightful shake.
- Affogato with a Twist: Instead of traditional vanilla, top a scoop with a shot of hot espresso for a surprising, invigorating dessert.
- Dessert Topping: Serve alongside a warm brownie, a slice of chocolate cake, or even fruit crumble for an exquisite contrast in temperatures and textures.
- Sundae Bar: Set up a sundae bar with hot fudge, whipped cream, sprinkles, and more crushed peppermints for a customizable delight.
Frequently Asked Questions About No-Churn Ice Cream
Can I use a different extract or flavor?
Absolutely! The no-churn base is incredibly versatile. You can swap peppermint extract for almond, coconut, coffee, or even orange extract. Just ensure you’re using extracts, not oils, as oils can separate.
How long does no-churn ice cream last in the freezer?
When stored in an airtight container, no-churn ice cream will stay fresh and delicious for up to 2 weeks. Beyond that, its texture might start to degrade slightly, though it will still be safe to eat.
Can I make this recipe dairy-free?
This specific recipe relies heavily on dairy for its creamy texture. While there are no-churn dairy-free recipes available using coconut cream and dairy-free condensed milk, they would require significant adaptation and would not be the same as this recipe.
What kind of chocolate chips are best?
Mini chocolate chips tend to distribute better throughout the ice cream, ensuring chocolate in every bite. However, regular chocolate chips, chocolate chunks, or even finely chopped chocolate bars work wonderfully.
Recipe slightly adapted from Food.com
I would love to connect with you on Facebook, Pinterest, Twitter, Google + and Instagram.
For more refreshing summer recipes, be sure to check out my Summer Eats Pinterest board!
The REAL® Seal initiative, established over four decades ago, serves as a vital assurance that the dairy products you purchase are indeed crafted from milk sourced from cows on U.S. dairy farms, and that they adhere to stringent manufacturing standards. This commitment to domestic sourcing and quality is incredibly significant for a nation that enjoys and relies on dairy as much as ours!
This post is sponsored by my wonderful friends at REAL® Seal. As always, all opinions and thoughts expressed here are entirely my own. I am committed to supporting and sharing only those products and brands that I genuinely believe in and personally enjoy.