
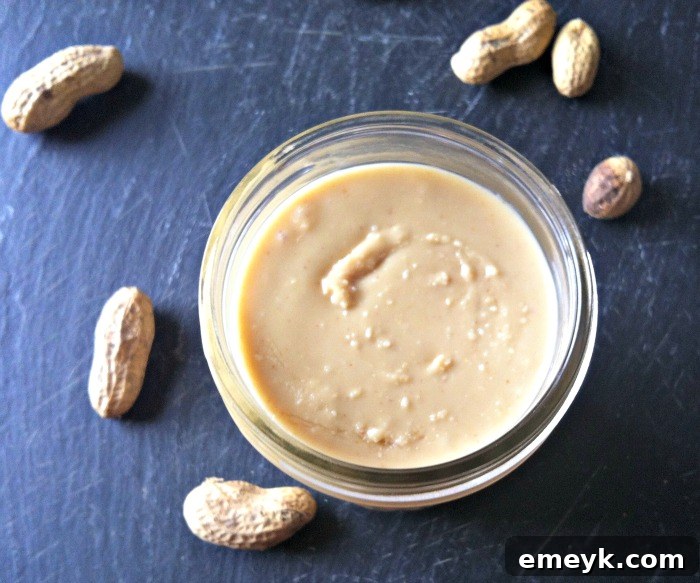
The Ultimate Guide to Making Homemade Peanut Butter: Easy, Healthy & Delicious
Tired of store-bought peanut butter packed with unnecessary sugars, oils, and unpronounceable ingredients? Imagine spreading a rich, creamy, and wholesome peanut butter made right in your own kitchen, free from preservatives and additives. Making homemade peanut butter is surprisingly simple, incredibly fast, and allows you complete control over its taste and texture. Get ready to transform humble peanuts into a delightful spread that’s perfect for everything from sandwiches to smoothies.
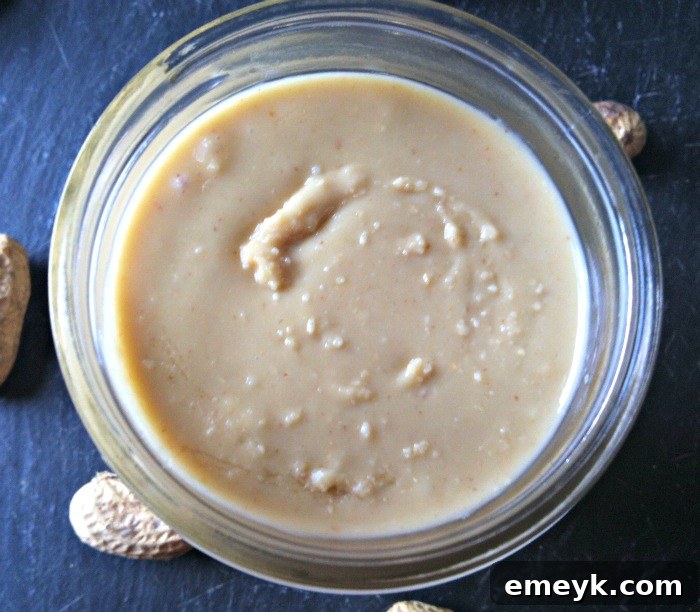
Why Make Your Own Homemade Peanut Butter?
There’s something uniquely satisfying about creating your own food from scratch, especially when it comes to a staple like peanut butter. Beyond the personal accomplishment, homemade peanut butter offers a multitude of benefits that elevate it far above its commercial counterparts:
- Unmatched Freshness and Flavor: The moment you taste homemade peanut butter, you’ll notice a remarkable difference. The fresh, roasted peanut flavor truly shines, devoid of the stale or overly sweet notes often found in store-bought jars.
- Complete Ingredient Control: This is arguably the biggest advantage. You decide exactly what goes in. No hydrogenated oils, no high-fructose corn syrup, and certainly no artificial flavors or preservatives. Just pure, wholesome peanuts, and whatever natural additions you choose. This is especially beneficial for those with dietary restrictions or specific health goals.
- Healthier Choice: By avoiding added sugars, unhealthy fats, and unnecessary additives, your homemade peanut butter becomes a powerhouse of good fats, protein, and fiber. It’s a natural source of energy that supports a balanced diet.
- Customizable Texture and Taste: Do you prefer extra chunky, super smooth, slightly sweet, or a hint of spice? Homemade allows for endless customization. You can control the roast level of your peanuts, the amount of blending, and introduce various sweeteners or spices to match your exact preference.
- Cost-Effective: While high-quality natural peanut butter can be expensive, buying raw or roasted peanuts in bulk is often more economical, especially if peanut butter is a regular item in your pantry.
- Quick and Easy: The process is incredibly straightforward and takes only about 10 minutes from start to finish. It’s a kitchen project that delivers big results with minimal effort.
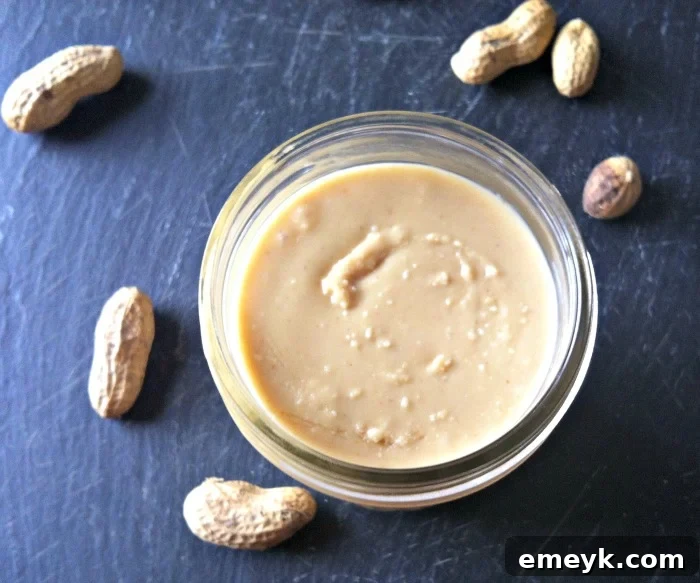
The Simple Ingredient: Choosing Your Peanuts
The beauty of this recipe lies in its simplicity. At its core, you only need one ingredient: peanuts. However, the type of peanuts you choose can significantly influence the final taste and texture of your homemade peanut butter.
- Roasted vs. Raw: Most recipes recommend using roasted peanuts as their flavor is more developed and they release their oils more readily when processed. You can buy pre-roasted peanuts (ensure they are just peanuts, no added oils or excessive salt) or roast raw peanuts yourself for maximum freshness and control over the roast level. To roast raw peanuts, spread them in a single layer on a baking sheet and bake at 350°F (175°C) for 10-15 minutes, stirring occasionally, until fragrant and lightly browned. Let them cool completely before processing.
- Salted vs. Unsalted: This is a matter of personal preference. If you opt for unsalted peanuts, you’ll want to add a pinch or two of salt during processing to enhance the flavor. If you use salted peanuts, taste your peanut butter before adding any additional salt.
- Shelled vs. Unshelled: For convenience, shelled peanuts are highly recommended. While shelling peanuts can be a meditative task for some, it can be time-consuming for others. Save yourself the effort by starting with pre-shelled peanuts.
- Blanched vs. Unblanched: Blanched peanuts have had their thin, reddish skins removed, resulting in a smoother, lighter-colored peanut butter. Unblanched peanuts will produce a slightly darker, more rustic peanut butter with a hint of extra fiber. Either works perfectly well.
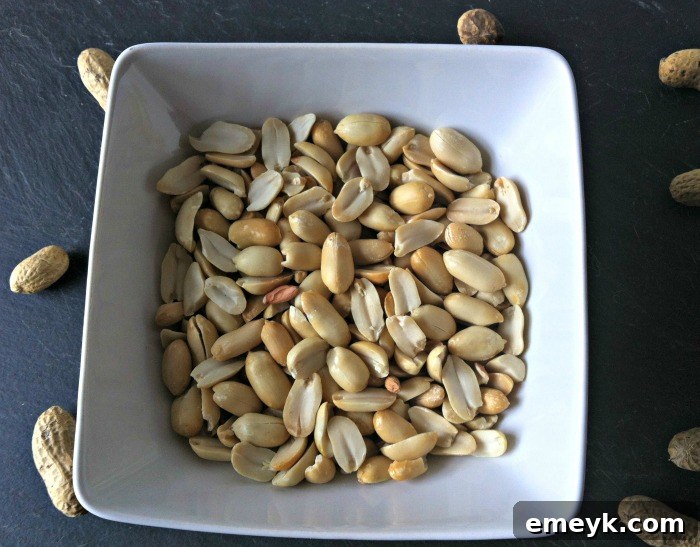
For this recipe, we’ll start with 3 cups (approximately 24 oz) of shelled peanuts. The choice of roasted, honey-roasted, salted, or unsalted is entirely up to you and how you envision your ideal peanut butter!
Essential Equipment for Perfect Peanut Butter
The right tools make this process even easier. You’ll primarily need a powerful food processor or a high-speed blender. Both can get the job done, but each has its nuances:
- Food Processor: Often preferred for peanut butter due to its wide bowl and strong blades. It handles the initial grinding of the nuts into a meal and then a paste more efficiently. You might need to scrape down the sides more frequently with a food processor.
- High-Speed Blender: Can also work, especially if it has a tamper or a wide base. Blenders sometimes require a bit more patience and scraping to get the peanuts moving freely.
- Spatula: Essential for scraping down the sides of your food processor or blender bowl during the blending process, ensuring all peanuts are evenly processed.
- Airtight Container: A clean glass jar or plastic container with a tight-fitting lid is perfect for storing your finished peanut butter.
Step-by-Step Guide: How to Make Homemade Peanut Butter
Making peanut butter is a fascinating process to watch, as the peanuts transform through several stages before becoming the creamy spread we all know and love. It generally takes about 8-12 minutes, depending on the power of your appliance and your desired consistency.
1. Prepare Your Peanuts
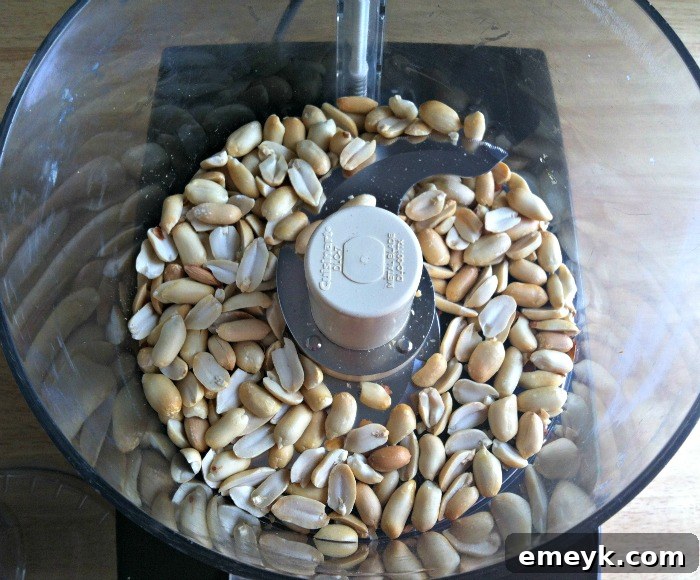
Begin by measuring 3 cups of shelled peanuts. If you are using raw peanuts, ensure they are roasted and cooled before proceeding. Place the peanuts directly into the bowl of your food processor or high-speed blender. There’s no need for any liquids or oils at this stage, as the peanuts will release their natural oils.
2. Begin Processing: The Stages of Transformation
Secure the lid on your appliance and start processing. Be patient; the transformation happens in distinct stages. It’s crucial to allow each stage to fully develop for the best results. You will want to stop periodically (every 1-2 minutes) to scrape down the sides of the bowl with a spatula, ensuring even processing.
- Stage 1: Crushed Peanuts (0-1 minute)
Initially, the peanuts will break down into a coarse, crumbly meal, resembling crushed nuts. - Stage 2: Peanut Flour (1-3 minutes)
As you continue processing, the crushed peanuts will become finer, taking on the texture of a thick flour. - Stage 3: Thick Paste (3-5 minutes)
The oils will start to release, and the mixture will clump together into a thick, dry paste. It might look like a large ball of peanut dough at this point. This is normal! Keep scraping and blending. - Stage 4: Runny Paste (5-8 minutes)
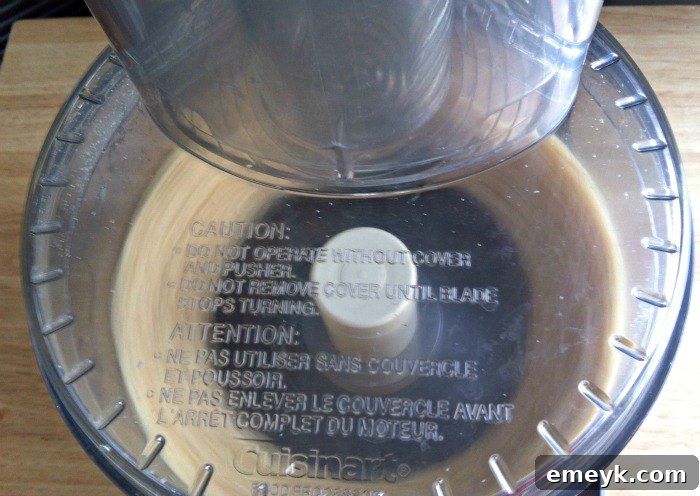
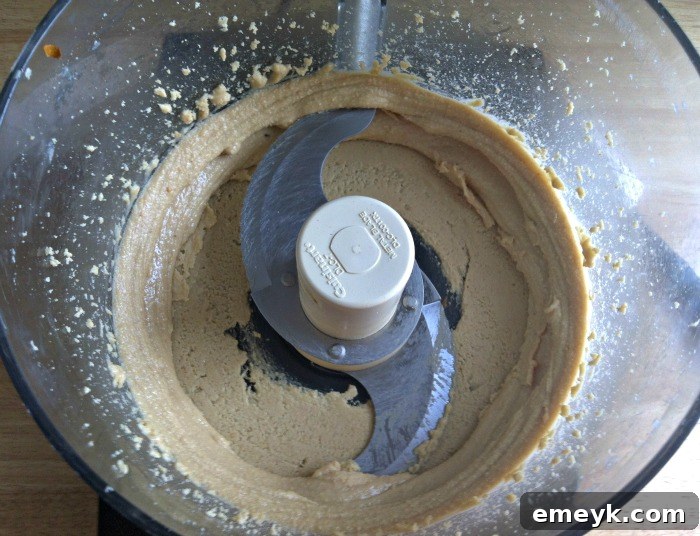
More oils will be released, and the paste will become smoother and slightly more liquid, though still very thick. It will start to move more freely around the blades. - Stage 5: Creamy Peanut Butter (8-12 minutes)
Finally, the mixture will smooth out completely into a luscious, pourable (or spreadable, depending on desired thickness) peanut butter. Continue processing until it reaches your desired creamy or chunky consistency.
If your food processor or blender starts to get warm, give it a short break (a minute or two) to prevent overheating. Some people add a teaspoon of neutral oil (like peanut, vegetable, or grapeseed oil) if the mixture seems stubbornly dry, but generally, the peanuts will release enough oil on their own. I find it’s often best without any added oil for the purest flavor.
3. Taste and Adjust
Once your peanut butter has reached the desired texture, give it a quick taste. This is your chance to customize it further. If you used unsalted peanuts, you’ll likely want to add a pinch or two of salt to taste. If you prefer a sweeter spread, now is the time to blend in a teaspoon of honey, maple syrup, or sugar.
Customizing Your Homemade Peanut Butter
One of the greatest joys of making peanut butter at home is the ability to tailor it precisely to your liking. Here are some ideas for customization:
Achieving Your Desired Texture
- Smooth: For a super creamy butter, simply continue processing until it’s as smooth as you like.
- Chunky: If you love chunky peanut butter, stop processing just after it reaches the thick paste stage, before it fully smooths out. Or, for a more controlled chunky texture, process the peanuts until smooth, then add a handful of whole or roughly chopped roasted peanuts and pulse a few times to incorporate them.
Flavor Enhancements and Add-ins
Once your basic peanut butter is made, the possibilities for flavor innovation are endless. Add these during the last minute of processing, or stir them in after the peanut butter is complete:
- Sweeteners: Honey, maple syrup, agave nectar, brown sugar, or even a touch of date paste can add natural sweetness.
- Spices: A pinch of cinnamon, nutmeg, or even a touch of cayenne pepper for a spicy kick.
- Chocolate: For a dessert-like spread, add cocoa powder or melted chocolate chips.
- Vanilla Extract: A small amount can deepen the flavor profile.
- Coconut: Toasted shredded coconut can add a tropical twist.
- Seeds: Chia seeds, flax seeds, or hemp seeds can boost nutrition and add texture.
Storing Your Freshly Made Peanut Butter
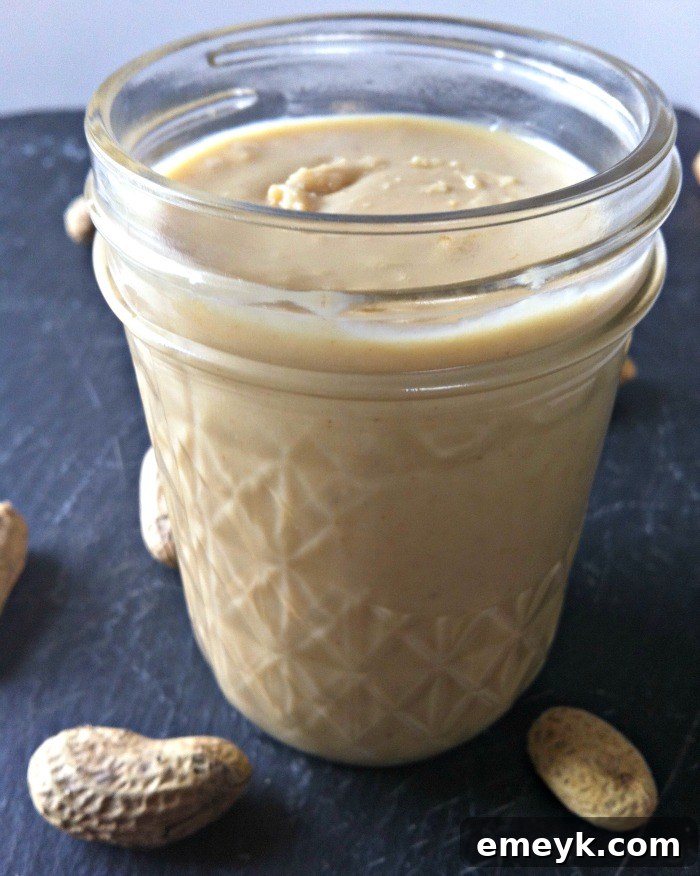
Once you’ve achieved your perfect homemade peanut butter, transfer it to a clean, airtight container, such as a glass jar with a tight lid. Store it in the refrigerator. Because it lacks the stabilizers and preservatives found in commercial varieties, homemade peanut butter will naturally separate over time, with the oil rising to the top. This is perfectly normal; just give it a good stir before each use. It will also thicken considerably after being refrigerated overnight. Homemade peanut butter typically lasts for up to two months in the refrigerator.
Creative Ways to Enjoy Your Homemade Peanut Butter
Beyond the classic peanut butter and jelly sandwich, your fresh homemade spread can elevate countless dishes:
- Spread on toast, bagels, or rice cakes.
- Stir into oatmeal or yogurt for a protein boost.
- Use as a dip for apple slices, celery sticks, or bananas.
- Blend into smoothies for extra creaminess and flavor.
- Incorporate into baking recipes for cookies, brownies, or energy balls.
- Whisk into savory sauces for Asian-inspired dishes.
- Drizzle over pancakes or waffles.
- Or, simply enjoy it by the spoonful straight from the jar – a true guilty pleasure!
Making your own peanut butter is a rewarding experience that puts you in control of your food. It’s healthier, tastier, and remarkably simple. Give it a try and discover the difference!
What is your favorite flavor or addition to peanut butter? Share your ideas in the comments below!
Julia
Tried this recipe? Leave a star rating and comment below! Subscribe to my newsletter or follow me on
Facebook,
Instagram, or
Pinterest for the latest.
Tap to rate the recipe
Homemade Peanut Butter Recipe
By
Julia Jolliff
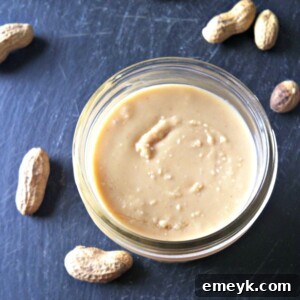
Homemade peanut butter takes about 10 minutes to make and is creamy, healthy and you know exactly what you are putting in it.
Pin
10 mins
10 mins
2 servings
Ingredients
Instructions
-
Put the 3 cups of peanuts in the bowl of your food processor or blender.
-
Turn the blender on and let the peanuts break down, scraping the sides if necessary. Continue to blend the peanut butter until you begin to see a very smooth texture (you will go through stages as you make the peanut butter: 1. crunchy, 2. paste, 3. thick paste, 4. ball of peanut butter, 5. smooth peanut butter).
-
Taste the peanut butter and add salt to taste.
Notes
- You can add 1 teaspoon of peanut oil or vegetable oil if you think your peanut butter needs it but I found it is best without it.
- You will have a pretty runny peanut butter at first but once you put it in the refrigerator overnight it will thicken up.
- A few optional additions to peanut butter: Honey, Sugar, Caramel, Chocolate
Nutrition
Calories: 1248kcal,
Carbohydrates: 35g,
Protein: 57g,
Fat: 109g,
Saturated Fat: 17g,
Polyunsaturated Fat: 38g,
Monounsaturated Fat: 49g,
Sodium: 48mg,
Potassium: 1629mg,
Fiber: 21g,
Calcium: 232mg,
Iron: 9mg
Nutrition information is automatically calculated, so should only be used as an approximation.
Tried this recipe?
Mention @acedarspoon or tag #acedarspoon!