
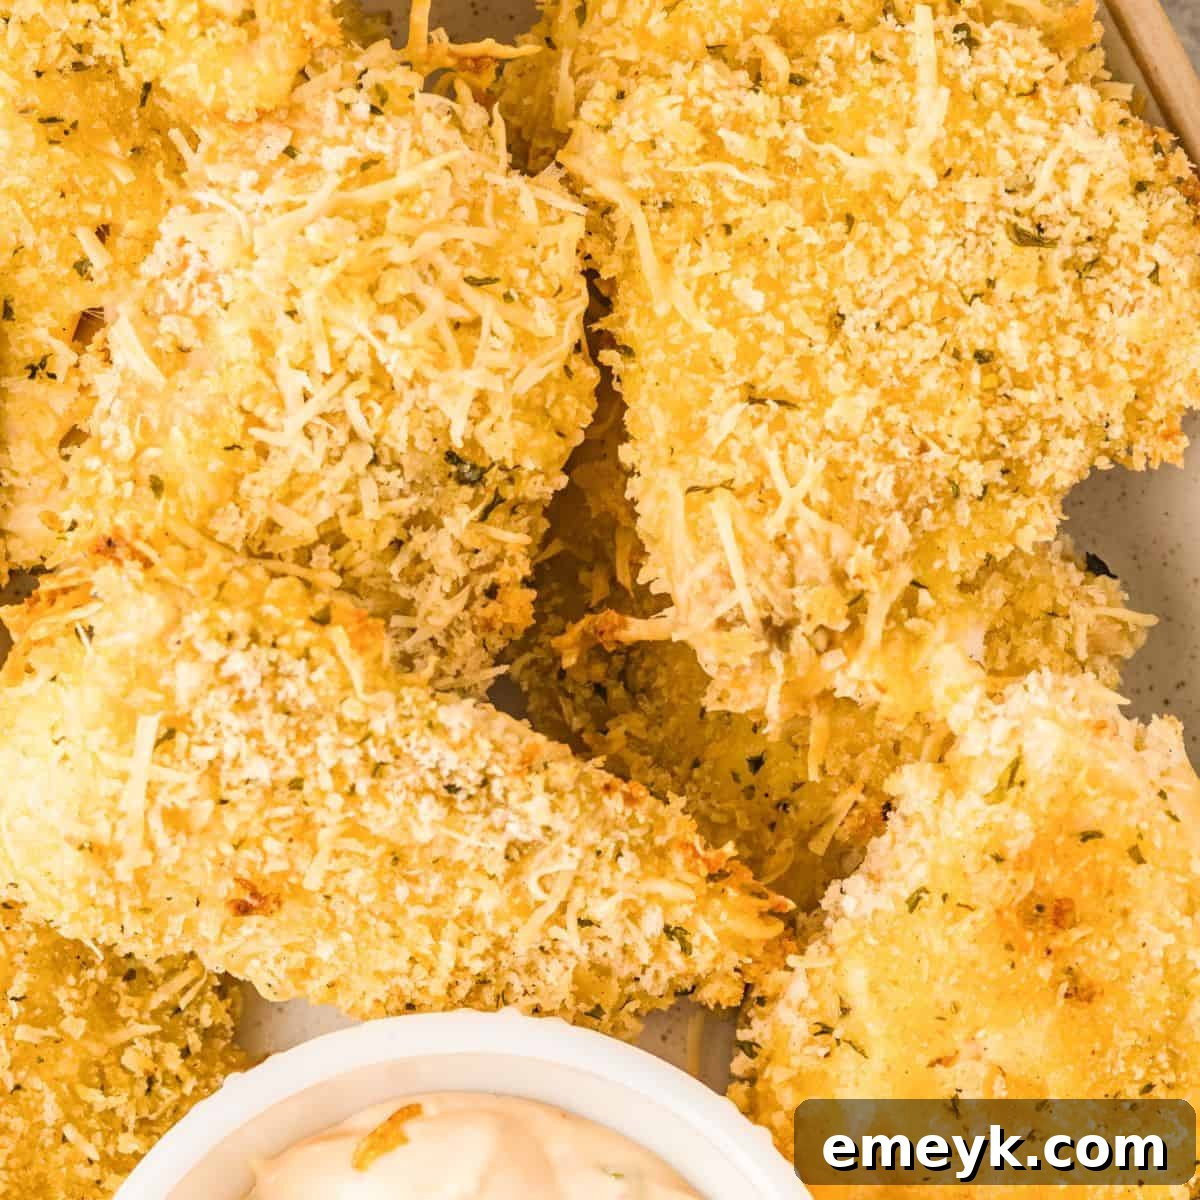
Baked Parmesan Fish Sticks: A Crispy & Healthy Family Favorite
Transform your dinner routine with these incredibly delicious and easy-to-make Baked Parmesan Fish Sticks. Crafted from fresh Tilapia fillets, coated in a seasoned panko and Parmesan cheese crust, and baked to golden perfection, these fish sticks are a game-changer. Forget the freezer aisle; our homemade version offers superior taste and nutrition, ready to impress even the pickiest eaters. Served with a quick homemade tartar sauce, this meal is not just simple but utterly satisfying.
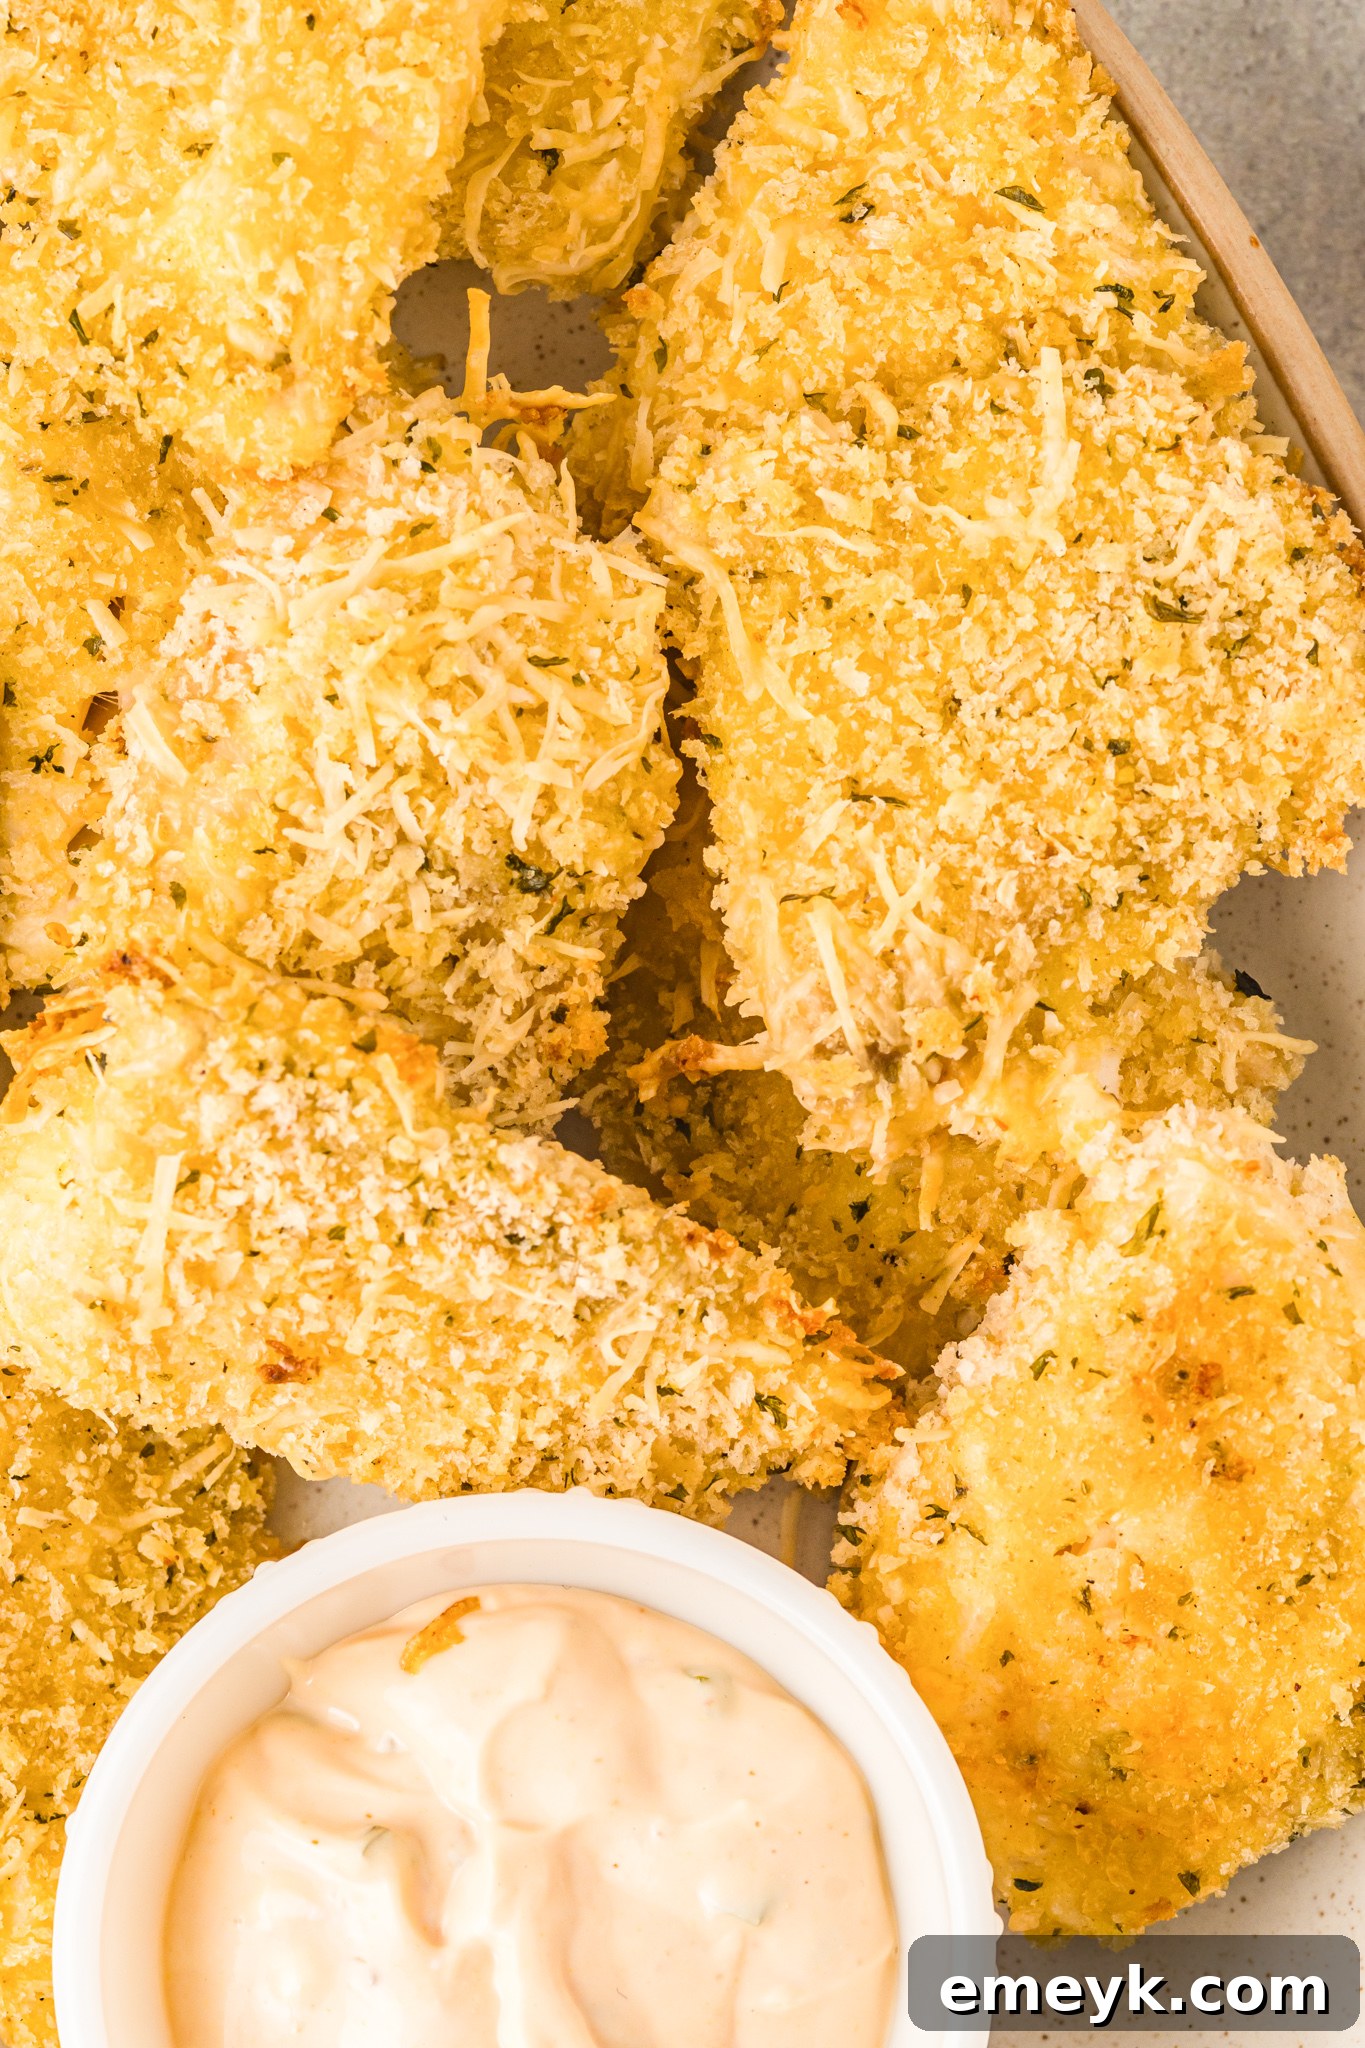
When it comes to quick, healthy, and family-friendly seafood dishes, nothing beats the convenience and flavor of homemade fish sticks. This recipe is particularly wonderful for busy weeknights, special occasions like Lent, or anytime you want to serve a lighter, yet hearty meal. We love rotating this recipe with other favorites like Easy Pan Fried Fish with Parmesan Crust and Panko Breadcrumbs, Mediterranean Tuna Patties, Air Fryer Cod, and Air Fryer Tilapia. Each offers a unique way to enjoy fresh fish, but these baked tilapia fish sticks truly stand out for their irresistible crunch and simple preparation.
One of the biggest advantages of making your own healthy fish sticks is having complete control over the ingredients. You eliminate unnecessary additives, preservatives, and excessive oils often found in store-bought versions. Instead, you get pure, fresh fish fillets seasoned to perfection with a light, crispy breading. Similar to our popular Baked Chicken Tenders, the addition of finely grated Parmesan cheese to the panko mixture creates a rich, savory depth that elevates the entire dish.
Tilapia, a freshwater white fish, is an excellent choice for this recipe due to its mild flavor, delicate texture, and quick cooking time. It’s also a fantastic source of lean protein and essential omega-3 fatty acids, making these oven-baked fish sticks a nutritious option for any meal. This recipe ensures that you can have a wholesome, delightful meal on the table in just about 30 minutes from start to finish. It’s the ultimate solution for a fast, delicious, and guilt-free dinner that everyone will ask for again and again.
Why You’ll Love These Homemade Fish Sticks
- Unbeatable Flavor & Texture: The combination of Parmesan and panko creates a golden, irresistibly crispy crust that perfectly complements the tender, flaky tilapia.
- Healthier Alternative: By baking instead of frying, you get all the deliciousness of traditional fish sticks with significantly less oil, making it a lighter and more wholesome meal.
- Quick & Easy: With only 10-12 minutes of cooking time, this recipe is perfect for busy weeknights when you need a fast and satisfying dinner solution.
- Family-Friendly: Kids and adults alike will devour these savory fish sticks, especially when paired with the simple, creamy homemade tartar sauce.
- Customizable: Easily adapt the seasonings, choose different types of fish, or make it dairy-free to suit your preferences.
Essential Ingredients for Crispy Fish Sticks
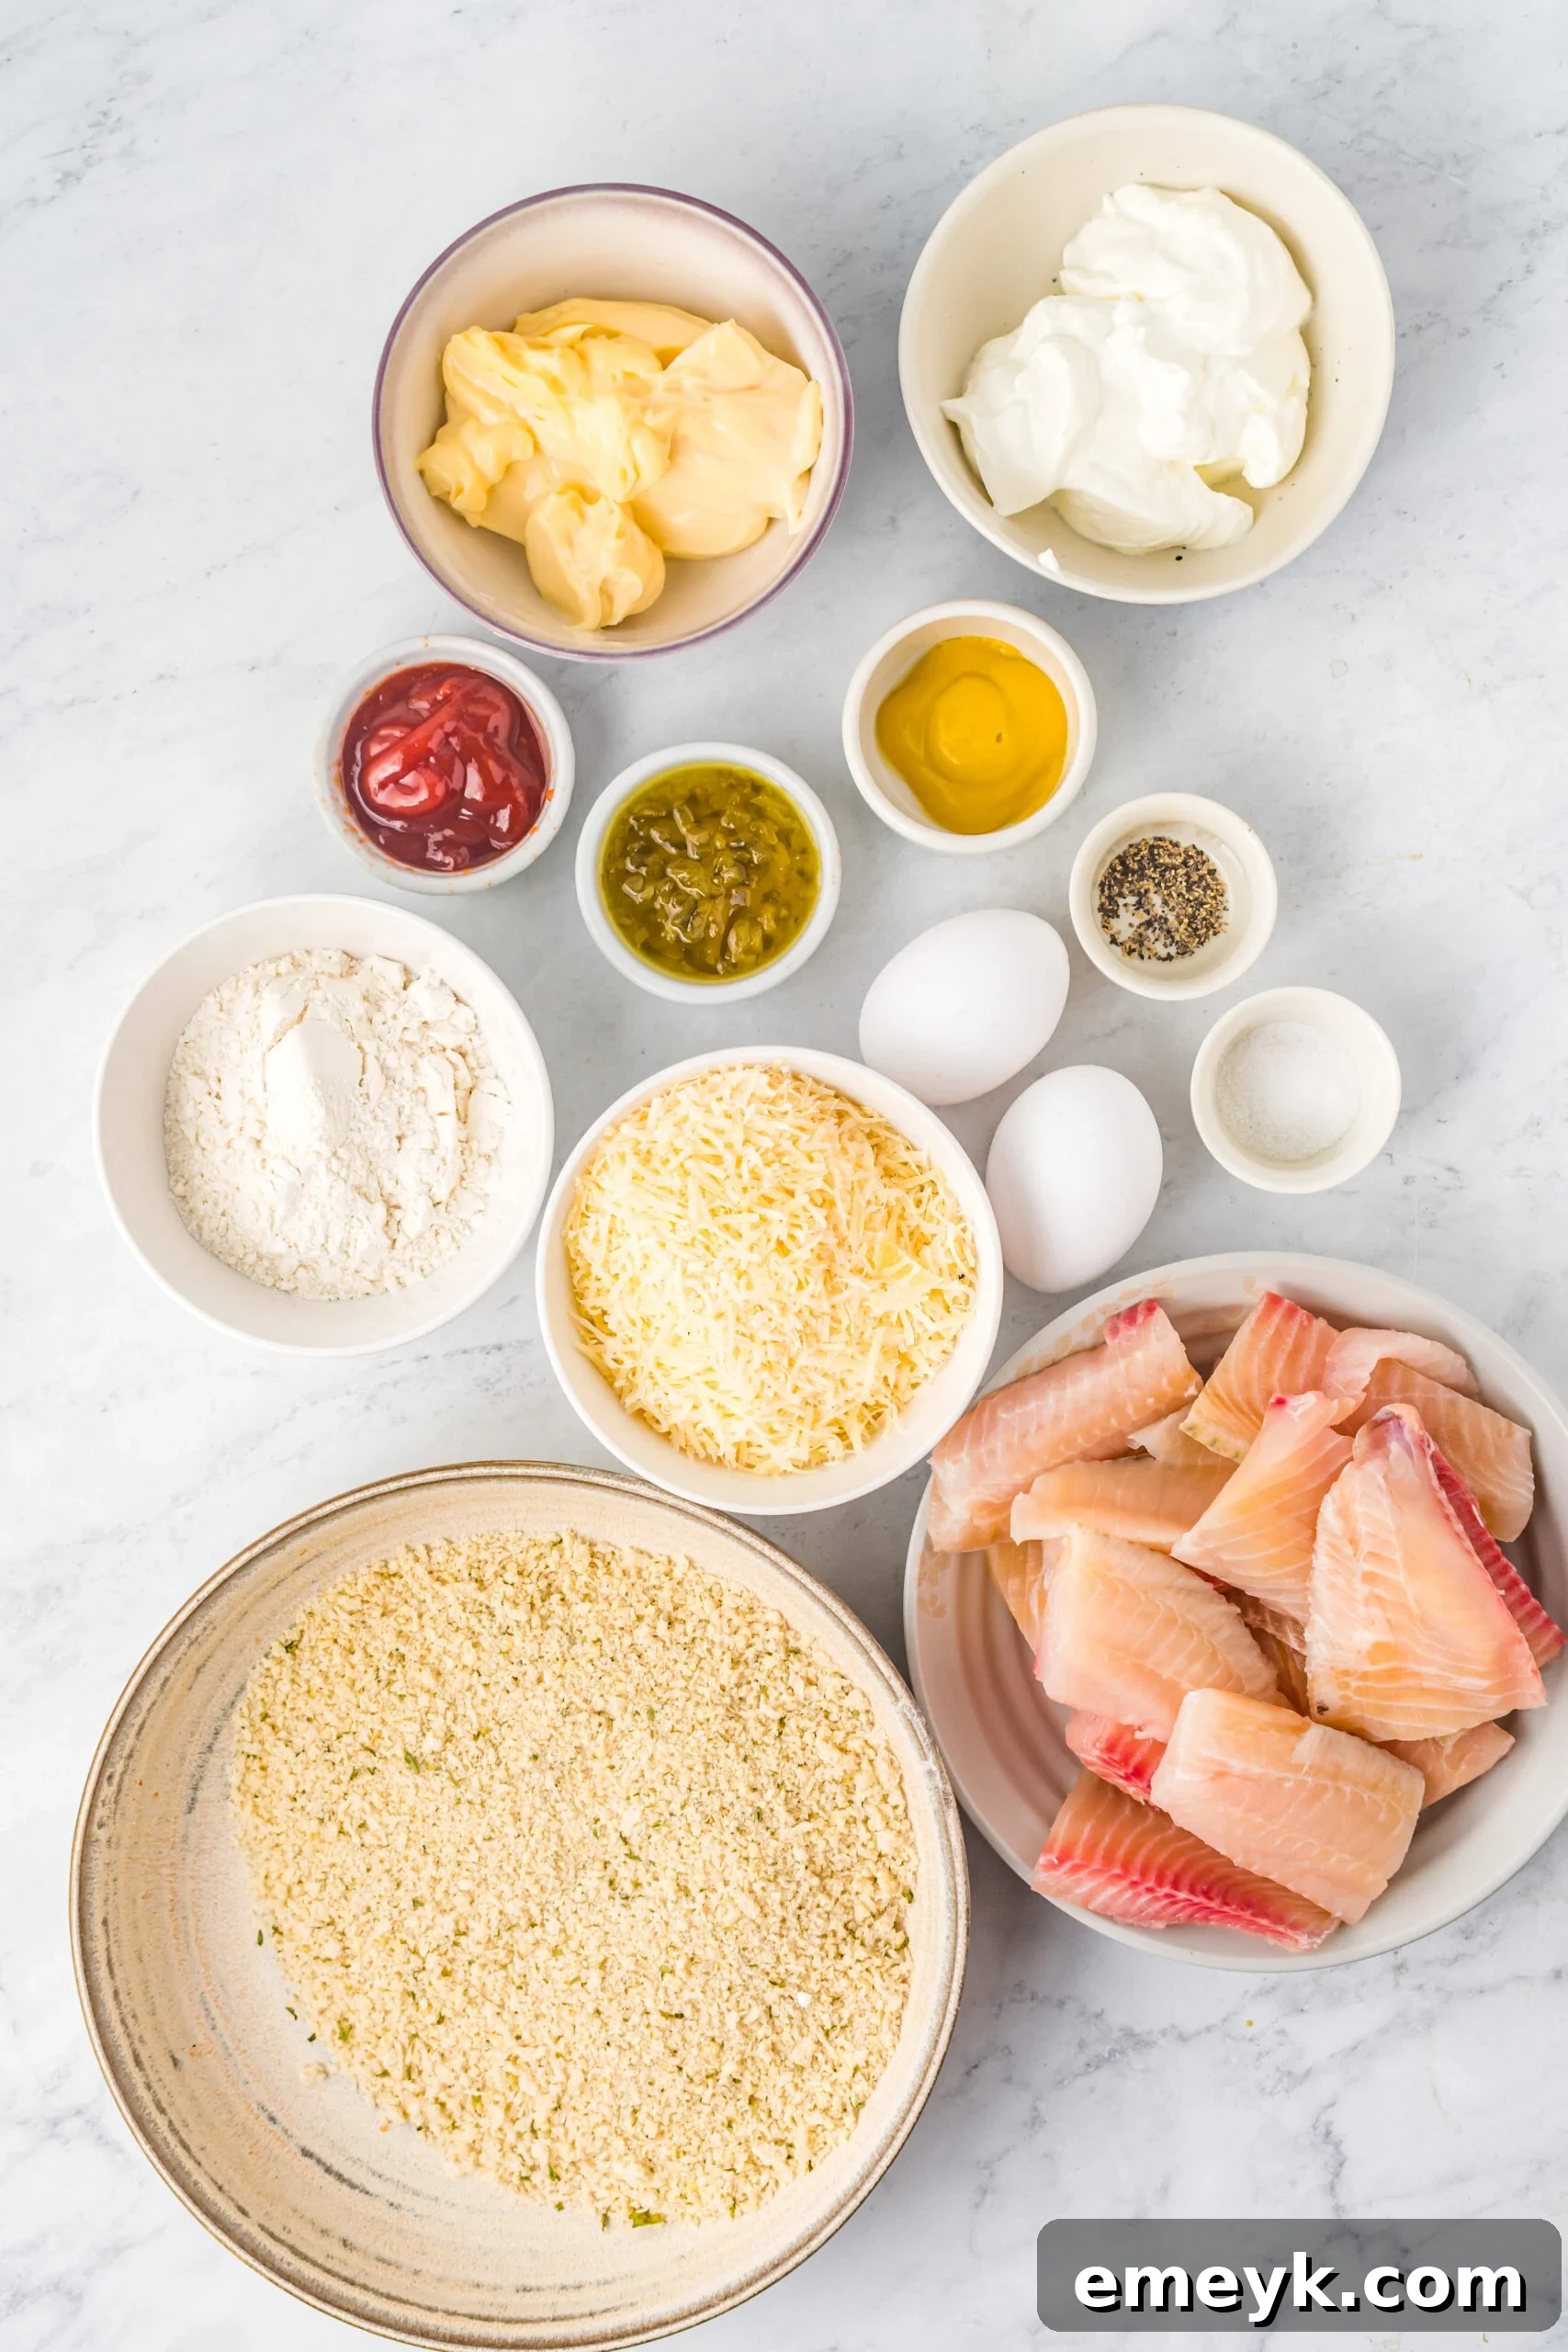
Crafting the perfect homemade fish sticks starts with quality ingredients. Here’s a closer look at what you’ll need and why each component is vital for creating the best texture and flavor:
- Tilapia Fillets: Our star ingredient! Tilapia is chosen for its mild flavor and firm, white flesh, which holds up well to breading and baking. It’s a versatile and affordable fish that cooks quickly. While tilapia is excellent, this recipe is also incredibly adaptable. Feel free to substitute with other white fish varieties like cod, halibut, pollock, or even salmon for a richer flavor. Ensure your fillets are relatively thin for even cooking.
- All-Purpose Flour: This forms the crucial first layer in our breading process, helping the egg wash adhere evenly to the fish. It’s absolutely essential to season the flour generously with salt and black pepper (and Italian seasoning!) as this is where much of the fish’s core flavor comes from. Don’t skip this step!
- Eggs: Beaten eggs act as the “glue” that binds the dry ingredients (flour and breadcrumbs) to the fish, ensuring a consistent and crispy crust. Using two eggs typically provides enough for 4 large fillets.
- Finely Grated Parmesan Cheese: This ingredient is key to giving our fish sticks their signature savory, umami flavor and a golden-brown crust. Use a good quality Parmesan for the best results. If you prefer a dairy-free option or simply want to omit the cheese, the fish sticks will still be delicious and crispy.
- Panko Breadcrumbs: For maximum crispiness, panko is my breadcrumb of choice. These Japanese-style breadcrumbs are coarser and lighter than traditional breadcrumbs, resulting in a much crunchier texture. You can use plain panko and add your own seasonings, or opt for seasoned panko for an extra flavor boost. Regular breadcrumbs can also be used if panko isn’t available, though the texture might be slightly less crisp.
- Dried Parsley Flakes & Italian Seasoning: These herbs add aromatic depth and a touch of fresh, savory flavor to the breading mixture. They complement the fish beautifully and enhance the overall taste profile.
- Salt & Black Pepper: Fundamental seasonings that bring out the natural flavors of the fish and the breading. Adjust to your taste preferences.
- Olive Oil Cooking Spray: A light mist of cooking spray helps the fish sticks brown beautifully in the oven, contributing to that desirable crispy texture without needing to deep-fry.
If you’re a fan of tilapia, be sure to explore more of our delightful tilapia recipes such as Greek Baked Tilapia, Parmesan Crusted Tilapia, and Easy Blackened Tilapia Fish.
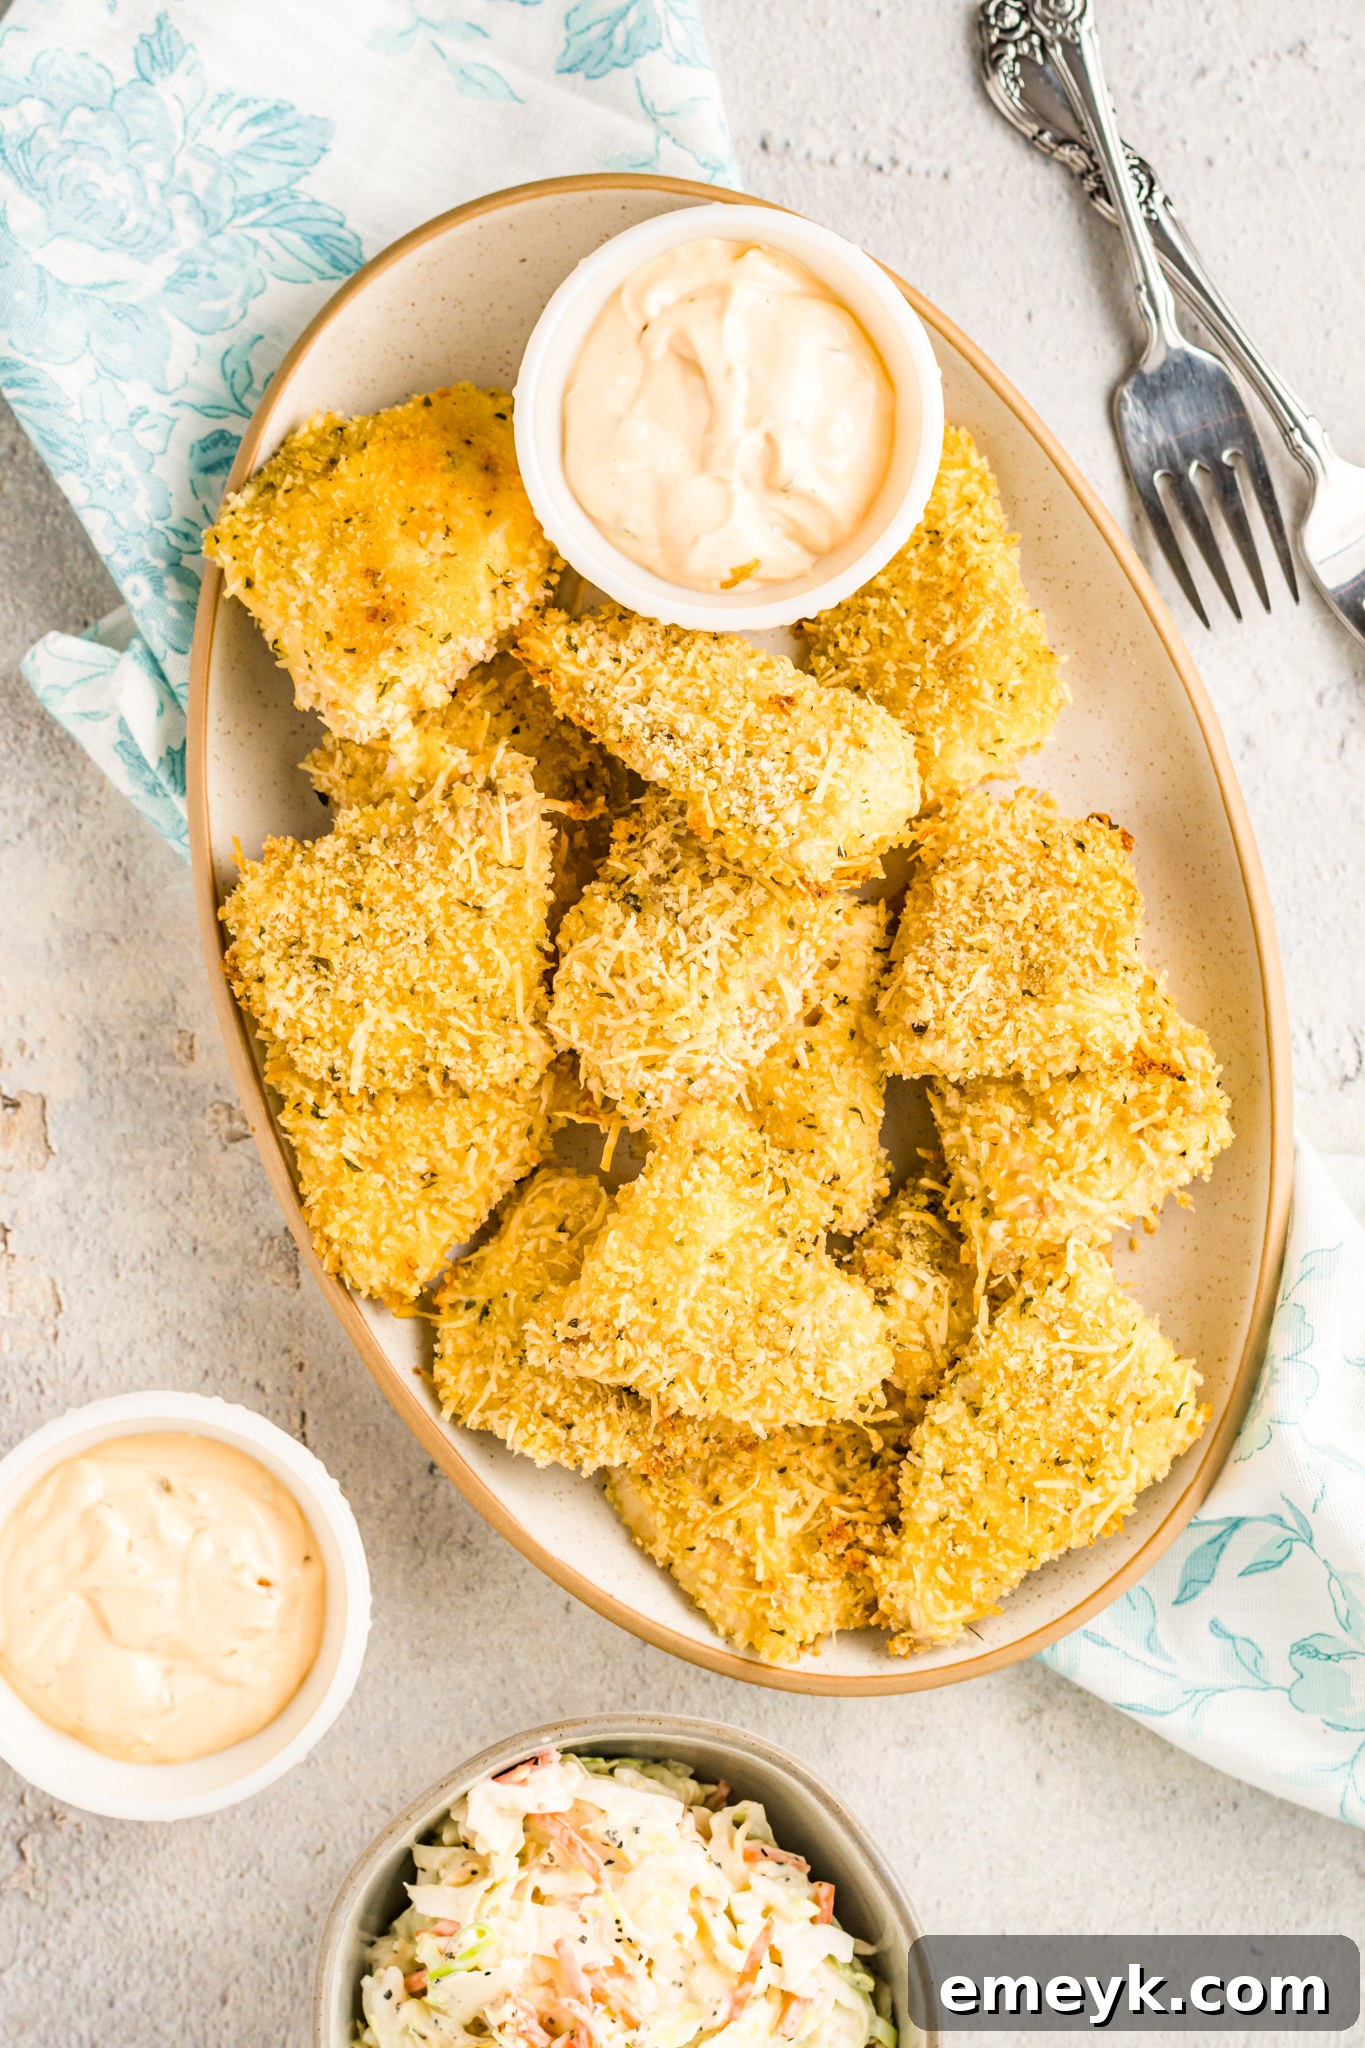
How to Make Perfect Baked Parmesan Fish Sticks
Making these crispy fish sticks is incredibly straightforward. Follow these simple steps for a flawless batch every time:
Step 1: Set Up Your Breading Stations
Preheat your oven to 400°F (200°C) and lightly grease a large baking sheet with olive oil cooking spray. Prepare three shallow dishes for your breading process. In the first dish, combine the all-purpose flour, Italian seasoning, salt, and black pepper. Whisk the eggs in the second dish. In the third dish, thoroughly mix the Parmesan cheese, panko breadcrumbs, and dried parsley flakes. Having these stations ready streamlines the breading process.
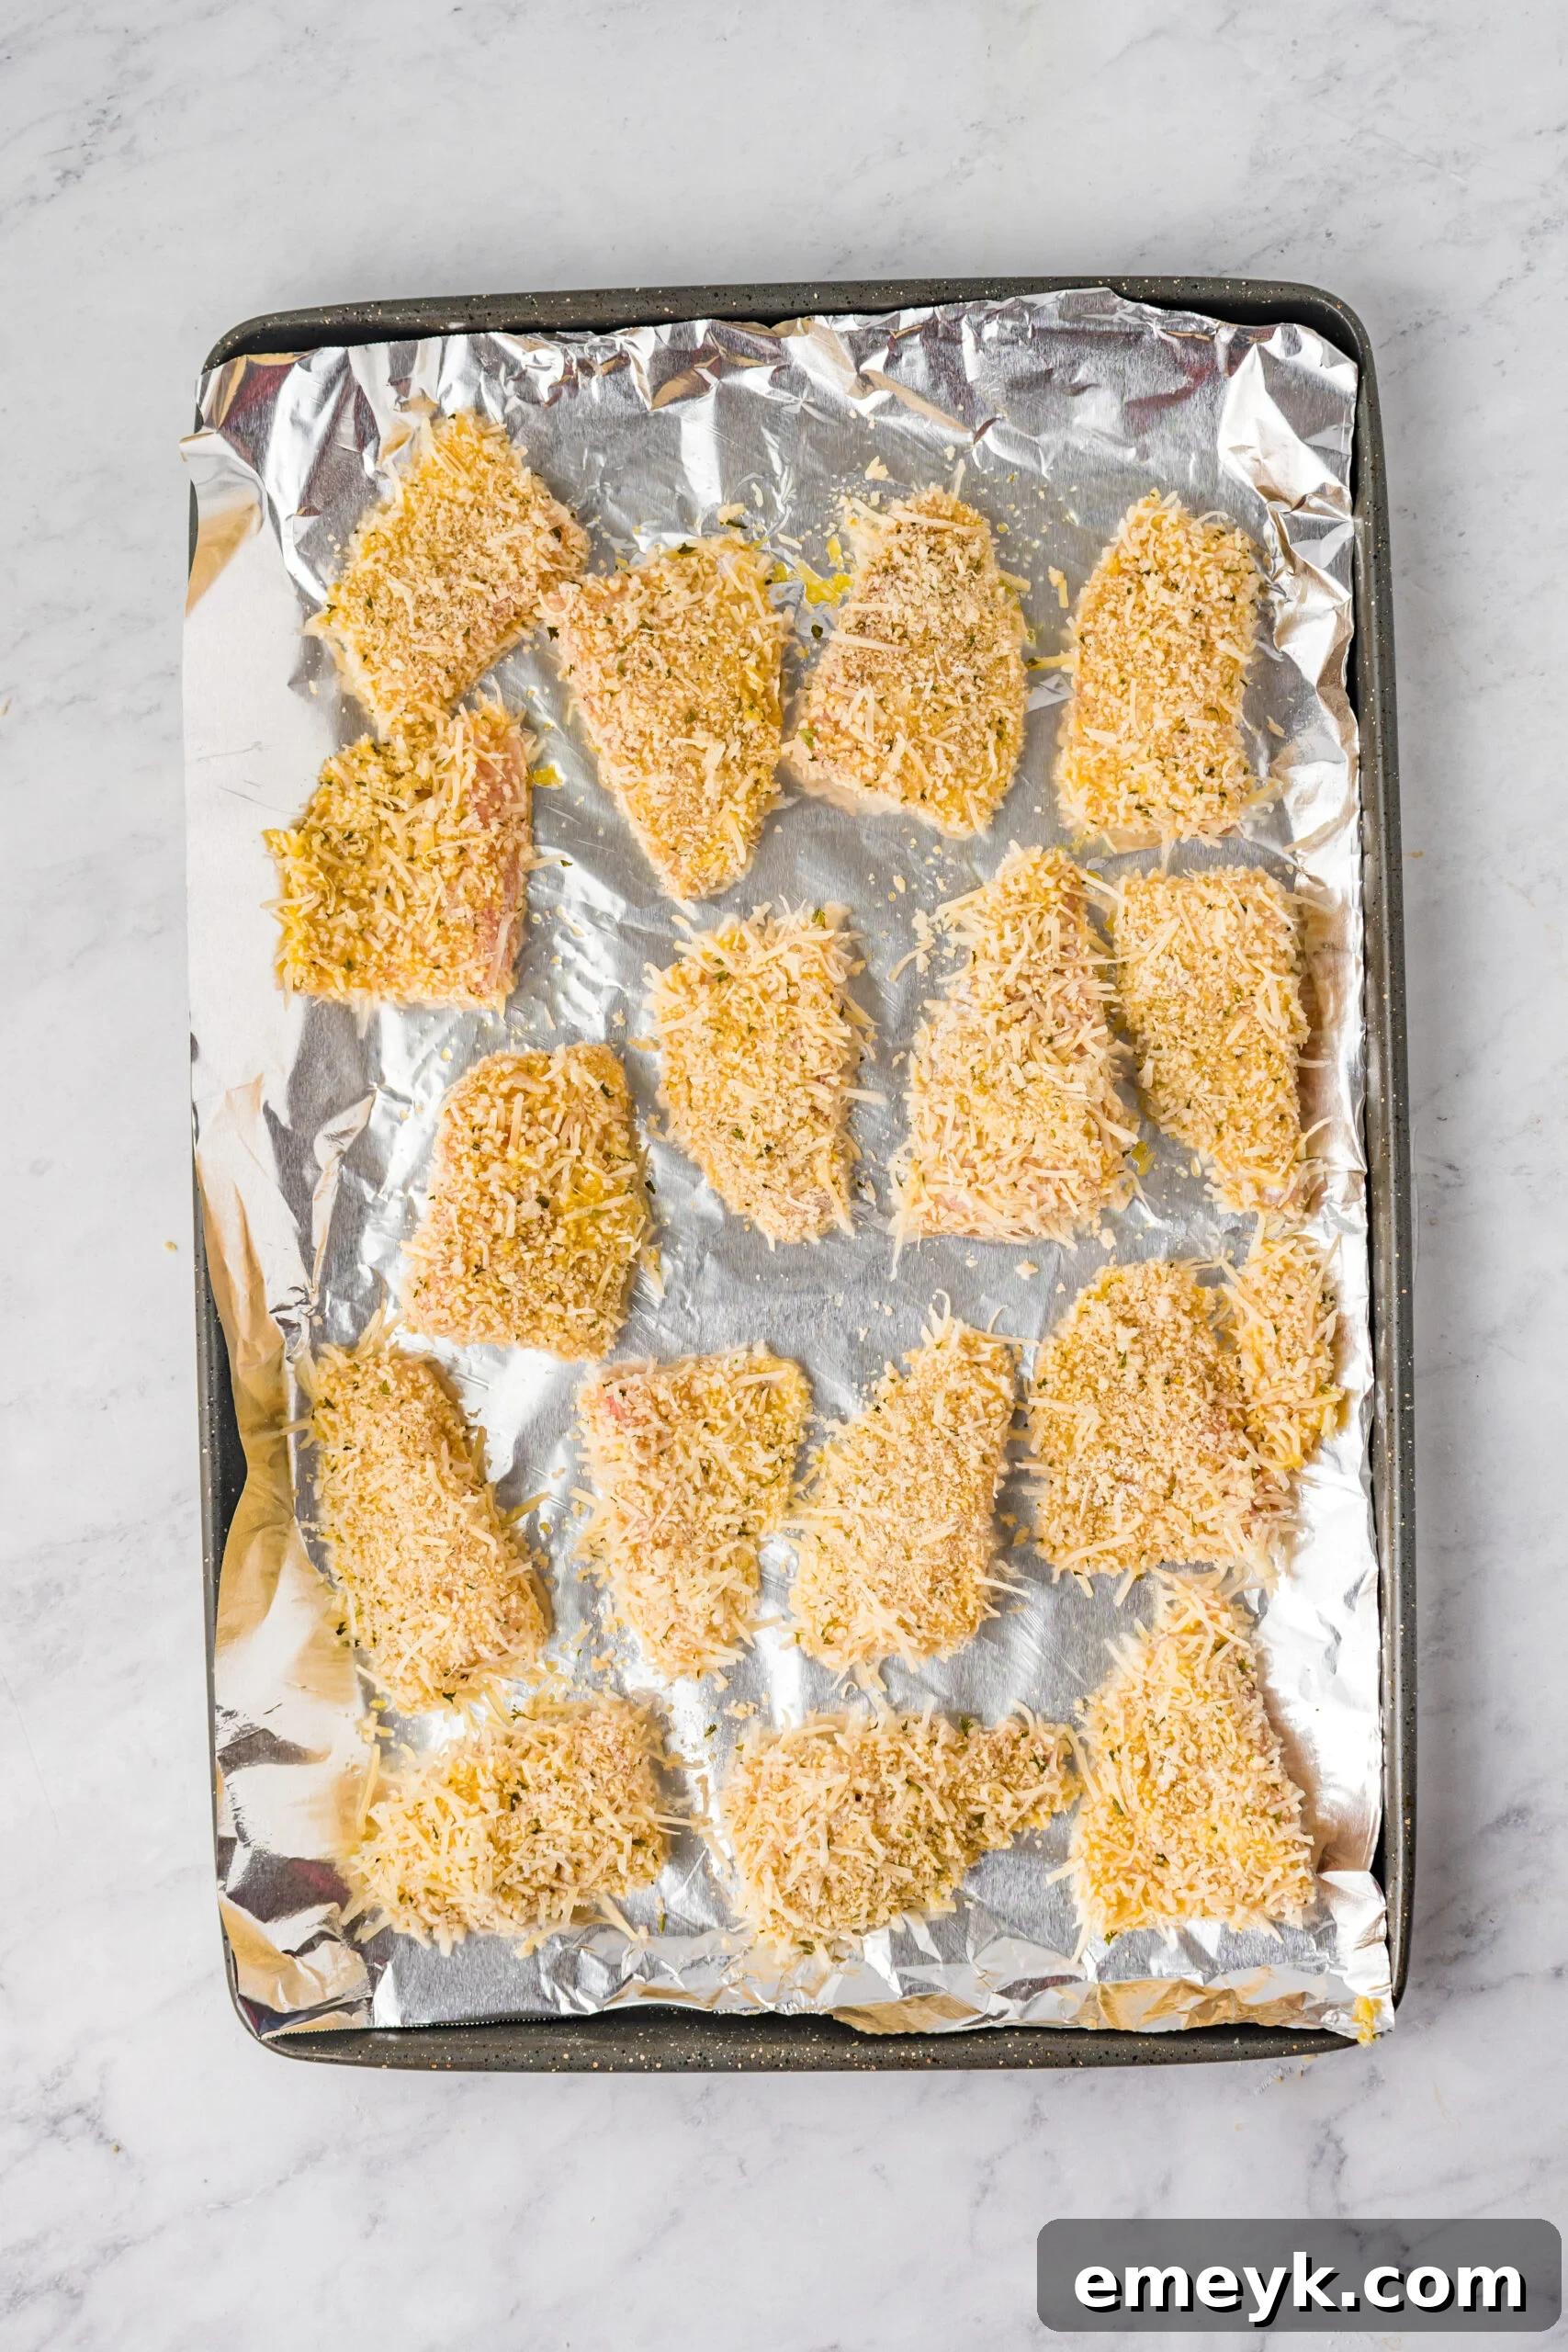
Step 2: Prepare and Bream the Fish
Cut your tilapia fillets into uniform strips or nugget-sized pieces, roughly 1-inch thick and 3-4 inches long, depending on your preference. Pat the fish dry with paper towels to ensure the breading adheres properly. Dredge each piece of fish first in the seasoned flour, shaking off any excess. Then, dip it into the beaten egg, allowing any extra egg to drip off. Finally, coat the fish thoroughly in the panko and Parmesan mixture, pressing gently to ensure an even, thick coating.
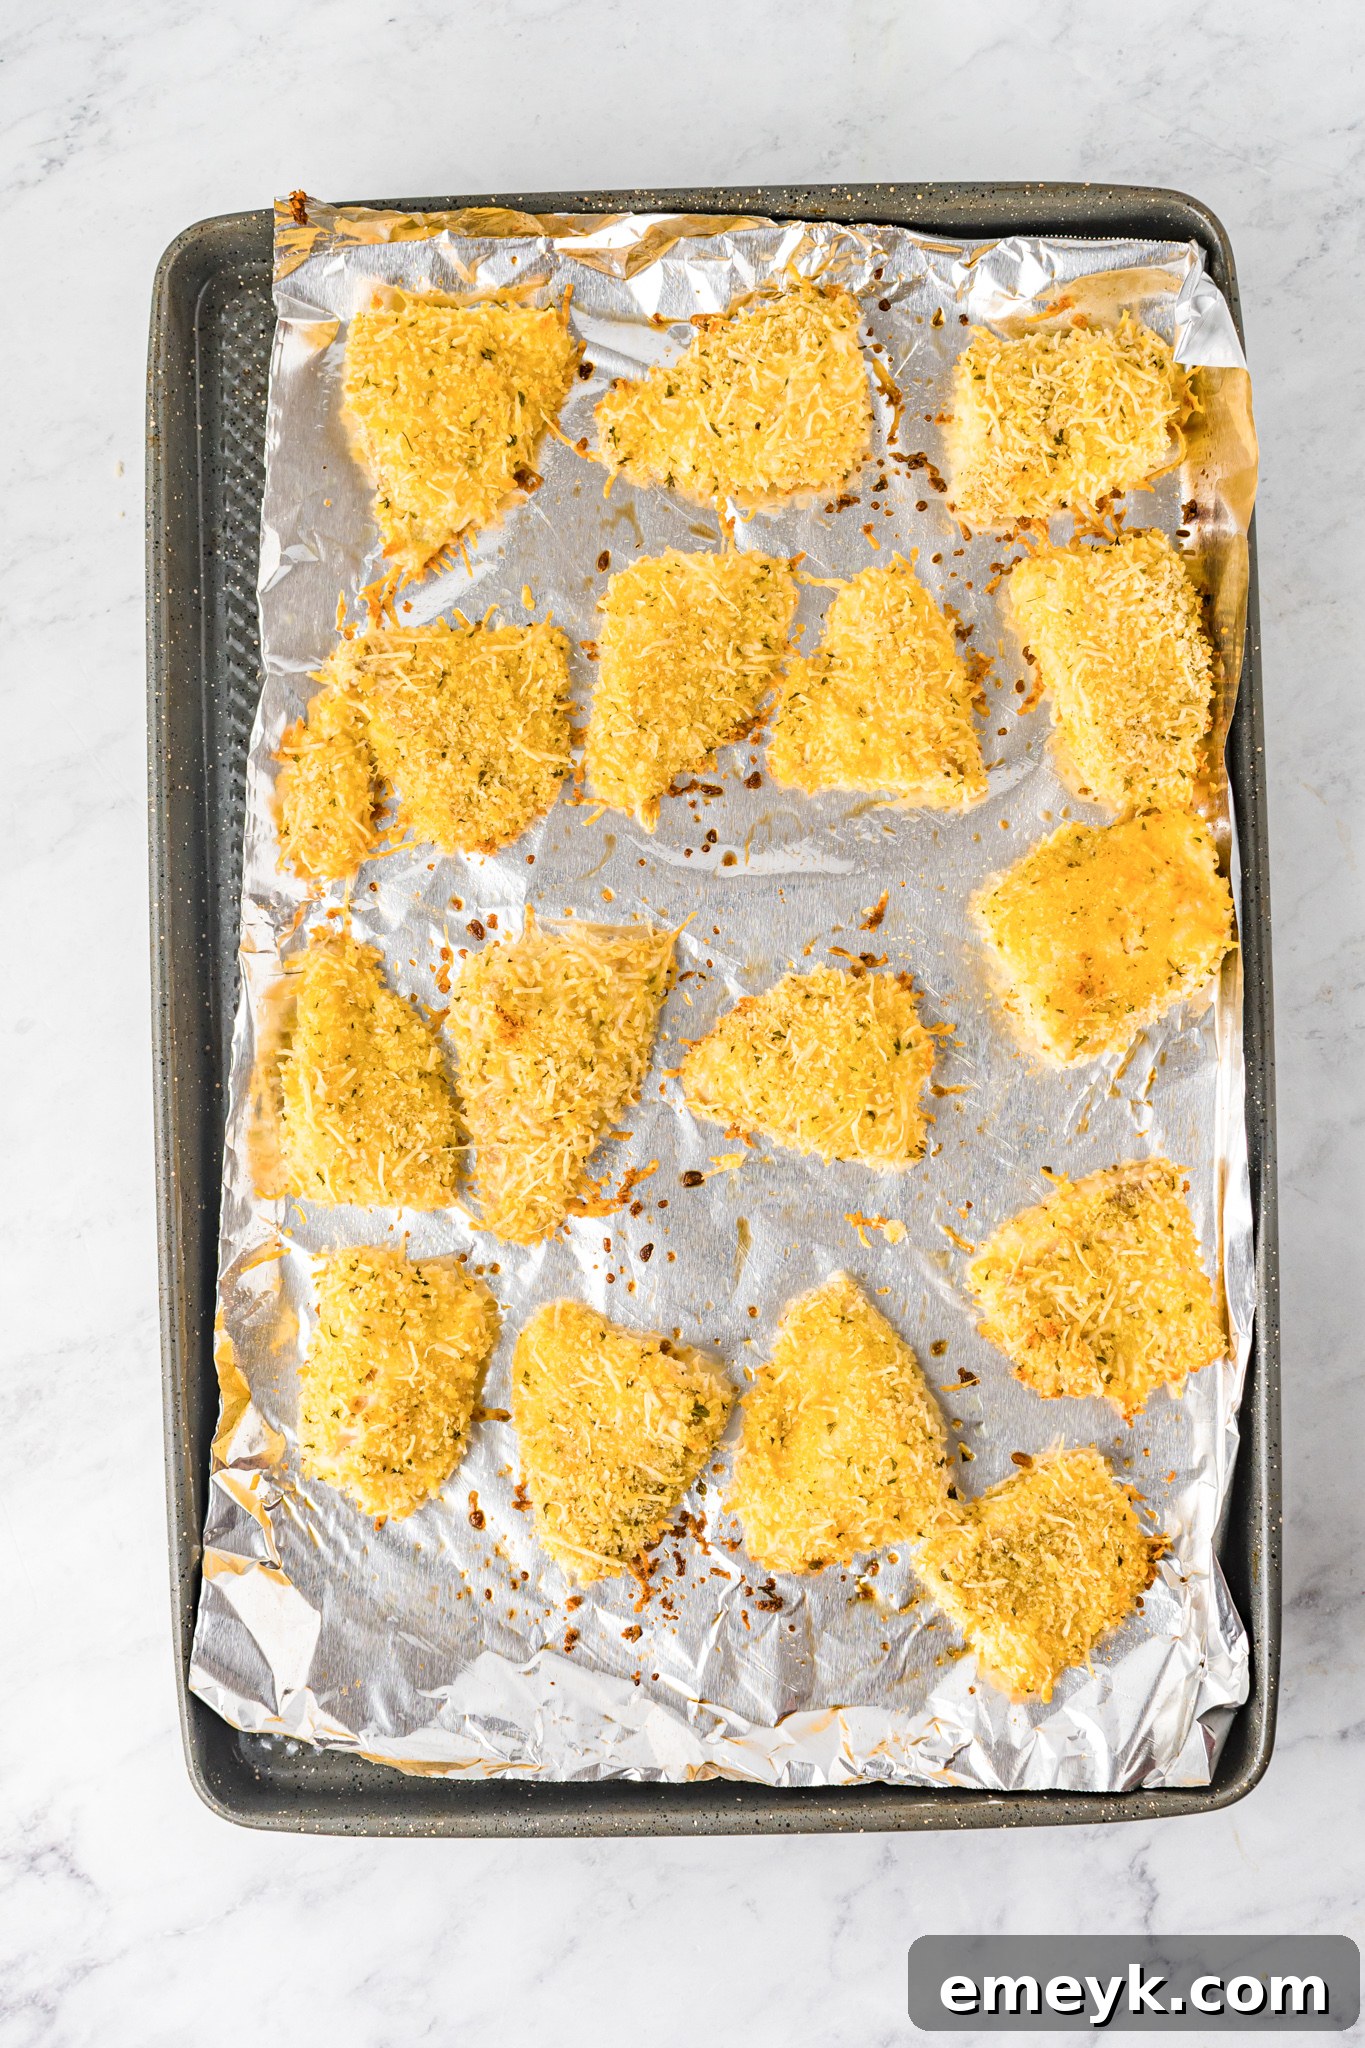
Step 3: Bake to Golden Perfection
Arrange the breaded fish sticks in a single layer on your prepared baking sheet, ensuring they are not overcrowded. This allows for even baking and crisping. Lightly spray the tops of the fish sticks with olive oil cooking spray for an extra golden crust. Bake for 10-12 minutes, or until the fish is flaky and cooked through, reaching an internal temperature of 145°F (63°C), and the breading is golden brown and crispy.
Step 4: Prepare the Delicious Dipping Sauce
While the fish sticks are baking, prepare your simple and flavorful dipping sauce. In a small bowl, combine mayonnaise, sour cream, Dijon mustard, ketchup, and dill pickle relish. Stir all the ingredients together until well combined. This creamy, tangy sauce is the perfect accompaniment to your crispy fish sticks.
Step 5: Serve and Enjoy!
Once baked, remove the fish sticks from the oven and serve immediately with wedges of lemon and the freshly made dipping sauce. These crispy fish sticks are best enjoyed hot and fresh!
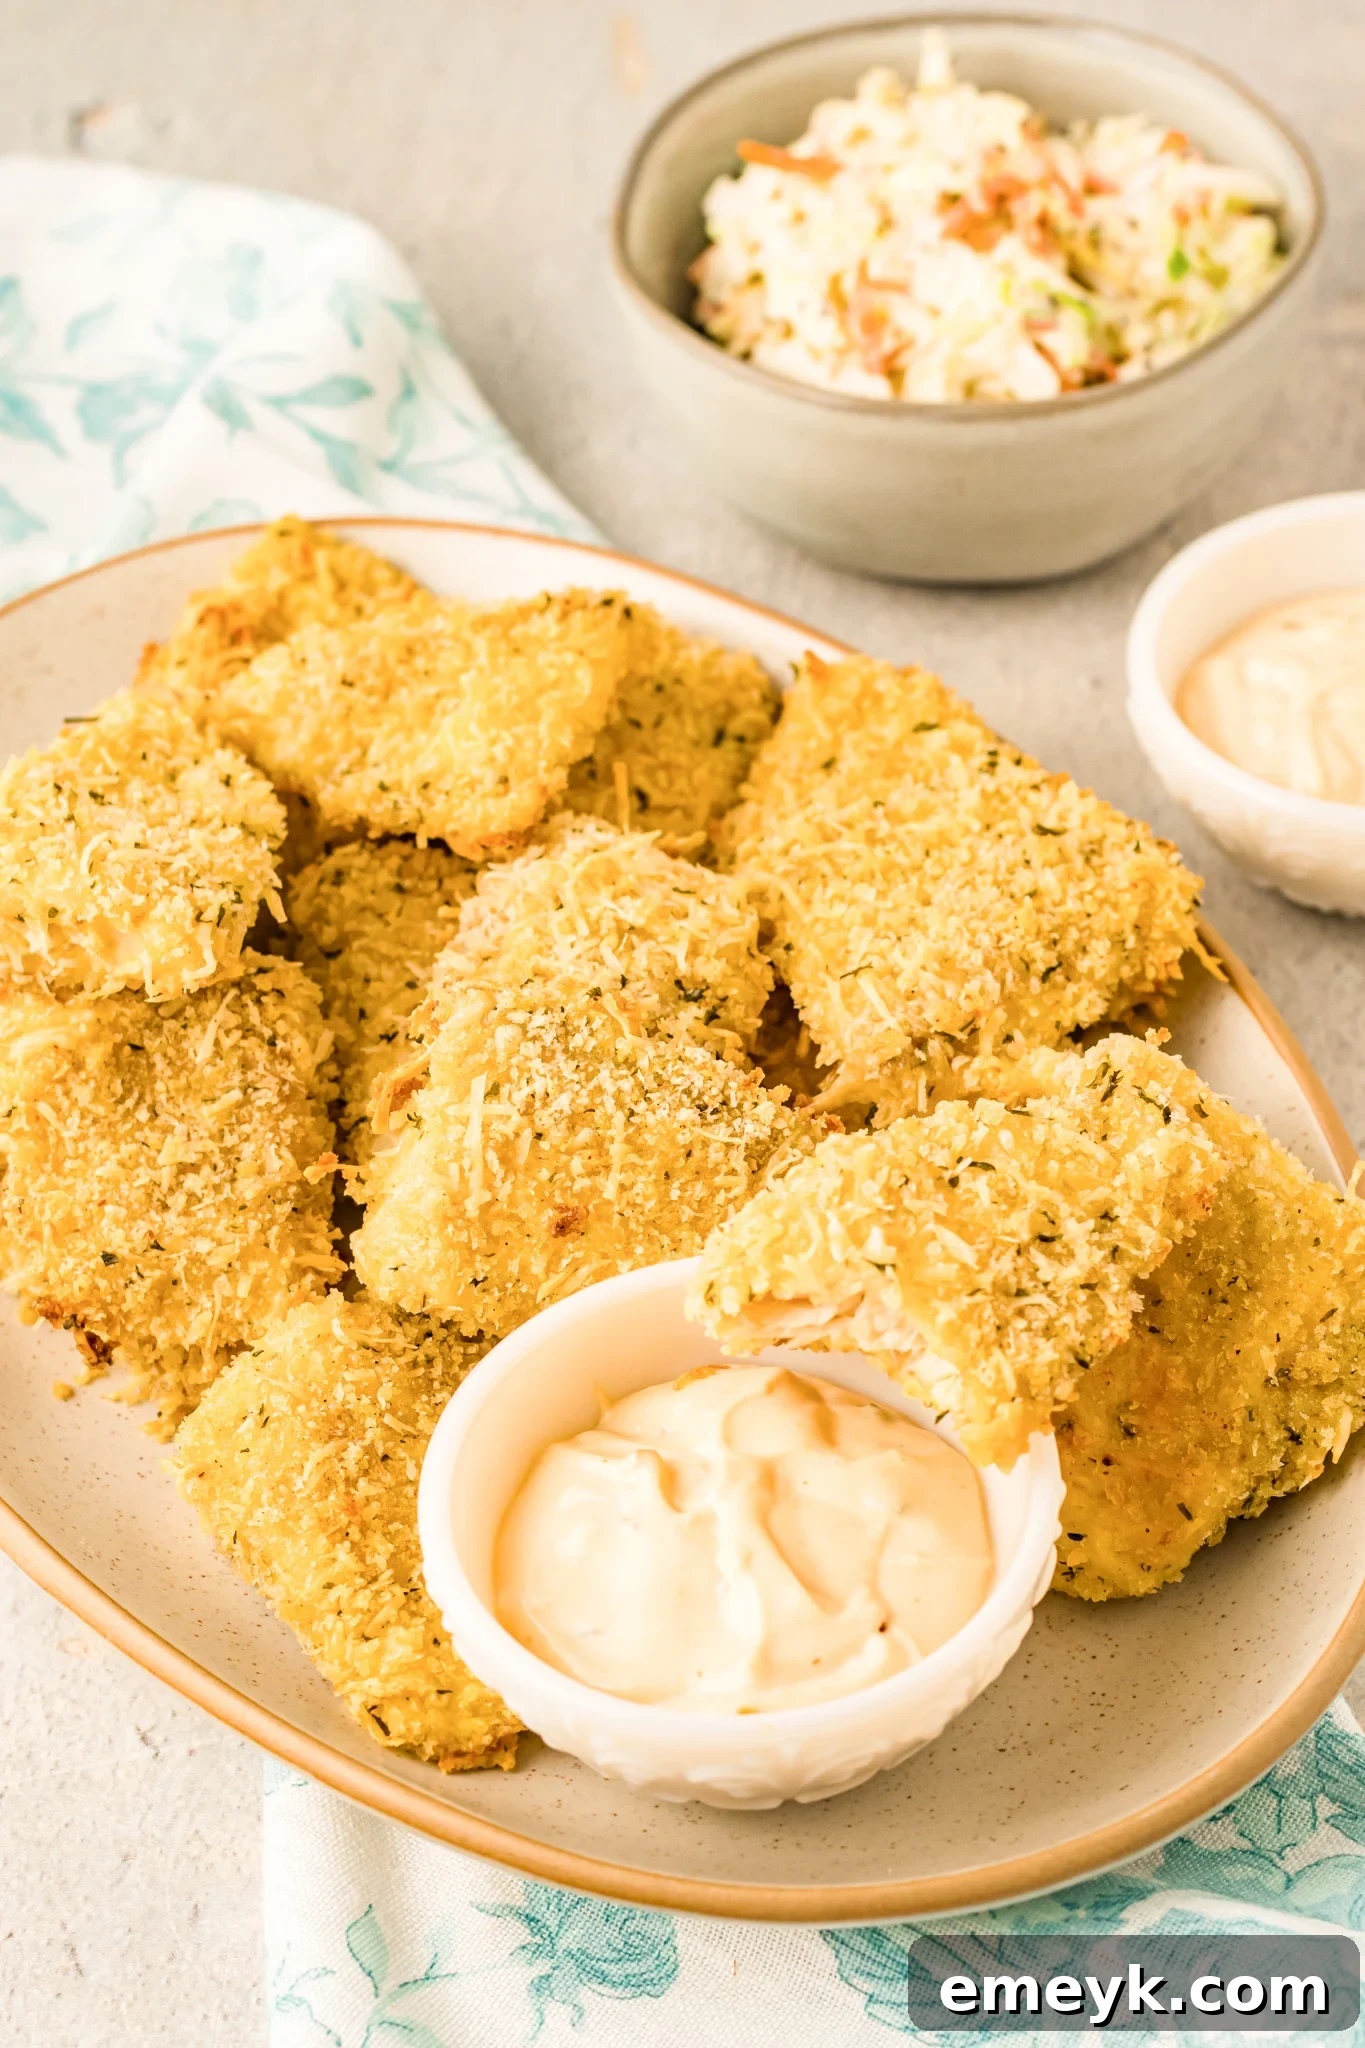
Serving Suggestions: What to Pair with Baked Fish Sticks
These versatile baked fish sticks can be paired with a variety of side dishes to create a complete and satisfying meal. Here are some fantastic ideas:
- Fresh Salads: A crisp, vibrant salad offers a refreshing counterpoint to the savory fish sticks. Try our Mediterranean Bean Salad, a light Lemon Arugula Salad with Pine Nuts, a hearty Summer Orzo Pasta Salad, or a classic Easy Lebanese Salad for a burst of fresh flavors.
- Roasted Vegetables: Roasting brings out the natural sweetness of vegetables, making them an excellent healthy side. Consider Lebanese Green Beans, earthy Turmeric Roasted Cauliflower, or a medley of Mediterranean Roasted Vegetables like bell peppers, zucchini, and cherry tomatoes.
- Hearty Potatoes: Potatoes are a classic pairing for fish and chips, and they work beautifully with baked fish sticks too. Serve them with creamy Gouda Smashed Potatoes, savory Air Fryer Twice Baked Potatoes, flavorful Spicy Lebanese Potatoes, or aromatic Lemon Cilantro Roasted Potatoes for a comforting and complete meal.
- Rice or Quinoa: A simple side of fluffy white rice, brown rice, or protein-rich quinoa can soak up any extra sauce and provide a wholesome base for your meal.
- Coleslaw: A creamy or vinegar-based coleslaw adds crunch and tanginess that pairs wonderfully with the fish.
Pro Tips for Perfect Fish Sticks
- Pat Dry the Fish: Before breading, always pat the tilapia fillets very dry with paper towels. This is crucial for the breading to adhere properly and become crispy, preventing sogginess.
- Season Every Layer: Don’t just season the fish! Make sure to season the flour mixture. This builds flavor from the inside out and ensures your fish sticks are delicious throughout.
- Don’t Overcrowd the Pan: When placing the breaded fish on the baking sheet, ensure there’s enough space between each piece. Overcrowding can lead to steaming instead of baking, resulting in a less crispy crust. Use two baking sheets if necessary.
- Flip Halfway: For even browning and crispiness on all sides, gently flip the fish sticks halfway through the baking time.
- Internal Temperature: Fish is cooked when it reaches an internal temperature of 145°F (63°C) and flakes easily with a fork. Avoid overcooking to prevent dry fish.
- Air Fryer Option: For an extra crispy result with minimal oil, these fish sticks are fantastic in an air fryer! Preheat your air fryer to 400°F (200°C). Spray the breaded fish sticks lightly with cooking spray, then air fry for 8 minutes. Flip them, spray again, and cook for an additional 4 minutes, or until golden and cooked through.
Storage & Reheating Tips
Proper storage ensures your delicious fish sticks remain tasty and safe to eat. Here’s how to manage leftovers:
- Refrigeration: Store any leftover baked fish sticks in an airtight container in the refrigerator for up to 3-5 days. Ensure they are completely cooled before storing to prevent condensation and sogginess.
- Reheating: For best results, reheat fish sticks in a warm oven (around 350°F / 175°C) or an air fryer until heated through and crispy again. Avoid reheating in the microwave, as this can make them rubbery and soggy. Always be careful not to overcook the fish during reheating, as it can quickly become dry.
Frequently Asked Questions (FAQ)
Absolutely! These fish sticks freeze beautifully, both cooked and uncooked.
- To freeze cooked fish sticks: Allow them to cool completely. Arrange them in a single layer on a baking sheet and freeze until solid (about 1-2 hours). Transfer the frozen fish sticks to an airtight, freezer-safe container or bag. They can be stored in the freezer for up to 3 months. When ready to enjoy, thaw them overnight in the refrigerator, then reheat in a warm oven or air fryer until crispy and heated through.
- To freeze uncooked fish sticks: After breading, arrange them on a baking sheet lined with parchment paper and freeze until solid. Once frozen, transfer them to a freezer-safe bag. When ready to cook, bake directly from frozen, adding an extra 5-10 minutes to the baking time, or until cooked through.
The secret to flavorful fish sticks lies in seasoning every layer. It’s crucial to season the flour mixture generously with salt, pepper, and Italian seasoning. This seasoned flour directly flavors the fish fillets themselves, creating a well-rounded and delicious taste. Don’t rely solely on the breadcrumb mixture for flavor; the initial flour dredge is key!
Preventing soggy fish sticks requires a few important steps:
- Shake off excess: At each stage of the breading process (flour, egg, panko), gently shake off any excess coating before moving to the next. Too much flour or egg can create a gummy texture.
- Proper spacing on the baking tray: Never overcrowd your baking sheet. Place the fish sticks in a single layer with ample space between each piece. This allows hot air to circulate freely around them, ensuring they bake and crisp up rather than steam. Use multiple baking sheets if necessary.
- A light spray of oil: A final light spray of olive oil cooking spray over the breaded fish sticks before baking helps promote a beautiful golden-brown and crispy exterior.
Tried this recipe? Leave a star rating and comment below! Subscribe to my newsletter or follow me on
Facebook,
Instagram, or
Pinterest for the latest recipes.
Baked Parmesan Fish Sticks
Ingredients
- 1/3 cup all-purpose flour
- 1/2 teaspoon salt
- 1/4 teaspoon pepper
- 1 teaspoon Italian seasoning
- 2 eggs, beaten
- 1 cup grated Parmesan cheese
- 1 cup seasoned panko breadcrumbs
- 1 teaspoon dried parsley flakes
- 4 large tilapia fillets, cut into strips
- Olive oil cooking spray
For the Dipping Sauce:
- 1/3 cup mayonnaise
- 1/3 cup sour cream
- 1 tablespoon Dijon mustard
- 2 tablespoons ketchup
- 2 tablespoons dill pickle relish
Instructions
- Preheat the oven to 400°F (200°C) and spray a baking sheet with cooking spray.
- In a shallow dish, combine the flour, Italian seasoning, salt, and pepper.
- In a second shallow dish, whisk the eggs.
- In a third shallow dish, combine the Parmesan cheese, panko breadcrumbs, and parsley flakes; stir well. Cut the tilapia fillets into strips or nugget-sized pieces.
- Dredge each piece of fish first in the seasoned flour, shaking off excess. Then dip in the beaten egg, letting excess drip off. Finally, coat thoroughly in the panko and Parmesan mixture. Place the breaded fish on the prepared baking sheet in a single layer.
- Bake for 10-12 minutes, or until the fish reaches an internal temperature of 145°F (63°C) and is golden and crispy.
- Meanwhile, combine all the sauce ingredients (mayonnaise, sour cream, Dijon mustard, ketchup, dill pickle relish) in a bowl and stir well. Serve alongside the hot fish sticks.
Notes
- Air Fryer Method: For an alternative cooking method, preheat your air fryer to 400°F (200°C). Spray the breaded fish sticks with cooking spray, then air fry for 8 minutes. Flip, spray again, and fry for an additional 4 minutes, or until crispy and cooked through.
- Storage: Store leftover baked fish sticks in an airtight container in the refrigerator for up to 5 days. Reheat in a warm oven or air fryer for best results.
Nutrition
Carbohydrates: 27g,
Protein: 48g,
Fat: 31g,
Saturated Fat: 10g,
Polyunsaturated Fat: 10g,
Monounsaturated Fat: 8g,
Trans Fat: 0.04g,
Cholesterol: 208mg,
Sodium: 1274mg,
Potassium: 699mg,
Fiber: 2g,
Sugar: 3g,
Vitamin A: 530IU,
Vitamin C: 1mg,
Calcium: 313mg,
Iron: 3mg
Nutrition information is automatically calculated, so should only be used as an approximation.
Tried this recipe?
Mention @acedarspoon or tag #acedarspoon!