
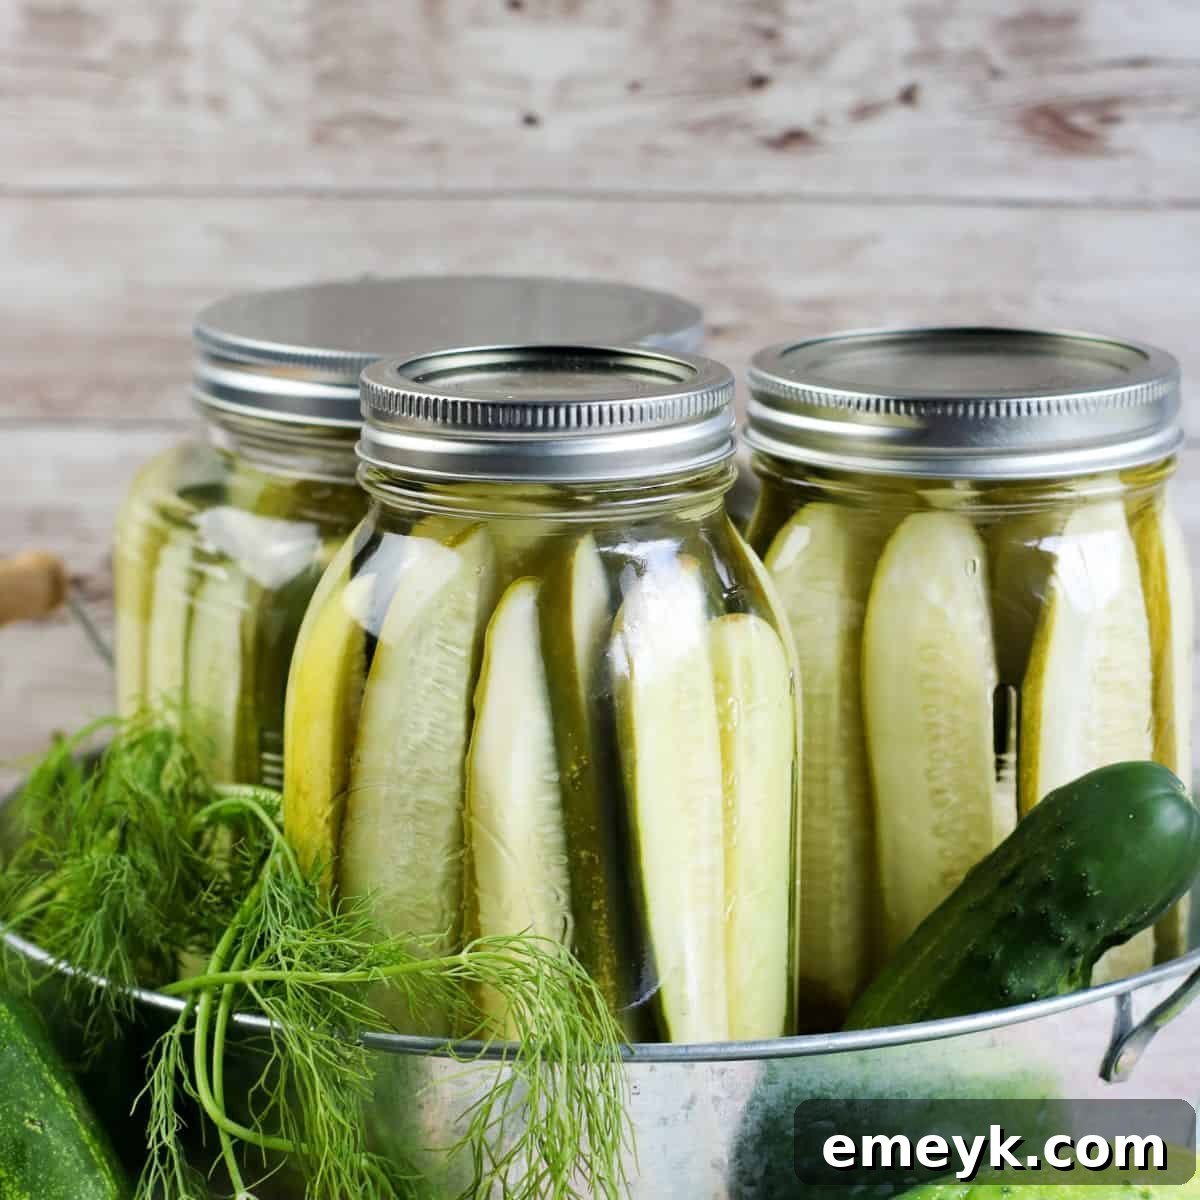
Easy Refrigerator Dill Pickles: Your Guide to Homemade Crispness
Dive into the delightful world of homemade pickles with our incredibly easy recipe for Refrigerator Dill Pickles! As the bounty of summer gardens and farmers markets delivers an abundance of fresh cucumbers, this recipe offers the perfect solution to transform them into a tangy, crunchy, and utterly satisfying snack or condiment. Unlike traditional canning methods that require extensive equipment and time, these fridge pickles are simple to prepare and ready to enjoy in just three days, making them ideal for both seasoned picklers and eager beginners.
Whether you prefer crisp pickle chips for your sandwiches, zesty spears for burgers, or simply a refreshing bite straight from the jar, these homemade dill pickles are a versatile addition to any meal. Their vibrant flavor, infused with garlic and fresh dill, brings a burst of freshness that store-bought options simply can’t match. Get ready to elevate your culinary creations and savor the taste of summer, preserved right in your own kitchen.
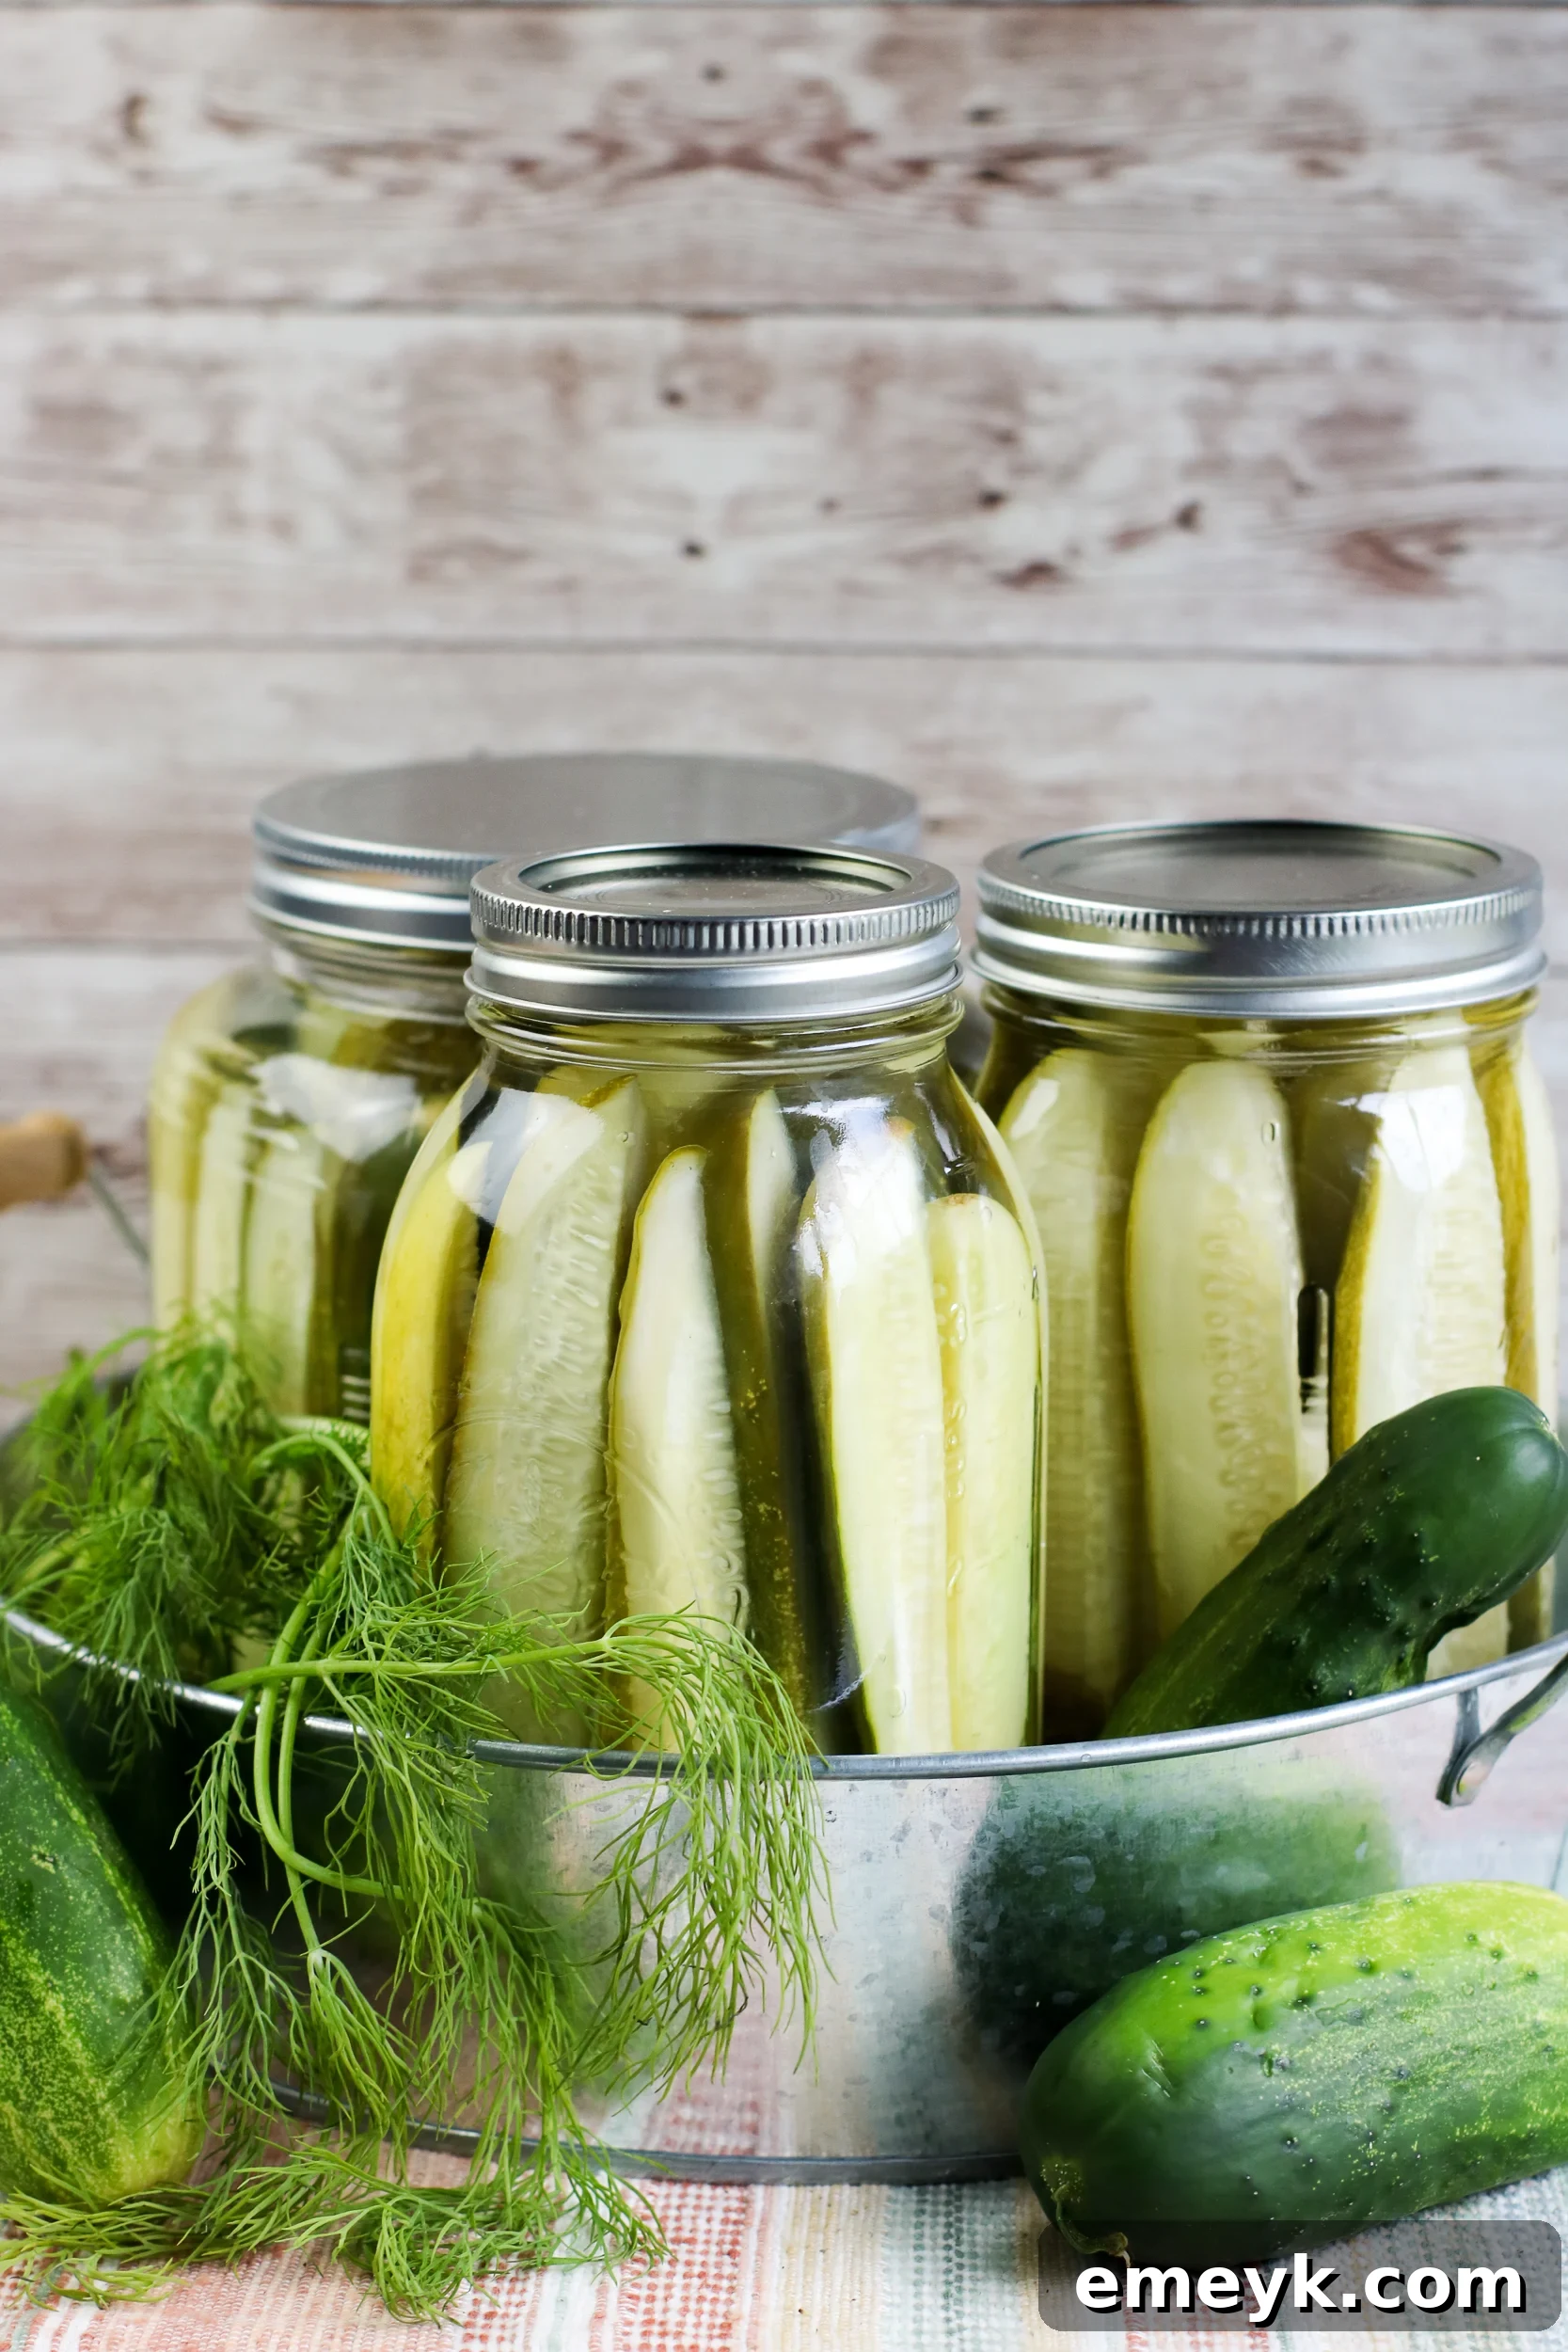
As we transition into the peak of late summer, many home gardeners find themselves with an impressive harvest of cucumbers. Similarly, farmers markets overflow with these crisp green vegetables, practically begging to be pickled! If you share my enthusiasm for the tangy crunch of a perfectly made pickle, then preparing these Refrigerator Dill Pickles is an absolute must.
This recipe holds a special place in my heart due to its simplicity and the swiftness with which the pickles are ready. Instead of the extended process required for shelf-stable canning, these refrigerator pickles are typically ready to eat in a mere few days. The basic ingredients provide a fantastic foundation, but the true beauty lies in the flexibility for customization. Feel free to adjust the amounts of garlic or dill to suit your preference, or inject some heat with slices of jalapeños or even habaneros for a fiery kick. I always ensure I have a jar (or two!) of these on hand, perfect for adding a zesty crunch to homemade sandwiches, wraps, juicy burgers, or simply as a refreshing, guilt-free snack.
Why Choose Refrigerator Dill Pickles?
There are numerous reasons why refrigerator dill pickles have become a favorite for home cooks. Their appeal lies not only in their delicious taste but also in their unparalleled convenience and fresh flavor profile. Here’s why you should consider making them a staple in your kitchen:
- Effortless Preparation: Unlike traditional canning, which demands precise sterilization and sealing techniques, refrigerator pickles are forgiving and straightforward. You don’t need specialized equipment or a pressure canner, making them accessible for anyone, regardless of their pickling experience.
- Speedy Results: The biggest advantage is how quickly they are ready. While conventionally canned pickles take weeks to cure, fridge pickles are typically perfectly flavored and crisp after just 3-5 days in the refrigerator. This means you can enjoy your fresh batch almost immediately!
- Superior Crispness: Many people find that refrigerator pickles maintain a crisper texture compared to their shelf-stable counterparts. The absence of intense heat processing helps retain the cucumbers’ natural firmness, providing that satisfying crunch with every bite.
- Fresh and Vibrant Flavor: Because they aren’t subjected to high heat, the fresh flavors of the cucumbers, dill, and garlic shine through brilliantly. The brine slowly infuses the cucumbers, resulting in a cleaner, brighter taste that truly captures the essence of fresh produce.
- Customization Opportunities: Refrigerator pickling offers endless possibilities for flavor experimentation. You can easily adjust the salt, sugar, and vinegar ratios, or add a variety of spices, herbs, and even hot peppers to create a unique pickle tailored to your taste preferences.
- Reduce Food Waste: If you find yourself with an abundance of cucumbers from your garden or a great deal from the market, pickling them in the fridge is an excellent way to extend their usability and prevent them from going to waste.
Embracing refrigerator dill pickles means enjoying all the deliciousness of homemade pickles with minimal fuss and maximum flavor impact. It’s a rewarding culinary project that yields fantastic results every time.
Key Ingredients for Perfect Pickles
Crafting delicious refrigerator dill pickles starts with understanding the role of each ingredient. This simple recipe relies on a handful of pantry staples combined with fresh produce to create that irresistible tangy crunch. You’ll be amazed at how such basic components can yield such impressive results.
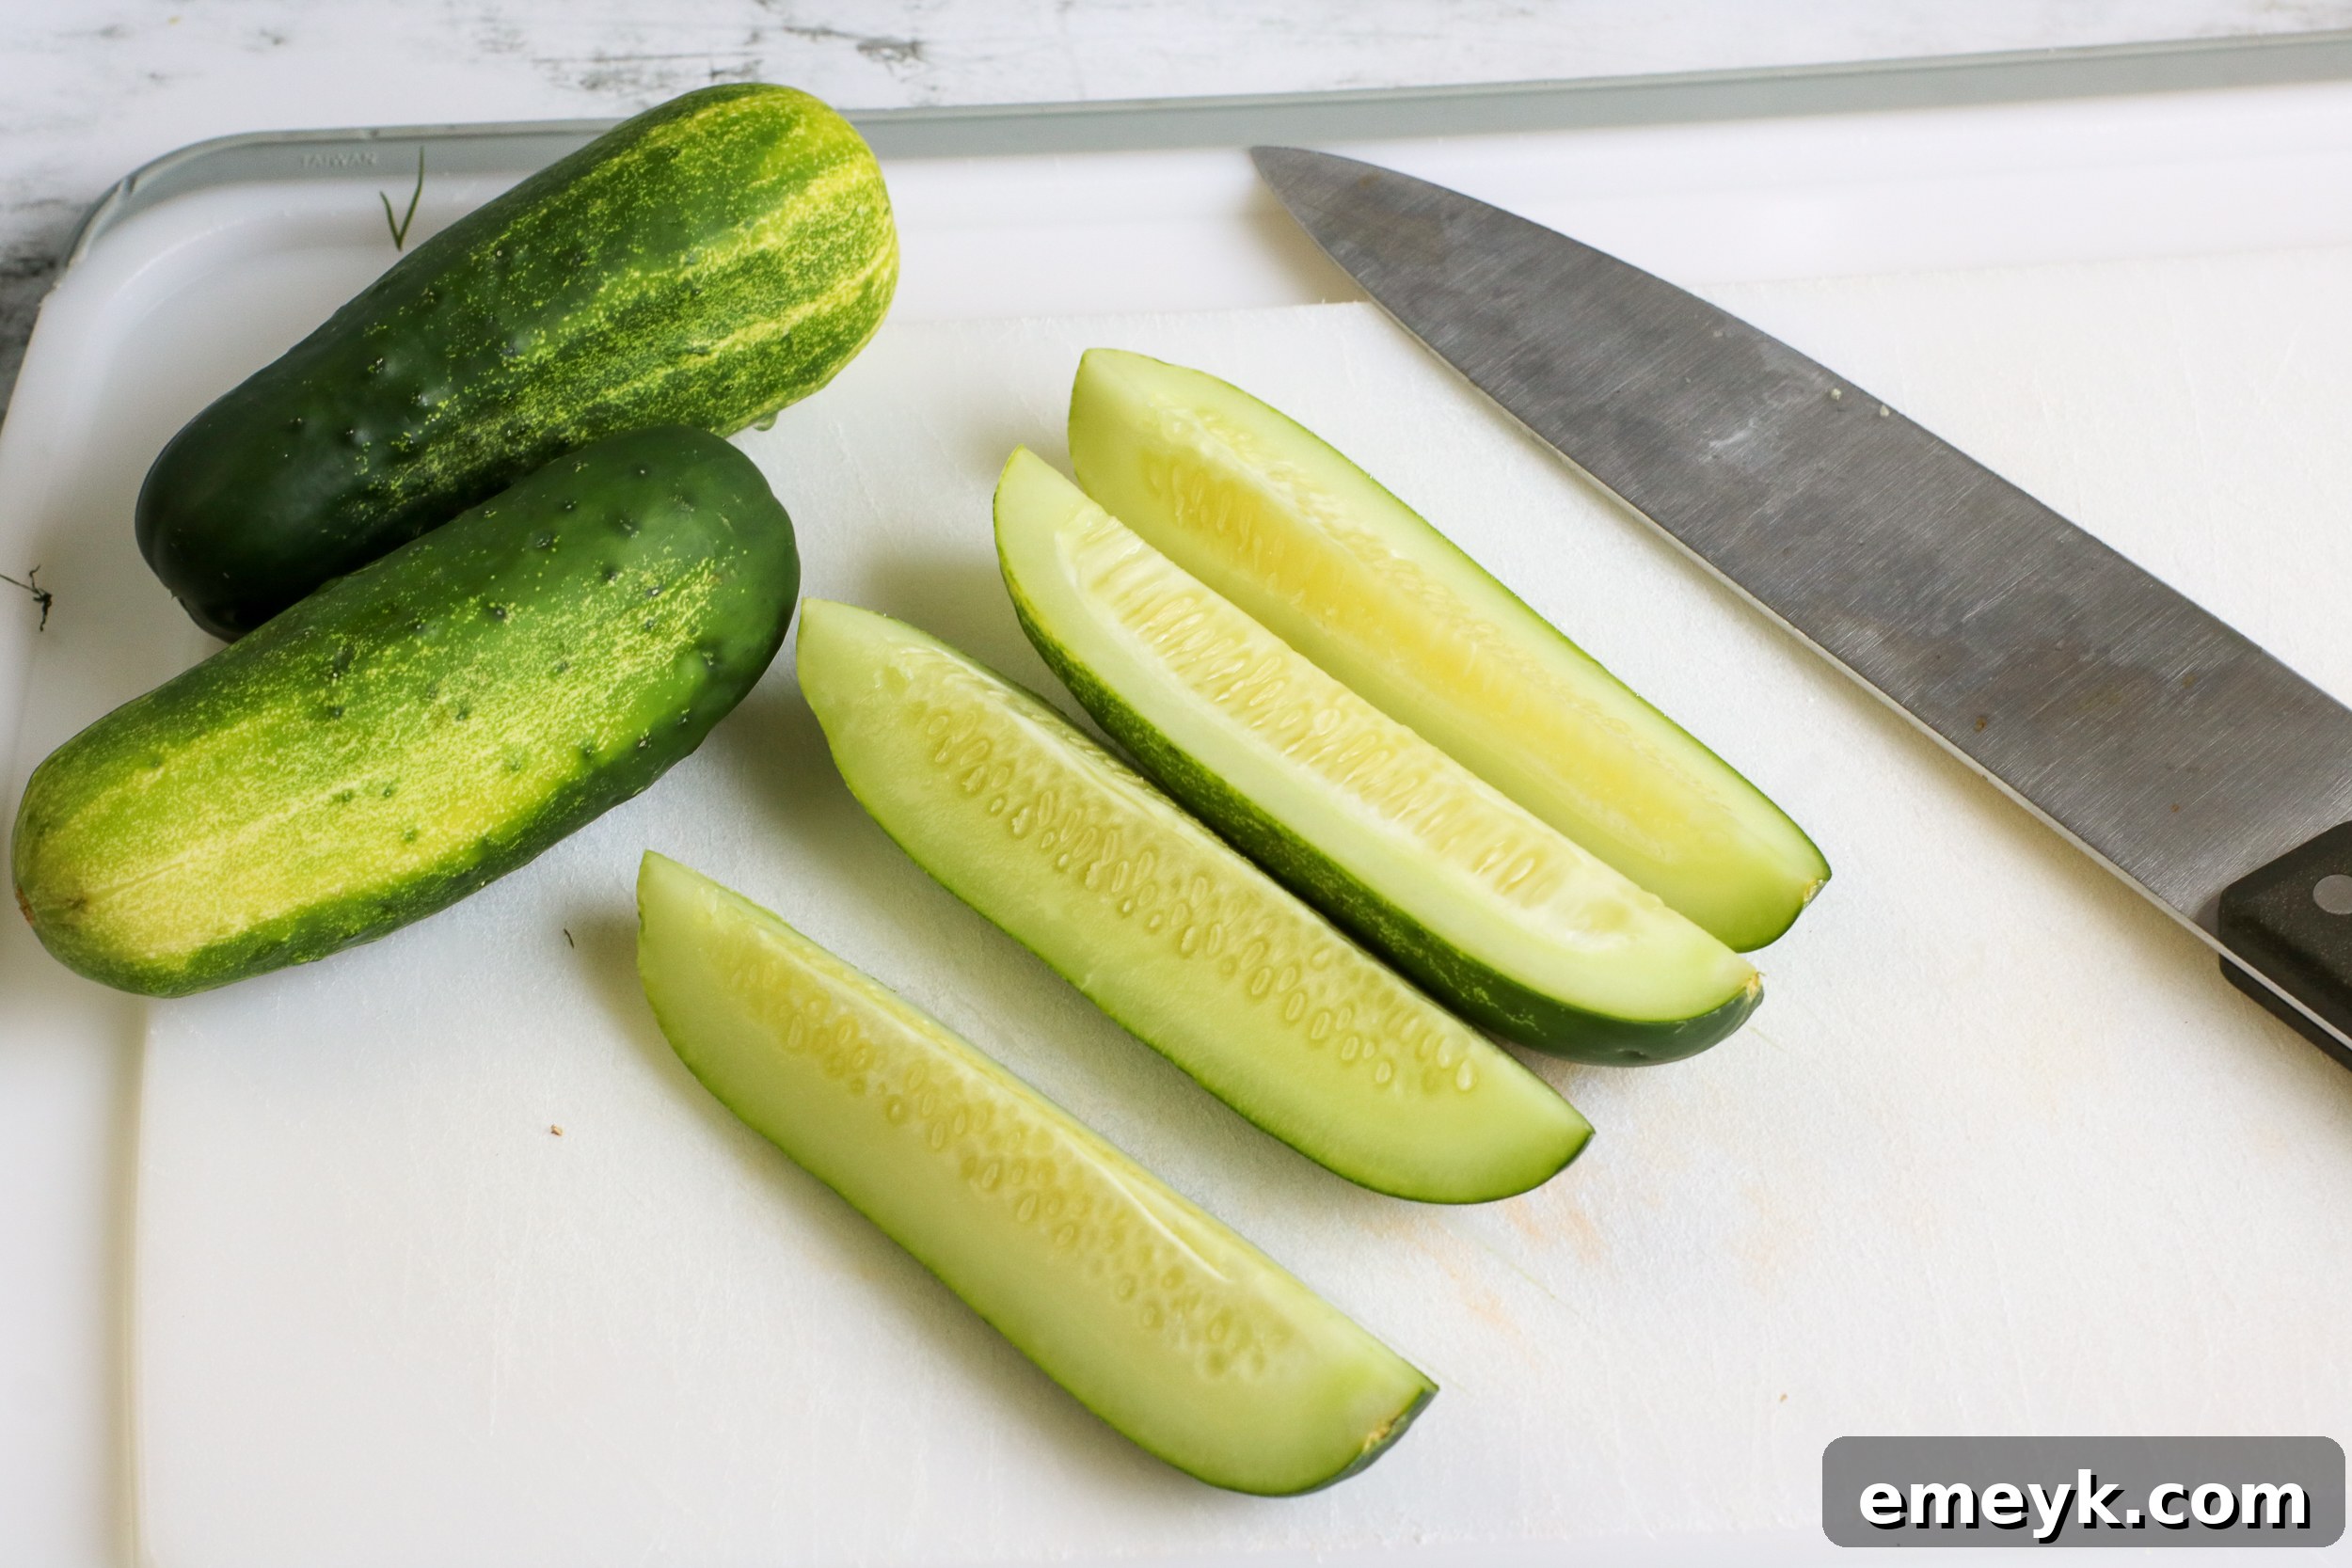
- Cucumbers: The star of the show! For the best refrigerator pickles, choose firm, fresh, and unwaxed pickling cucumbers. Varieties like Kirby, English, or Persian cucumbers work wonderfully due to their thinner skins and fewer seeds. Ensure they are free of blemishes and thoroughly washed. Trimming the blossom end can help prevent soft pickles.
- Water: The base of our pickling brine. While tap water is generally fine, using filtered water can prevent any off-flavors or cloudiness that might arise from minerals or chlorine in your municipal supply.
- White Vinegar: Essential for acidity and preservation. Distilled white vinegar (5% acidity) is the standard choice as it provides a clean, sharp flavor and ensures a safe pickling environment without altering the color of your pickles. Apple cider vinegar can be used for a slightly different flavor profile, but it may result in a cloudier brine and a different final color.
- Sugar: A touch of sugar helps to balance the sharp acidity of the vinegar, creating a more well-rounded flavor profile. It doesn’t necessarily make the pickles sweet, but rather enhances their overall taste. Adjust the amount to your preference for a more tart or slightly sweeter pickle.
- Canning and Pickling Salt: Crucial for pickling. This type of salt is pure sodium chloride, free from anti-caking agents and iodine found in table salt. These additives can cause your brine to become cloudy and may even affect the texture and color of your pickles. Always opt for canning or pickling salt for clear, crisp results.
- Garlic: Fresh garlic cloves are key to the classic dill pickle flavor. Crushed or sliced cloves release their aromatic oils into the brine, infusing the cucumbers with a pungent and savory note. Feel free to adjust the quantity based on how garlicky you like your pickles.
- Fresh Dill: The quintessential herb for dill pickles. Fresh dill sprigs or dill heads provide that signature herbaceous, slightly anisy flavor. While dried dill can be used in a pinch, fresh dill offers a much superior flavor and aroma for this recipe.
With these fresh, quality ingredients, you’re well on your way to making a batch of homemade refrigerator dill pickles that will impress everyone!
A Simple Guide: How to Make Refrigerator Dill Pickles
Making refrigerator dill pickles is a straightforward process that yields fantastic results. Follow these simple steps to transform your fresh cucumbers into tangy, crunchy delights.
Step 1: Prepare Your Brine
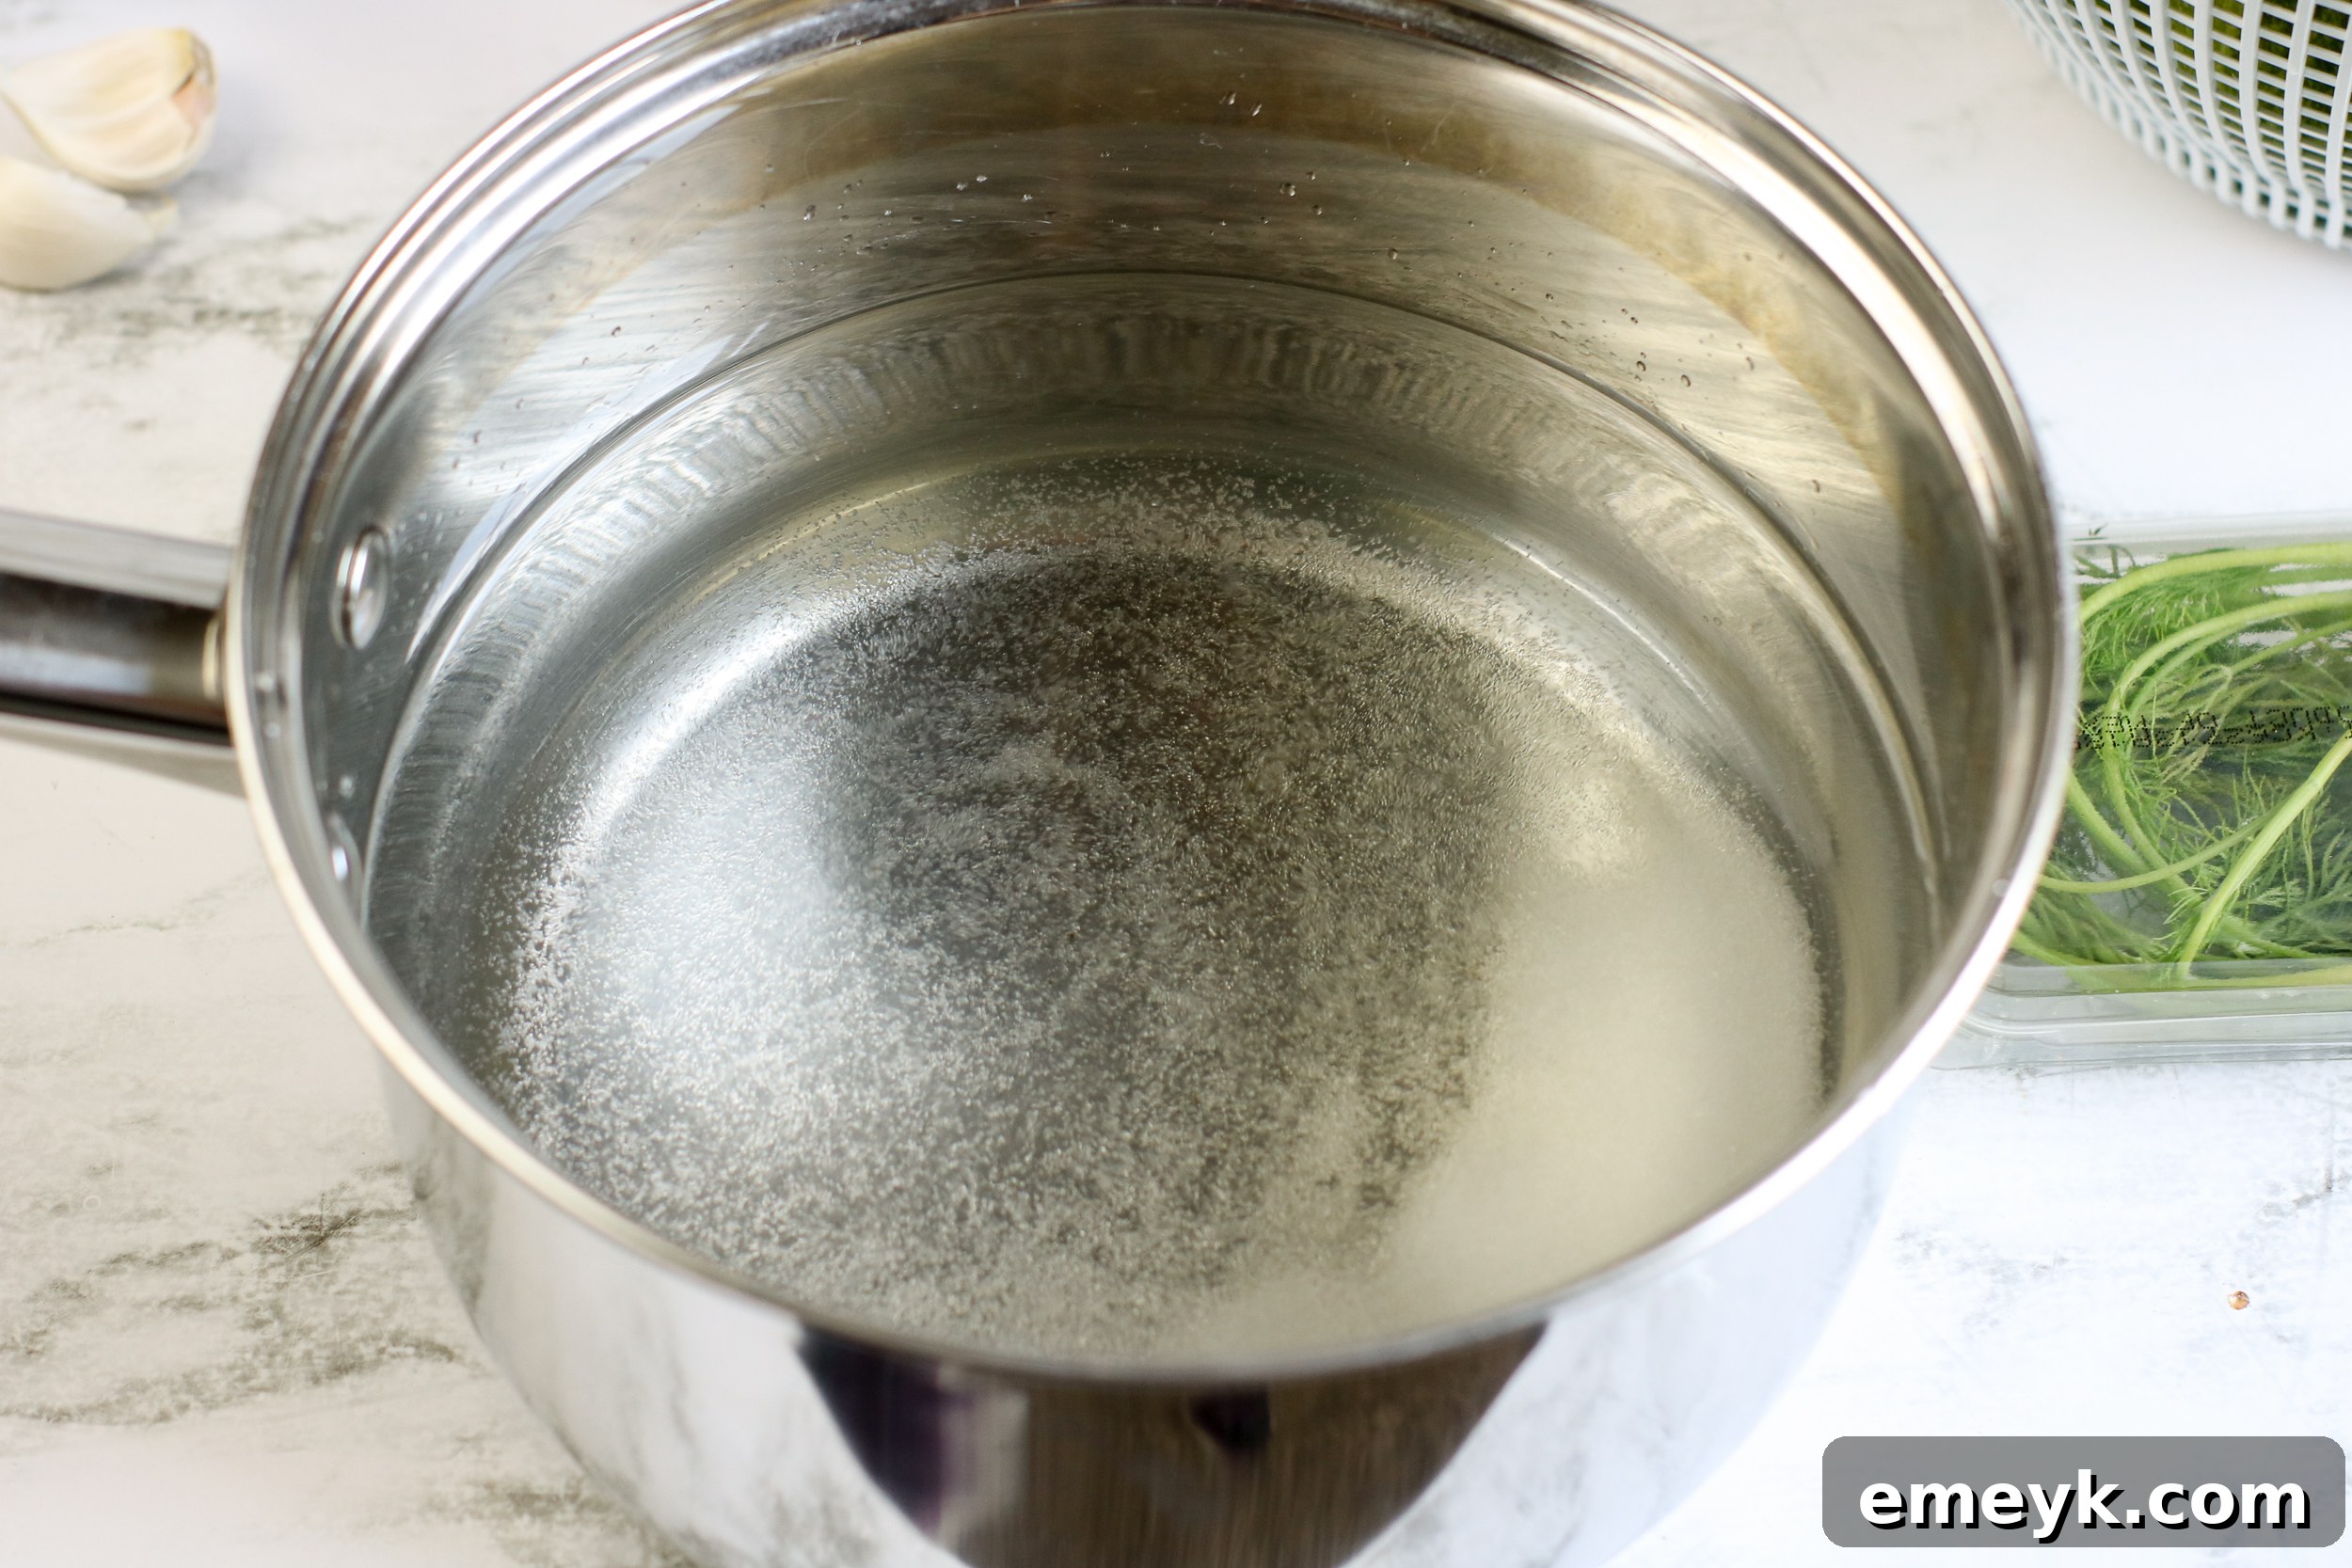
In a medium saucepan, combine the water, white vinegar, sugar, and canning salt. Place the saucepan over high heat and bring the mixture to a rolling boil, stirring occasionally to ensure that the sugar and salt fully dissolve. Once boiling and dissolved, remove the pan from the heat. It’s crucial to allow this brine mixture to cool slightly before pouring it over your cucumbers. Pouring hot brine over fresh cucumbers can lead to softer pickles. Aim for it to be warm to the touch, but not scorching hot.
Step 2: Prepare Cucumbers and Jars
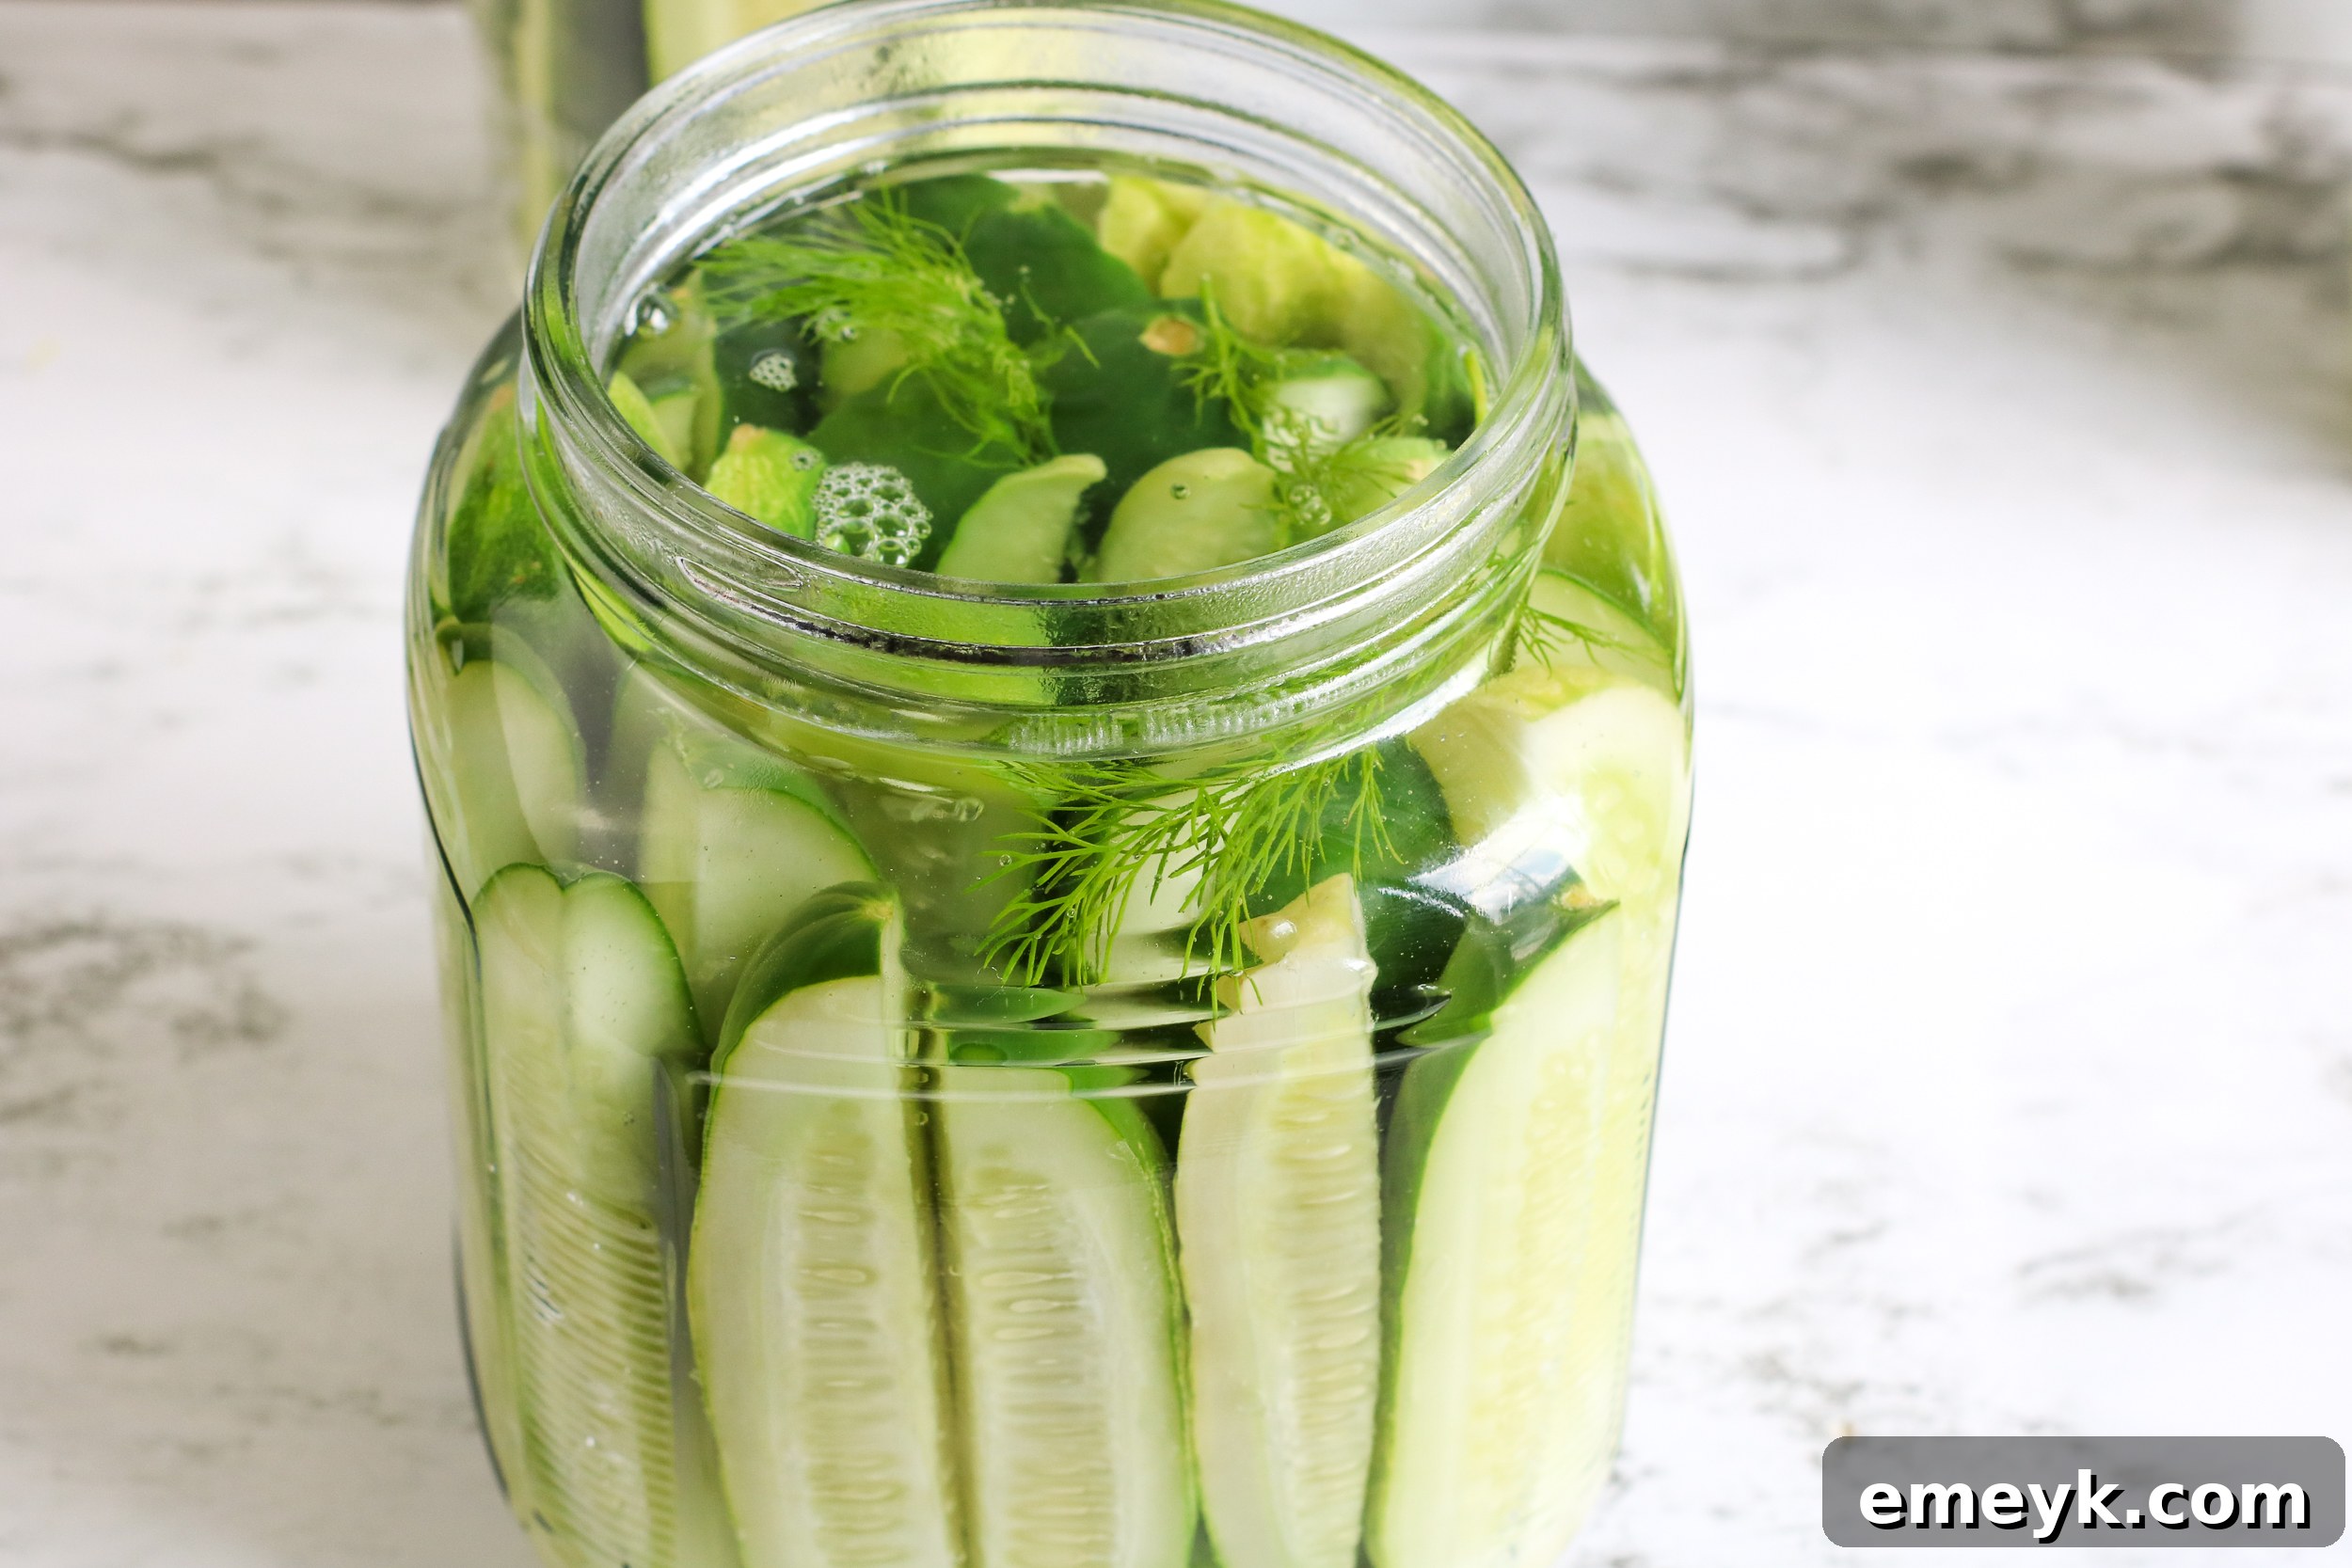
While the brine is cooling, prepare your cucumbers. Wash them thoroughly and decide how you’d like to cut them: spears, chips, or rounds. For spears, quarter them lengthwise. For chips, slice them crosswise. Trim both ends of each cucumber. Next, prepare your clean mason jars. For each 16-ounce mason jar (or jar of your choice), add 2 peeled and crushed cloves of garlic and 2 sprigs of fresh dill at the bottom. Then, tightly pack your prepared cucumber pieces into the jars. The tighter you pack them, the less likely they are to float, ensuring they are fully submerged in the brine.
Step 3: Combine and Refrigerate
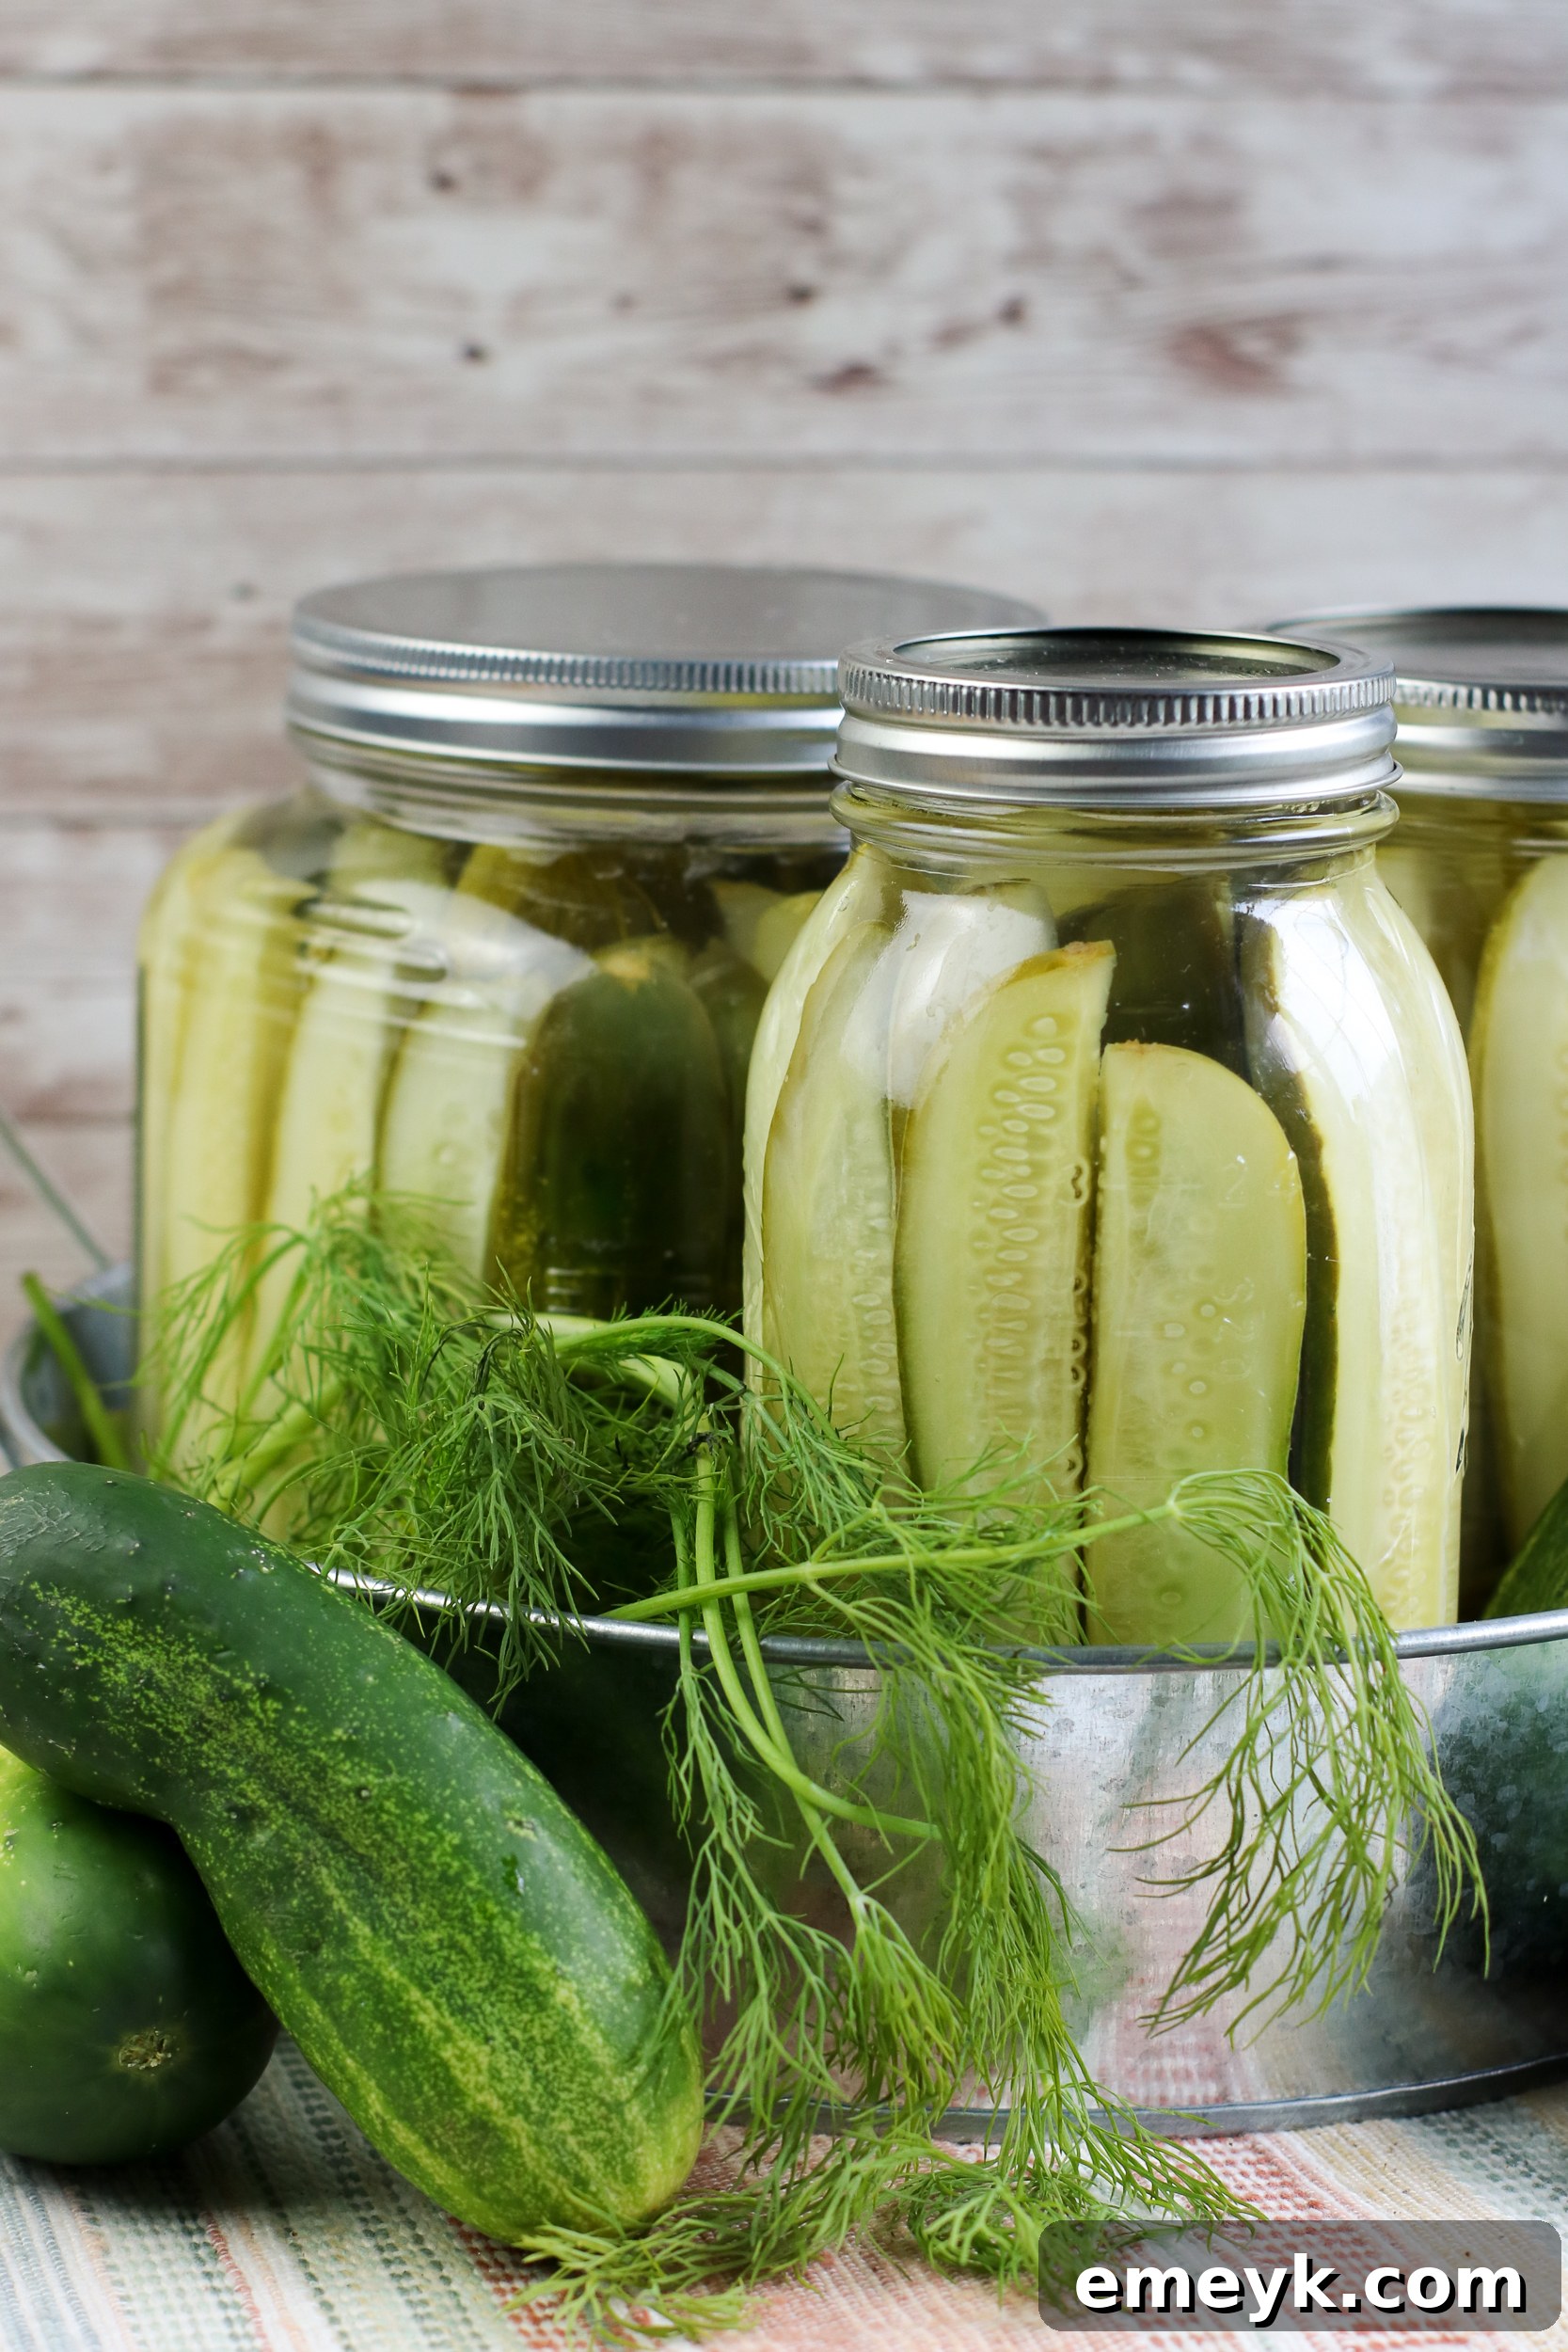
Once your brine has cooled slightly, carefully pour the vinegar mixture over the packed cucumbers in each jar, ensuring that the cucumbers are completely submerged. Leave about ½ inch of headspace at the top of the jar. If any cucumbers float above the brine, gently push them down or use a small pickling weight if desired. Seal the jars tightly with their lids. Transfer the sealed jars to the refrigerator. It’s essential to refrigerate them for at least 3 days before serving to allow the flavors to fully meld and the pickles to develop their characteristic taste and texture.
And that’s it! In just a few days, you’ll have delicious, homemade refrigerator dill pickles ready to enjoy. This simple process makes fresh pickling accessible to everyone.
Expert Tips for the Best Refrigerator Pickles
Achieving perfectly crunchy and flavorful refrigerator dill pickles is simple with a few insider tips. These suggestions will help you elevate your pickling game and ensure fantastic results every time.
- Choose the Right Cucumbers: The best cucumbers for pickling are firm, fresh, and relatively small. Look for pickling cucumber varieties like Kirby, Gherkins, or even slender English or Persian cucumbers. Avoid large, waxy salad cucumbers as they tend to be watery and have tougher skins. Always trim about 1/16th of an inch off the blossom end of each cucumber, as this end contains enzymes that can make pickles soft.
- Optimal Cutting Techniques: You have flexibility in how you cut your cucumbers.
- Spears: Ideal for snacking and fitting neatly into jars. Cut cucumbers lengthwise into quarters or eighths, depending on their size.
- Rounds (Chips): Perfect for sandwiches and burgers. Slice cucumbers into ¼ to ½-inch thick rounds.
- Crinkle Cut Slices: If you have a mandolin with a crinkle-cut blade, these wavy slices add visual appeal and a fun texture, great for sandwiches.
Ensure all your cucumber pieces are of similar thickness for even pickling.
- Jar Size and Packing: 16-ounce (pint) mason jars are often ideal for canning pickles, but feel free to use any clean, airtight glass jars that suit the size and shape of your cucumber pieces. Pack the cucumbers tightly into the jars, but avoid crushing them. A snug fit helps keep them submerged in the brine and ensures consistent pickling.
- Keep it Cool: After the brine is prepared and has come to a boil, allow it to cool slightly before pouring it over the cucumbers. Pouring super-hot brine directly onto fresh cucumbers can start to cook them, resulting in softer, less desirable pickles. Aim for the brine to be warm to the touch, or even room temperature. Some even recommend chilling the brine completely for extra crispness.
- The Waiting Game: While you can technically eat them sooner, refrigerator dill pickles are significantly better after marinating in the fridge for at least 3-4 days. This allows ample time for the cucumbers to fully absorb the brine’s flavors and develop their characteristic tang and crunch. Good things come to those who wait!
- Customizing Flavor: The base recipe is fantastic, but don’t hesitate to experiment:
- Garlic & Dill: Adjust the amount of fresh garlic cloves and dill sprigs to your liking. More garlic for a bolder flavor, or extra dill for a stronger herbaceous note.
- Spicy Pickles: For a kick, add slices of Thai red peppers, jalapeños, serranos, or even habaneros to the jars. Red pepper flakes can also be added directly to the brine for a more subtle heat throughout.
- Other Spices: Consider adding black peppercorns, mustard seeds, coriander seeds, a bay leaf, or even a pinch of celery seeds to the brine for additional depth of flavor.
- Ensuring Crispness: For an extra layer of crispness, you can soak your cut cucumbers in an ice bath for 30 minutes to an hour before packing them into jars. Also, ensure your cucumbers are very fresh; older cucumbers tend to produce softer pickles.
- Storage is Key: These pickles are called “refrigerator” dill pickles for a reason! They must be stored in the fridge in a tightly sealed container. They are not shelf-stable and should not be stored at room temperature.
By following these tips, you’ll consistently create batches of homemade refrigerator dill pickles that are bursting with flavor and boast that satisfying crunch everyone loves.
Storage and Longevity
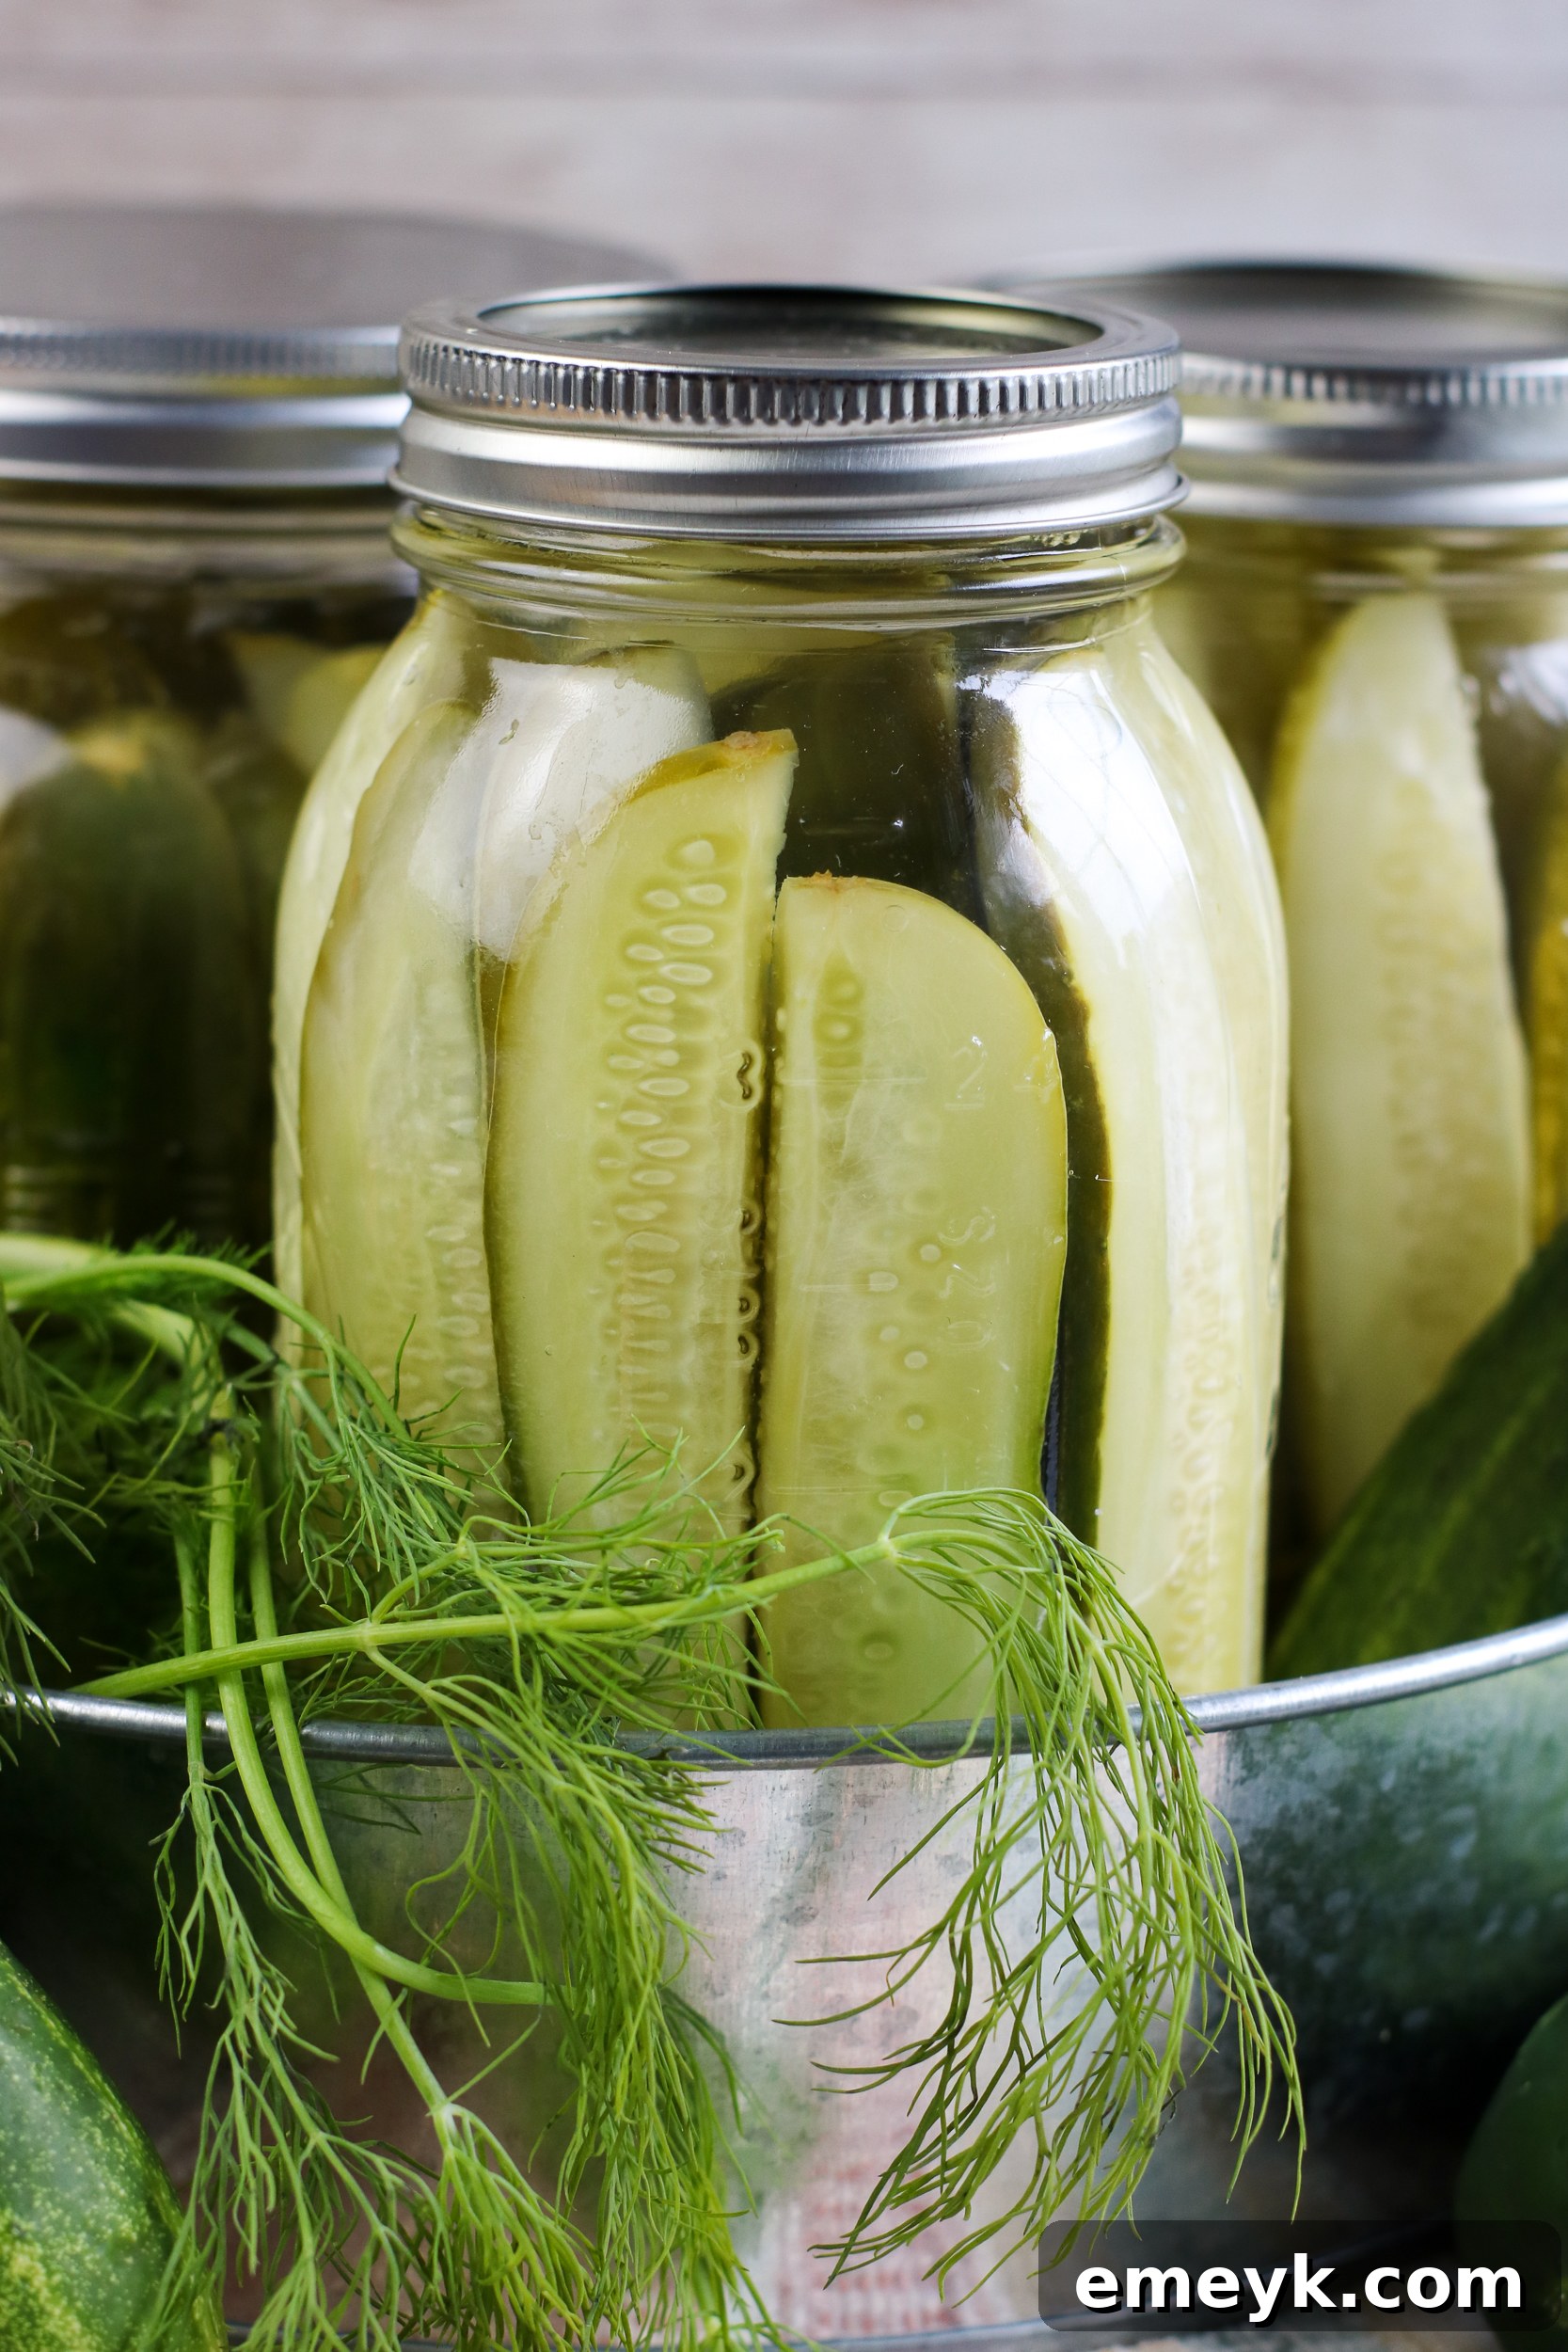
Proper storage is essential to maintain the quality and safety of your homemade refrigerator dill pickles. As the name implies, these pickles are not shelf-stable and require continuous refrigeration to remain fresh and safe to eat. Once prepared, immediately transfer the sealed jars to your refrigerator.
When stored correctly in a sealed container in the refrigerator, these dill pickles will typically last for up to 2 months. Some sources even suggest they can last longer, but for optimal flavor and texture, it’s best to enjoy them within this timeframe. Over time, their crispness may slightly diminish, but the flavor will continue to develop.
It’s important to differentiate refrigerator pickles from traditionally canned pickles. Traditional canning involves a hot water bath or pressure canning process that creates an airtight seal and sterilizes the contents, making them shelf-stable for a year or more. Refrigerator pickles bypass this intensive heat processing, which is why they must always be kept cold. This method prioritizes fresh flavor and crisp texture over long-term pantry storage.
Always use clean utensils when removing pickles from the jar to prevent introducing contaminants that could shorten their shelf life. If you notice any signs of spoilage, such as mold, an off-smell, or unusual sliminess, discard the pickles immediately. However, with fresh ingredients and proper refrigeration, your homemade dill pickles should remain delicious and safe to enjoy for weeks!
Serving Suggestions for Your Homemade Pickles
Once your refrigerator dill pickles have achieved peak flavor and crispness, the possibilities for enjoying them are endless. Their tangy, garlicky, and herbaceous notes make them a versatile addition to a wide range of dishes.
- Classic Sandwich and Burger Companion: This is arguably their most popular use! Layer crisp pickle chips onto your favorite sandwiches, hot dogs, or juicy burgers for an essential tangy crunch that cuts through richness.
- Snack Time Hero: Enjoy them straight from the jar as a refreshing, low-calorie snack. They’re perfect for satisfying a salty craving without guilt.
- Charcuterie Boards: Add a vibrant pop of color and a delightful tang to your cheese and charcuterie boards. They pair beautifully with cheeses, cured meats, and crackers.
- Salad Enhancer: Chop your pickles and mix them into potato salad, tuna salad, or chicken salad for an extra layer of flavor and texture. Their acidity can really brighten up these creamy dishes.
- Garnish for Grilled Meats: Serve pickle spears alongside grilled chicken, fish, or steak. They offer a refreshing counterpoint to rich, savory mains.
- In Wraps and Bowls: Dice them up and add them to your lunchtime wraps, grain bowls, or even as a topping for tacos and nachos for an unexpected zing.
- Bloody Mary Garnish: Elevate your Bloody Mary cocktail with a homemade dill pickle spear or chip as a garnish – a truly gourmet touch.
From simple snacking to sophisticated plating, these homemade refrigerator dill pickles are sure to become a cherished condiment in your home.
More Delightful Vegetable Recipes to Explore
Vegetarian
Quick Pickled Red Onions
Vegetarian
Quick Pickled Vegetables
Sides
Easy Bok Choy Recipe
Vegetarian
Bok Choy Stir Fry
Frequently Asked Questions (FAQs) About Refrigerator Dill Pickles
Below are some common questions about making and enjoying refrigerator dill pickles:
- What kind of cucumbers are best for refrigerator pickles?
- The best cucumbers are typically pickling varieties like Kirby, Gherkins, or even small English or Persian cucumbers. Look for firm, fresh cucumbers with thin skins and minimal seeds. Avoid large, waxy salad cucumbers as they can become soft and watery.
- Do I need to sterilize my jars for refrigerator pickles?
- While not strictly necessary for safety in the same way as traditional canning (since they are refrigerated), it’s always good practice to use clean, hot jars. Washing them thoroughly in hot, soapy water and rinsing well, or running them through a dishwasher, is usually sufficient. This helps ensure the best flavor and prevents any unwanted bacteria from affecting your pickles.
- How long do refrigerator dill pickles last?
- When stored in a tightly sealed container in the refrigerator, refrigerator dill pickles can last for up to 2 months. For the best flavor and crispness, it’s recommended to consume them within 4-6 weeks.
- Can I use dried dill instead of fresh dill?
- While fresh dill (sprigs or dill heads) provides the superior flavor and aroma for dill pickles, you can use dried dill in a pinch. If using dried dill weed, use about 1 teaspoon per pint jar. For dried dill seed, use about ½ teaspoon per pint jar. However, the fresh herb truly makes a difference in this recipe.
- Why are my pickles soft?
- Several factors can lead to soft pickles:
- Using older or overripe cucumbers.
- Not trimming the blossom end of the cucumbers (which contains enzymes that can soften pickles).
- Pouring extremely hot brine over the cucumbers, which can partially cook them.
- Using regular table salt instead of canning/pickling salt (iodine and anti-caking agents can affect texture).
To maximize crispness, use fresh, firm cucumbers, trim the blossom end, allow the brine to cool slightly, and consider soaking cucumbers in an ice bath before pickling.
- Can I reuse the pickling brine?
- It’s generally not recommended to reuse the brine from refrigerator pickles. The flavor compounds from the cucumbers and aromatics will have been absorbed, and the brine’s acidity and salt levels may have changed, potentially compromising future batches.
- Are refrigerator pickles safe?
- Yes, refrigerator pickles are safe to eat as long as they are kept continuously refrigerated and consumed within their recommended storage period. The vinegar and salt create an acidic environment that inhibits the growth of harmful bacteria, similar to other pickled foods. Always discard if you notice any signs of spoilage.
Tried this recipe? Share your experience and tag @acedarspoon or use #acedarspoon! Follow for more fresh recipes:
Facebook,
Instagram, or
Pinterest.
Refrigerator Dill Pickles
Ingredients
- 2 pounds cucumbers, quartered lengthwise
- 3 1/2 cups water
- 1 1/4 cups white vinegar
- 1 Tablespoon sugar
- 2 Tablespoons pickling salt
- 4 cloves garlic, peeled and crushed
- 4 dill sprigs
Instructions
-
In a medium saucepan over high heat, bring water, vinegar, sugar, and salt to a boil. Stir until sugar and salt are fully dissolved.
-
Remove the pan from the heat and cool the brine slightly (it should be warm to the touch, not scorching hot).
-
Drop 2 cloves of garlic and 2 sprigs of dill into each 16-ounce mason jar or jar of your choice. Add the cucumber spears, packing tightly, making sure to leave some headspace.
-
Pour the cooled vinegar mixture into the jars over the cucumbers, ensuring they are fully submerged.
-
Seal the jars tightly with lids and refrigerate for at least 3 days before serving for optimal flavor development.
Nutrition
Nutrition information is automatically calculated, so should only be used as an approximation.
Tried this recipe?
Mention @acedarspoon or tag #acedarspoon!